Tiramisu Ice Cream (No Churn)
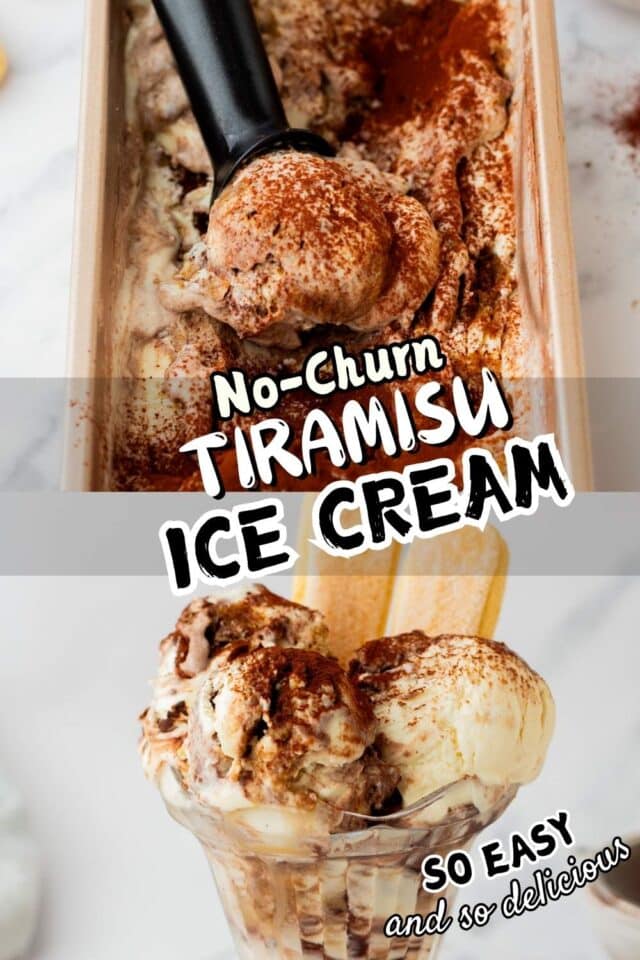
A creamy, dreamy no-churn Tiramisu Ice Cream made with mascarpone, coffee-soaked ladyfingers, and a touch of coffee liqueur. All the flavor of classic tiramisu in a scoopable, freezer-friendly dessert!

EMAIL ME THE RECIPE!
If you love tiramisu and you love ice cream, then this no-churn tiramisu ice cream is going to be your new summer obsession. It’s rich, creamy, and loaded with all the flavors you adore—espresso-soaked ladyfingers, a swirl of cocoa, and that classic mascarpone taste. The best part? No ice cream maker needed and no complicated steps. It’s one of those recipes that feels fancy but couldn’t be easier to whip up. I keep a stash in the freezer for when I want something indulgent without turning on the oven. Trust me, it’s a keeper!
Four reasons to grab a spoon
- Coffee lovers’ dream: That bold espresso flavor hits just right.
- Creamy without churning: Silky-smooth texture, no fancy tools needed.
- Make-ahead magic: Prep it, freeze it, and it’s ready whenever you are.
- Tiramisu twist: A playful spin on the classic dessert you already adore.
Ingredients you’ll need
Only 6 ingredients needed to make this tiramisu ice cream recipe! Here’s a look at everything you’ll need:
Scroll down to the recipe card for exact measurements.
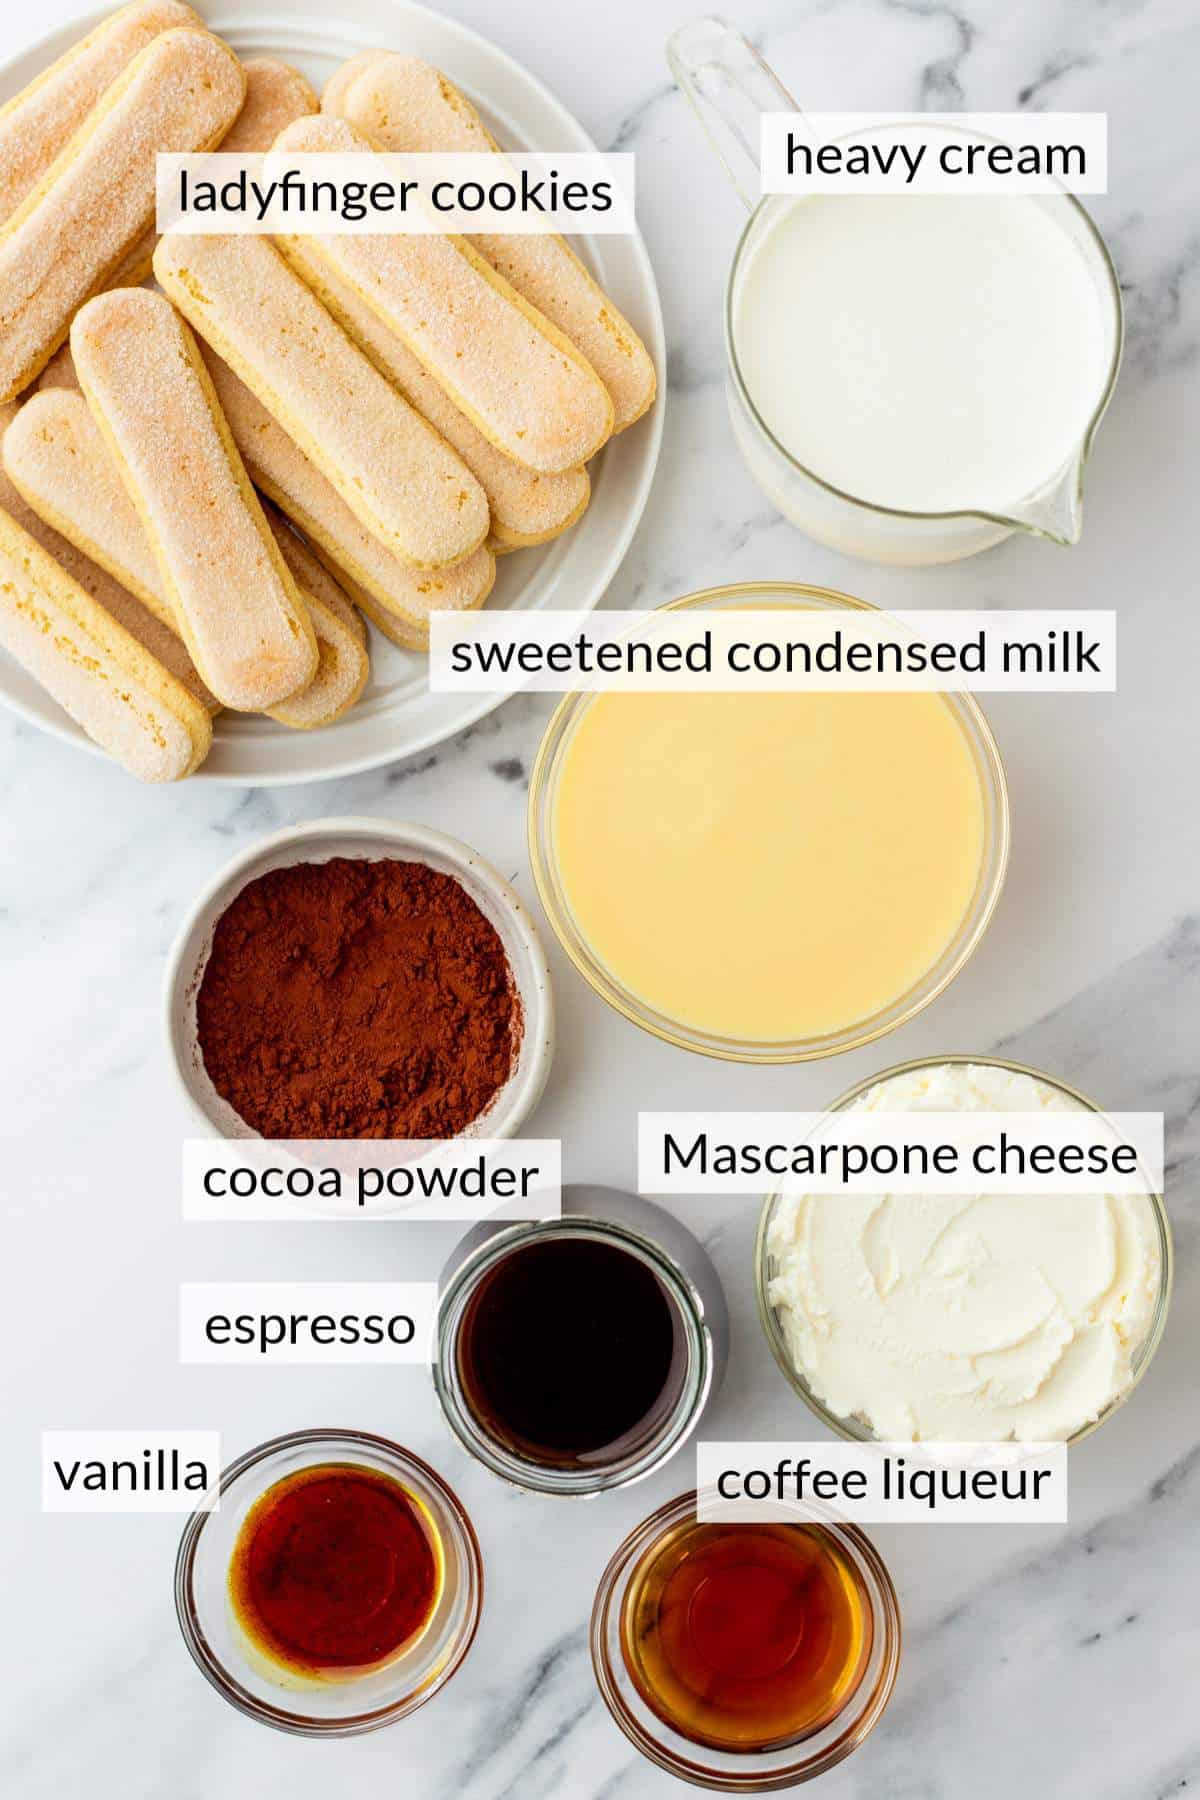
- Sweetened condensed milk: Brings sweetness and a creamy texture.
- Cold heavy cream: Whips into soft peaks to give the ice cream volume and lightness.
- Vanilla: Adds depth and warmth. Vanilla paste gives you those pretty specks, but vanilla extract works just as well.
- Mascarpone cheese: The heart of tiramisu flavor—rich, smooth, and slightly tangy. Let it soften at room temperature for easy mixing.
- Coffee liqueur: Optional, but adds a delicious kick and enhances the coffee flavor. Leave it out for an alcohol-free version.
- Ladyfinger cookies: These soak up the espresso and soften into cake-like bites.
- Brewed espresso or strong coffee: Gives the dessert its bold, classic coffee note. Make sure it’s completely cooled before using.
- Unsweetened cocoa powder: A final dusting adds a hint of bitterness to balance the sweetness and brings that iconic tiramisu finish.

Tiramisu Ice Cream (No Churn)
Ingredients
- 1 (14 oz) can sweetened condensed milk
- 2 cups cold heavy cream
- 2 teaspoons vanilla paste, or vanilla extract
- 1 cup mascarpone cheese, room temperature
- 2 tablespoons coffee liqueur, like Kahlua (optional)
- 1 package ladyfinger cookies, about 12–14
- ½ cup brewed espresso or strong coffee, cooled
- unsweetened cocoa powder, for dusting
EMAIL ME THE RECIPE!
Instructions
- In a large bowl, beat the cold heavy cream until stiff peaks form. Set aside.
- In another bowl, whisk together the sweetened condensed milk, mascarpone, vanilla paste, and coffee liqueur until smooth and creamy.
- Gently fold the whipped cream into the mascarpone mixture until fully combined and fluffy.
- Quickly dip each ladyfinger into the cooled espresso (1–2 seconds max), then chop or break into bite-sized chunks.
- Fold the coffee-soaked ladyfinger chunks into the ice cream base. Reserve a few for topping, if you’d like.
- Transfer the mixture to a loaf pan or container. Smooth the top, press in extra ladyfinger bits if saved, and dust generously with cocoa powder. Cover and freeze for at least 6 hours or overnight.
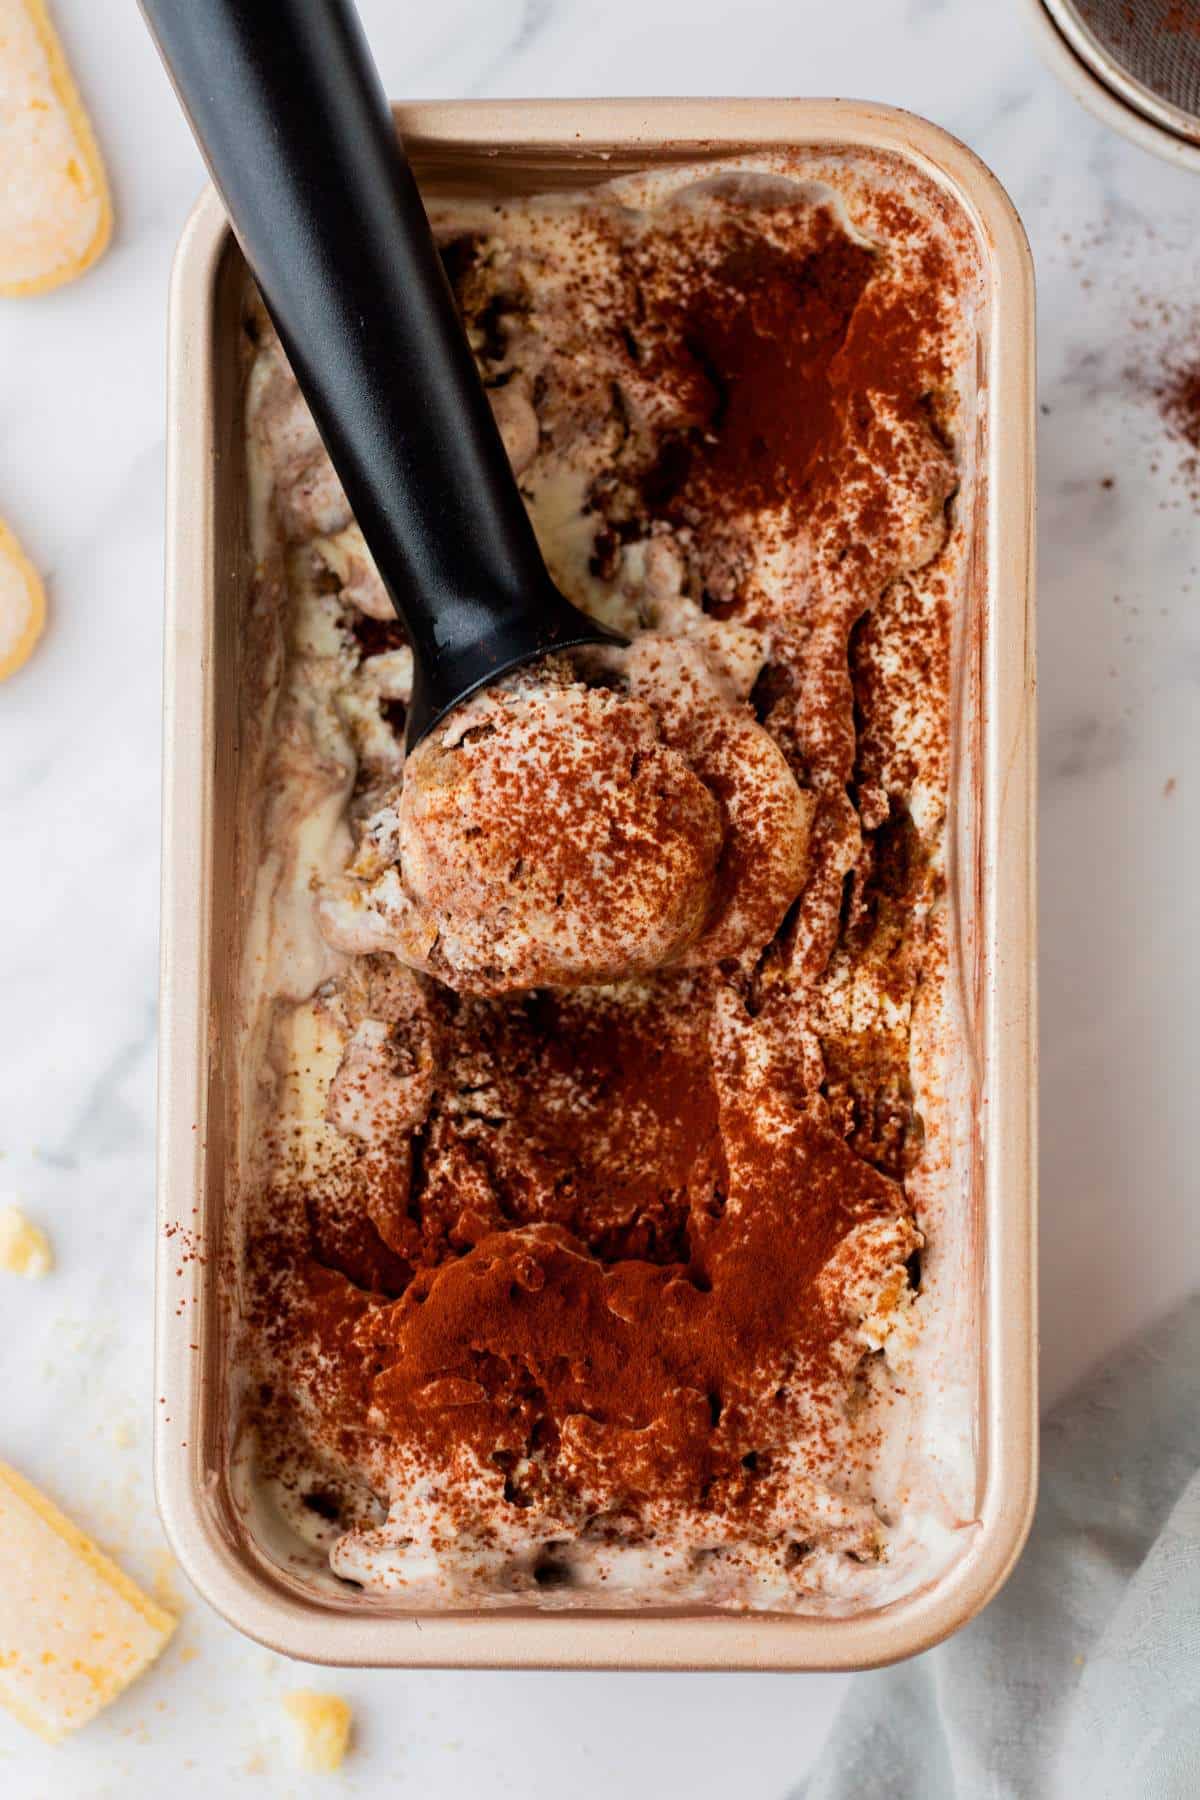
- Let sit at room temperature for 5–10 minutes before scooping. Dust with more cocoa or chocolate shavings if desired.
Notes
- Don’t soak the ladyfingers, just a quick dip in coffee (1–2 seconds) to avoid them getting mushy.
- You can skip the coffee liqueur for an alcohol-free version.
- I used vanilla paste for stronger flavor and pretty flecks, but vanilla extract works too.
- Mascarpone must be at room temperature to blend smoothly without lumps.
- Store for up to 2 weeks tightly covered in the fridge. It’ll stay scoopable and creamy.
Did you make this recipe?
Tag @kimscravings on Instagram and be sure to subscribe to our mailing list to receive more healthy and delicious recipes straight to your inbox!
How to Make Tiramisu Ice Cream
This is one of those recipes that looks impressive but is secretly so easy. A few simple steps and you’ll have a freezer full of creamy, dreamy homemade tiramisu ice cream. No ice cream machine needed!
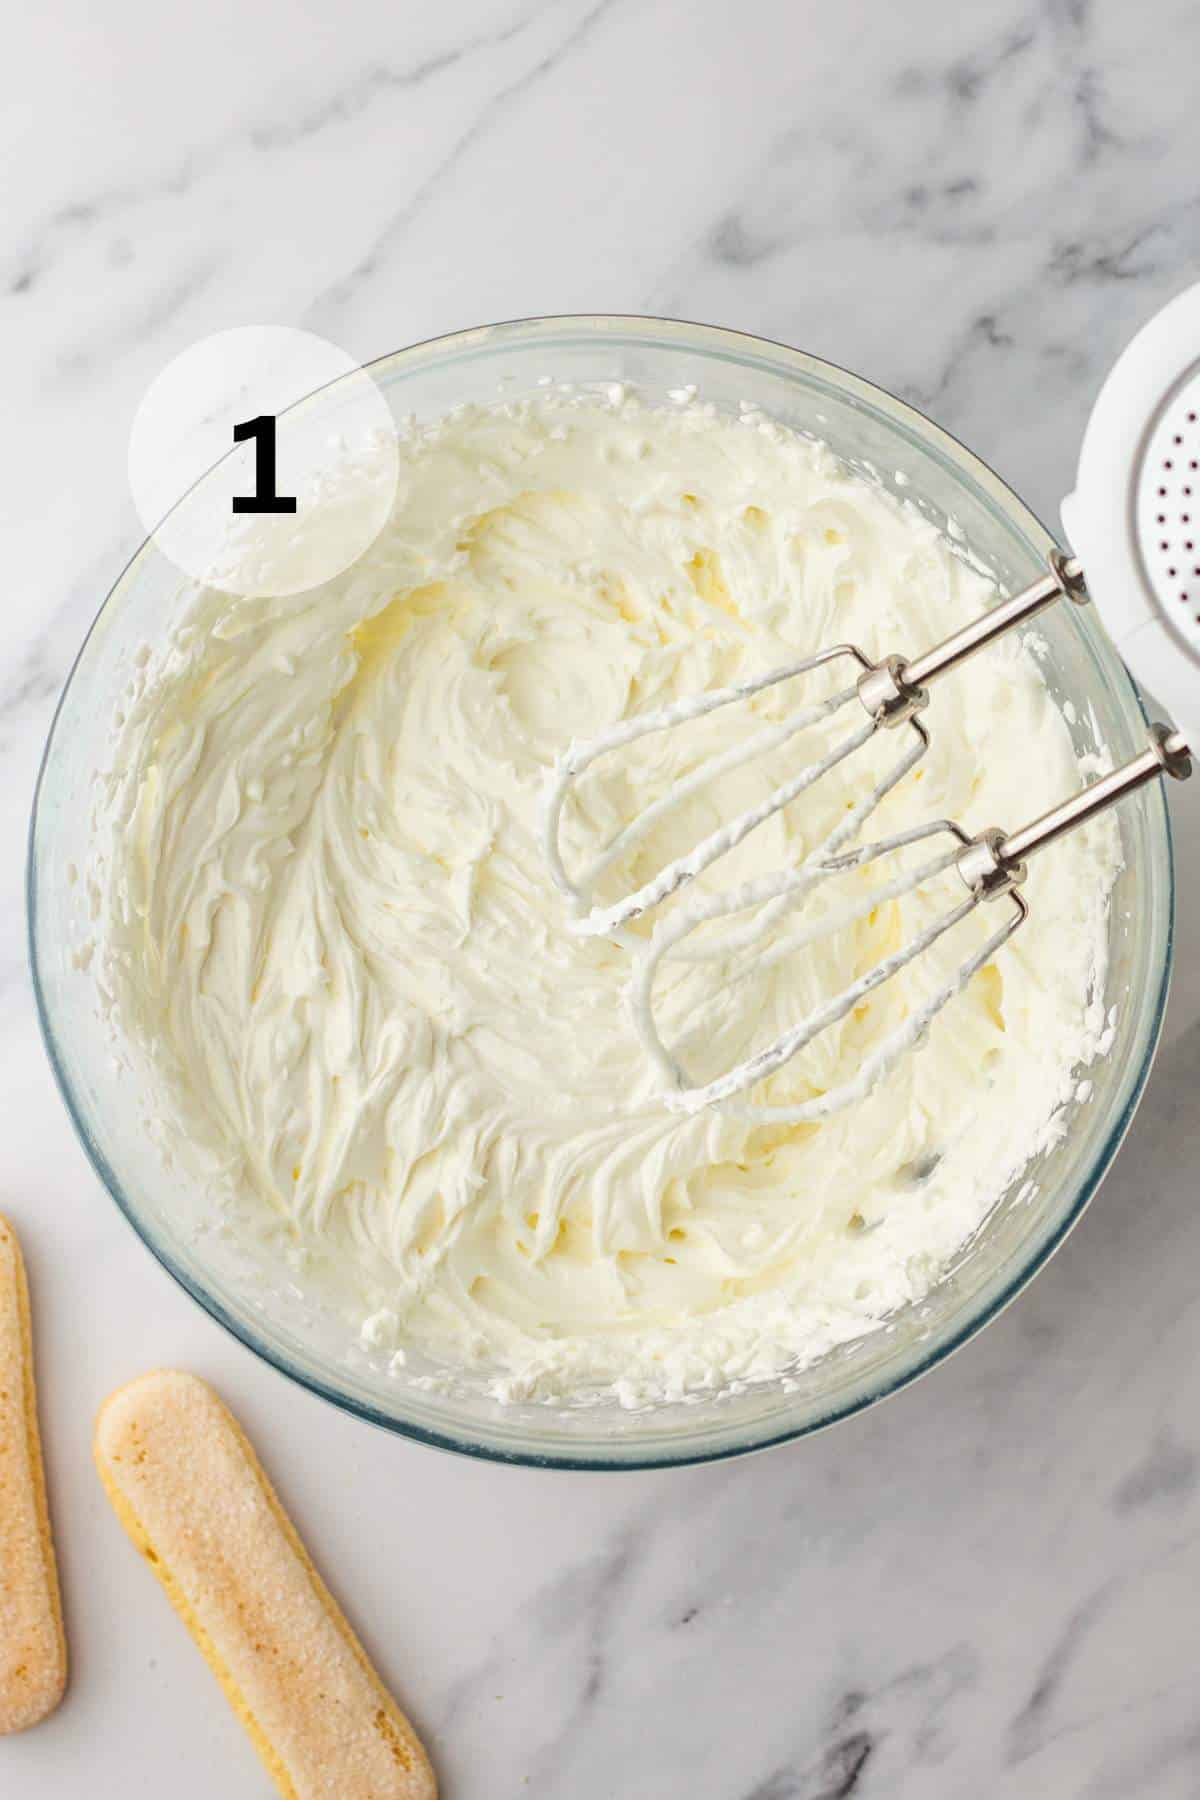
Step 1. In a large bowl, beat the cold heavy whipping cream until stiff peaks form. Set aside.
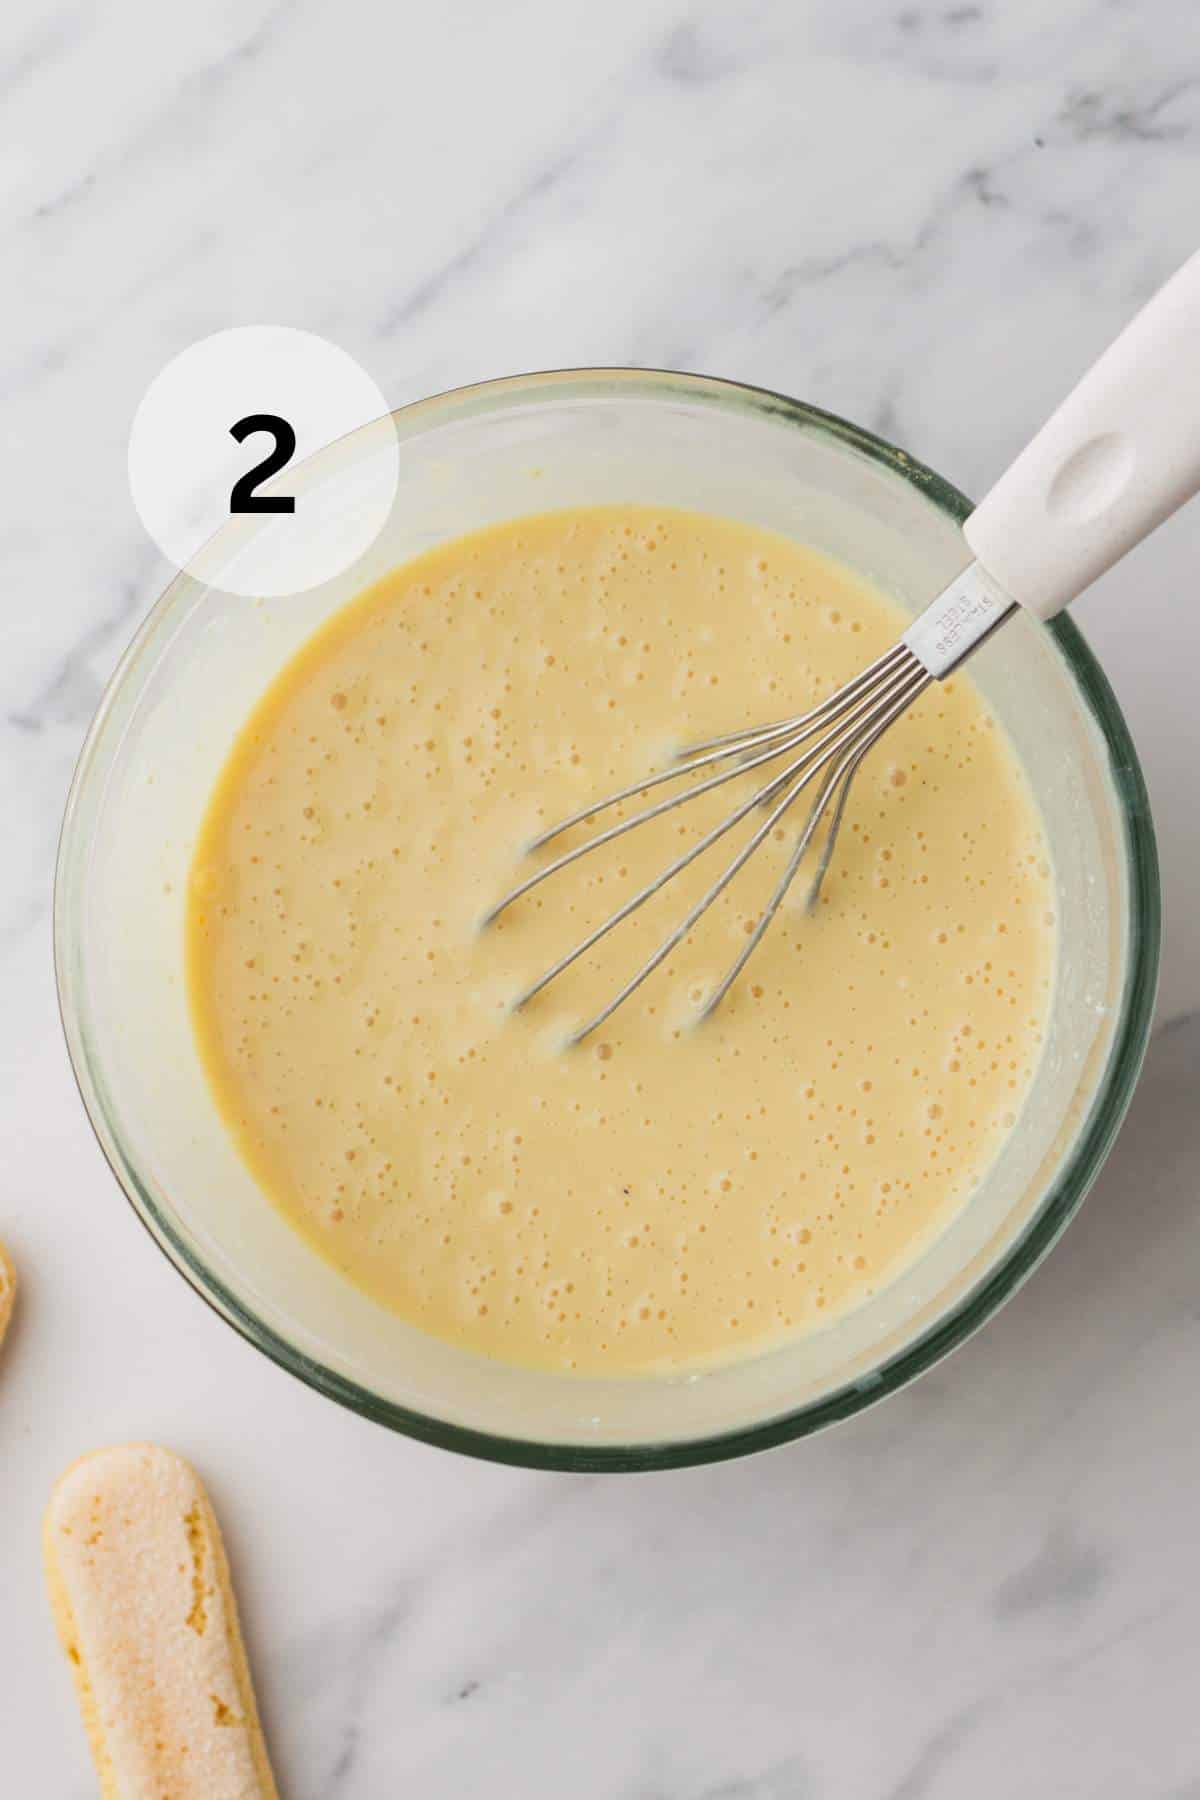
Step 2. In another bowl, whisk together the sweetened condensed milk, mascarpone, vanilla paste, and coffee liqueur until smooth and creamy.
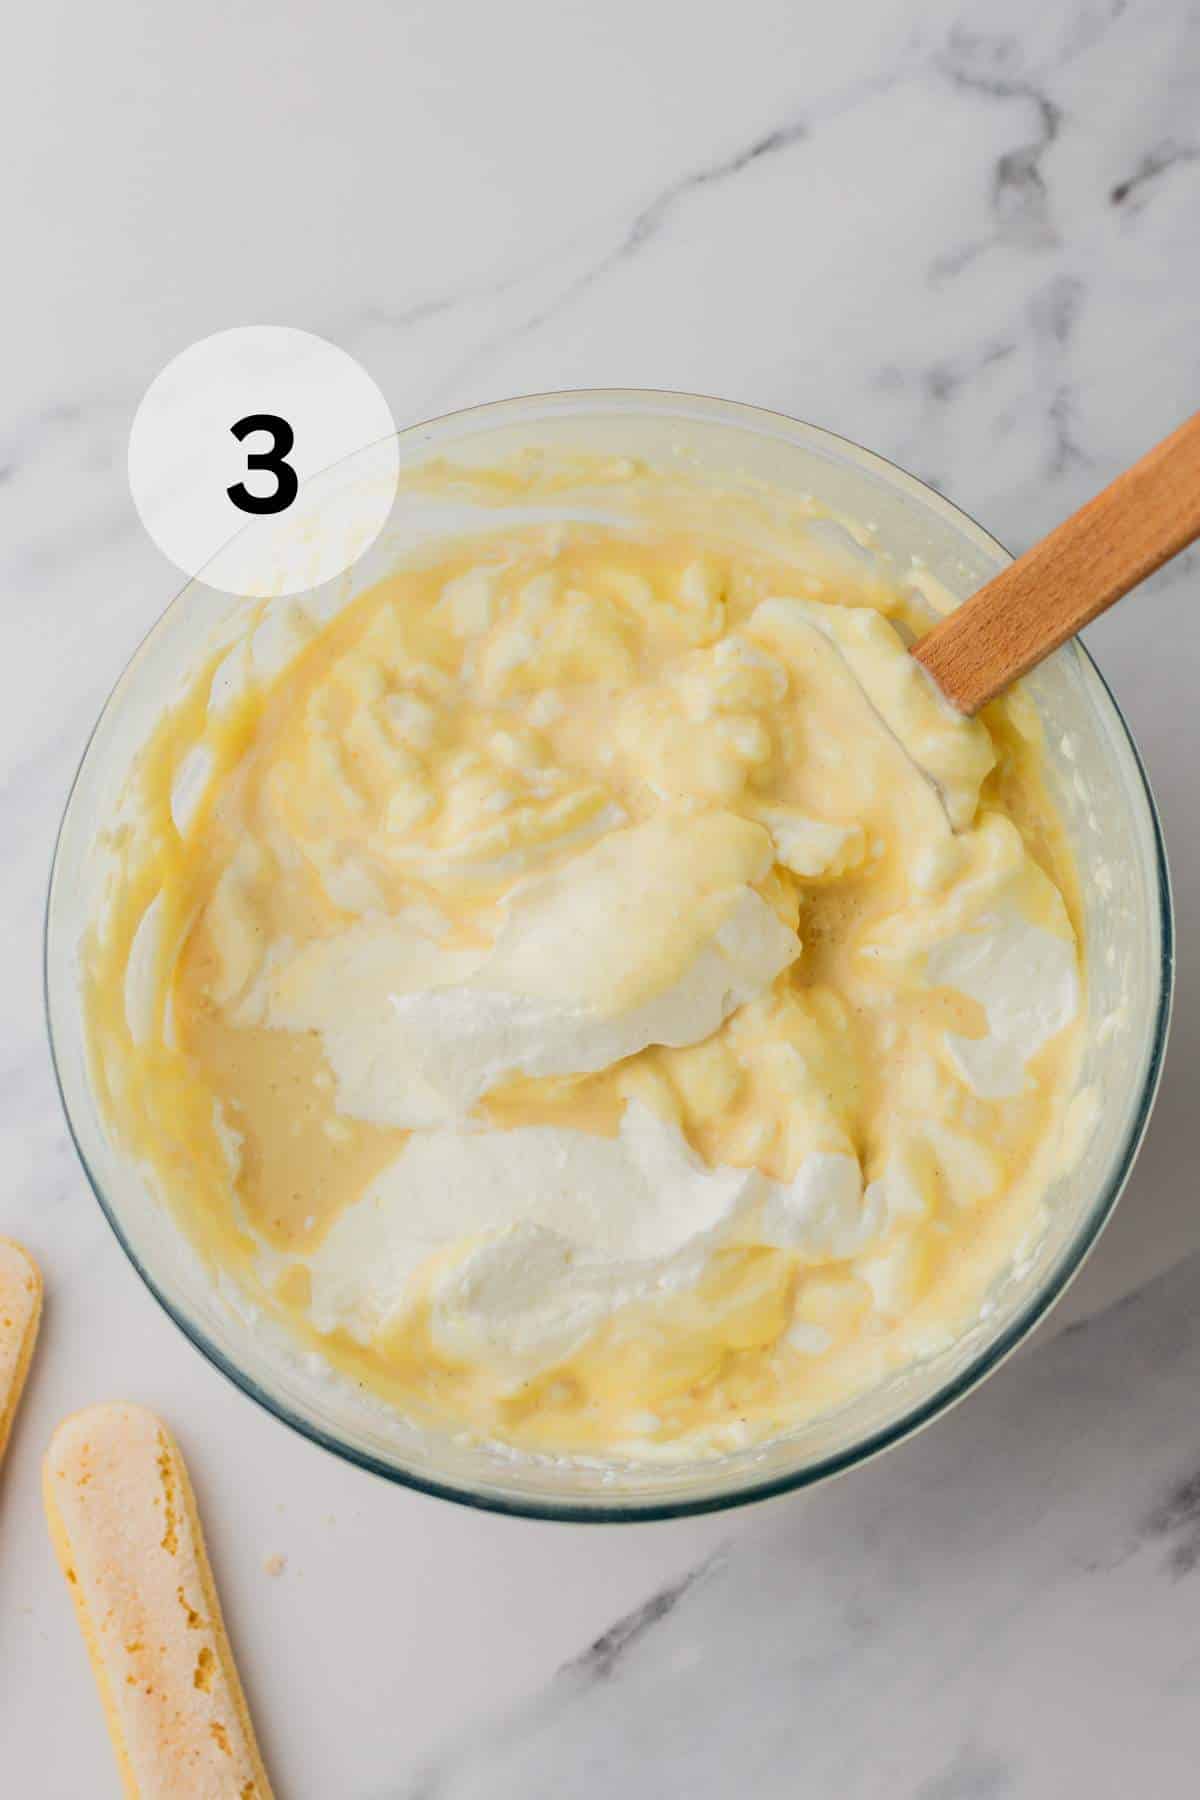
Step 3. Gently fold the whipped cream into the mascarpone mixture until fully combined and fluffy.
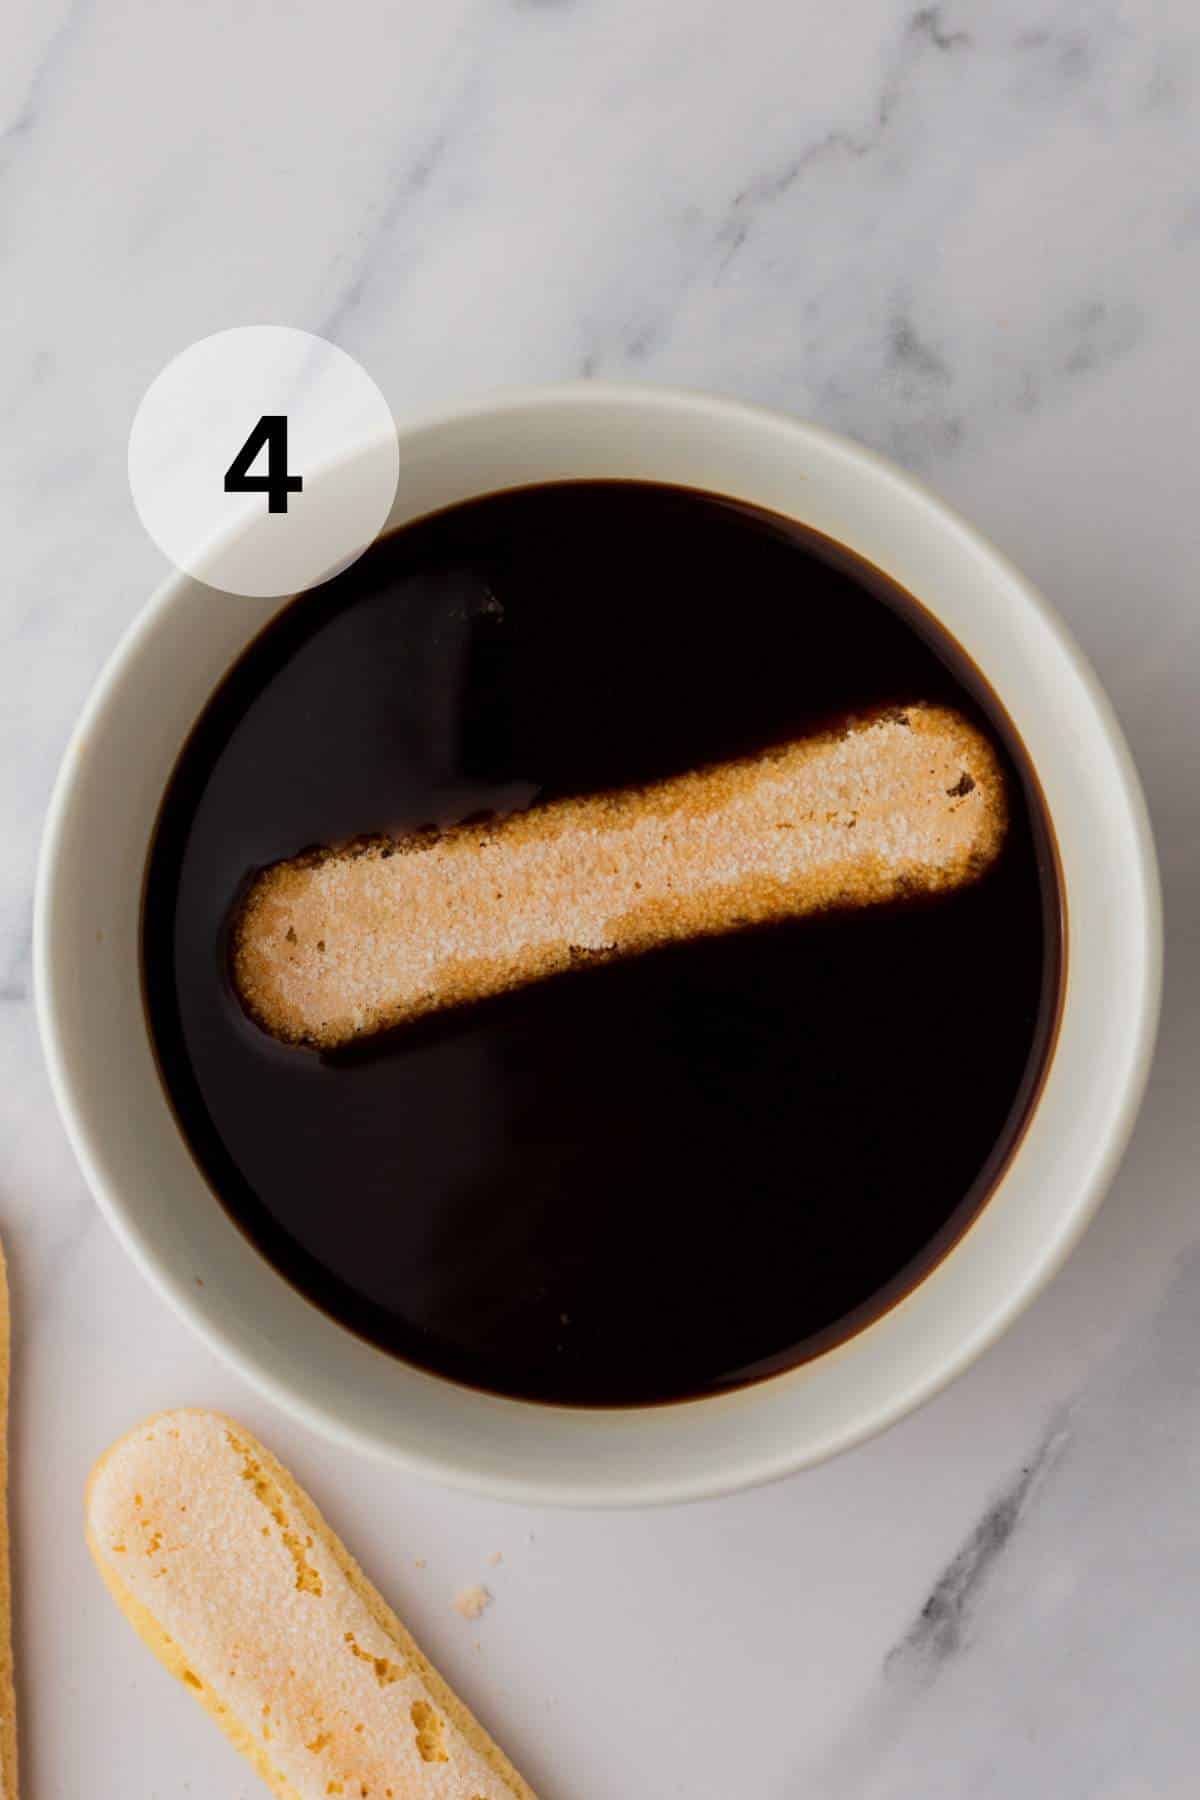
Step 4. Quickly dip each ladyfinger into the cooled espresso (1–2 seconds max), then chop or break into bite-sized chunks.
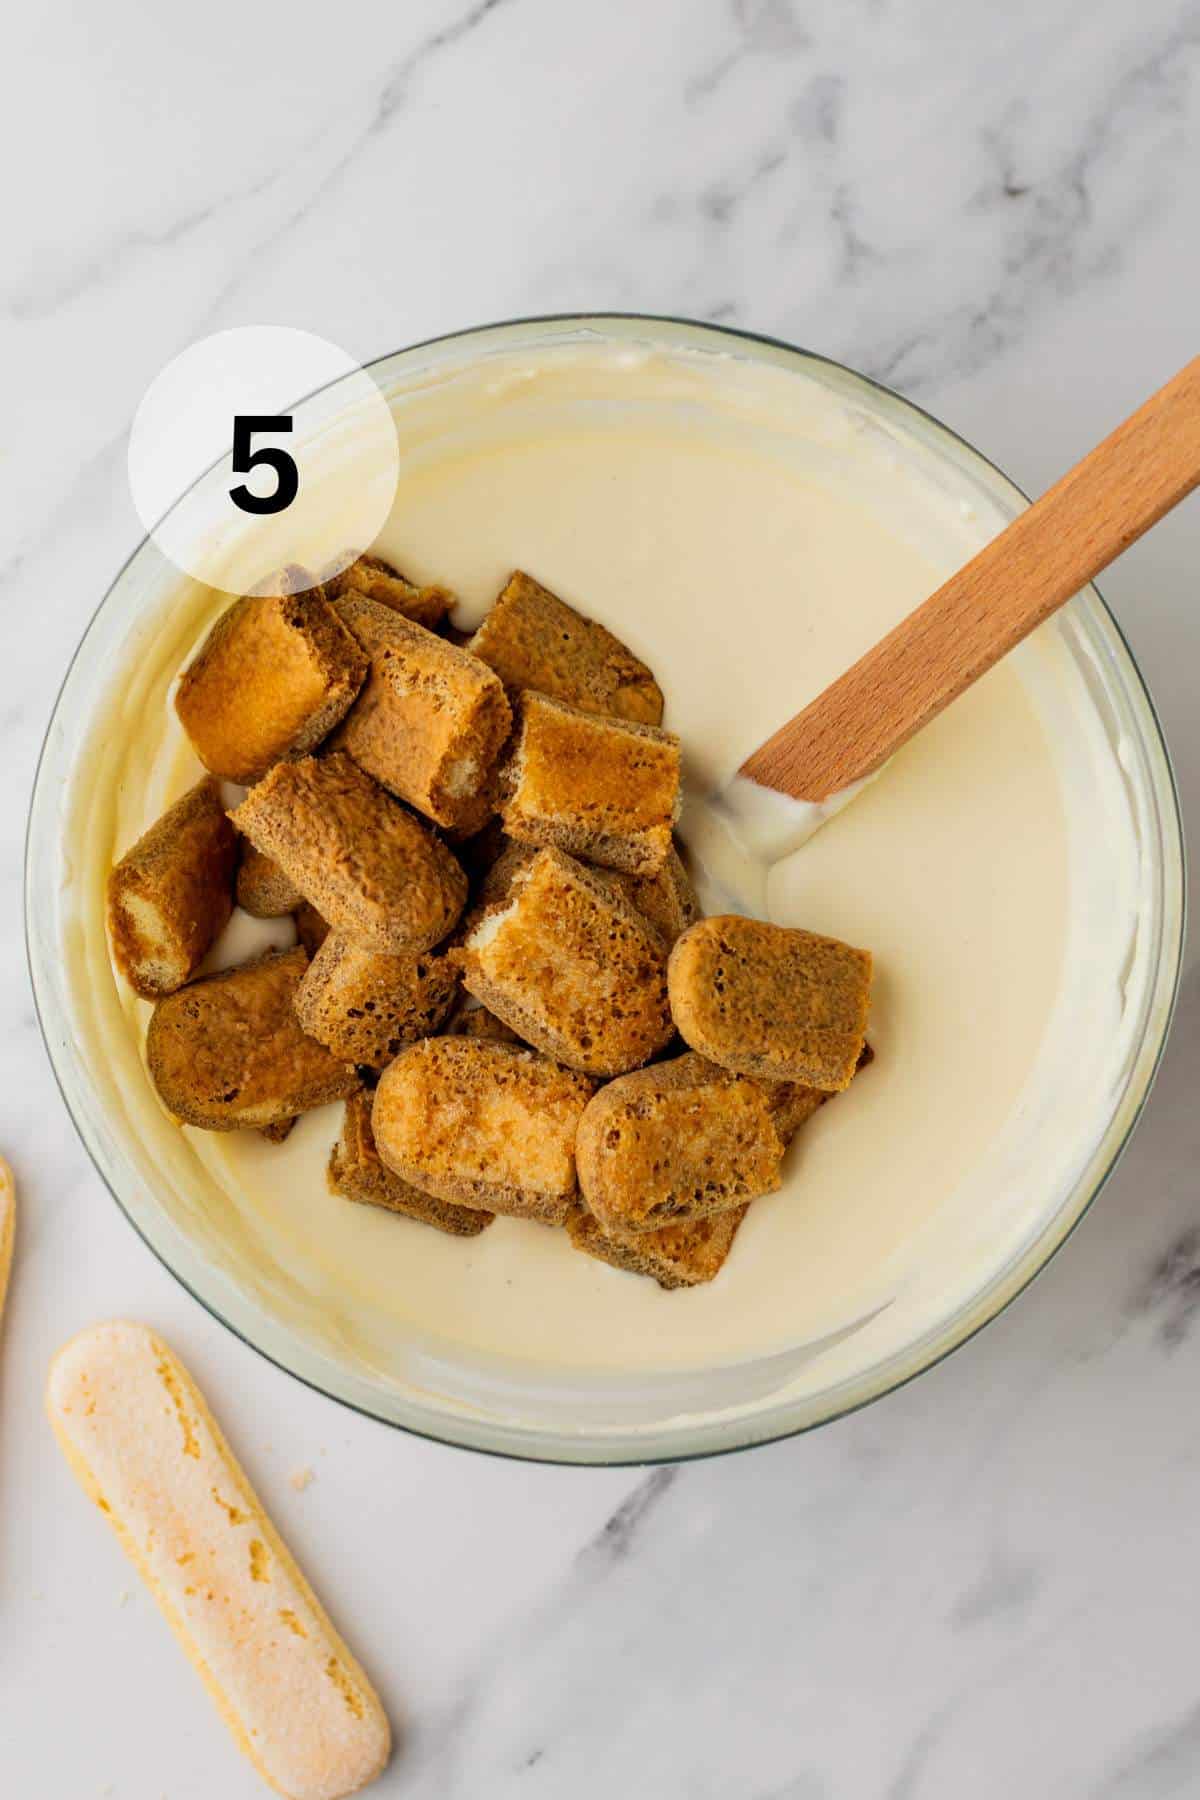
Step 5. Fold the coffee-soaked ladyfinger chunks into the ice cream base. Reserve a few for topping, if you’d like.
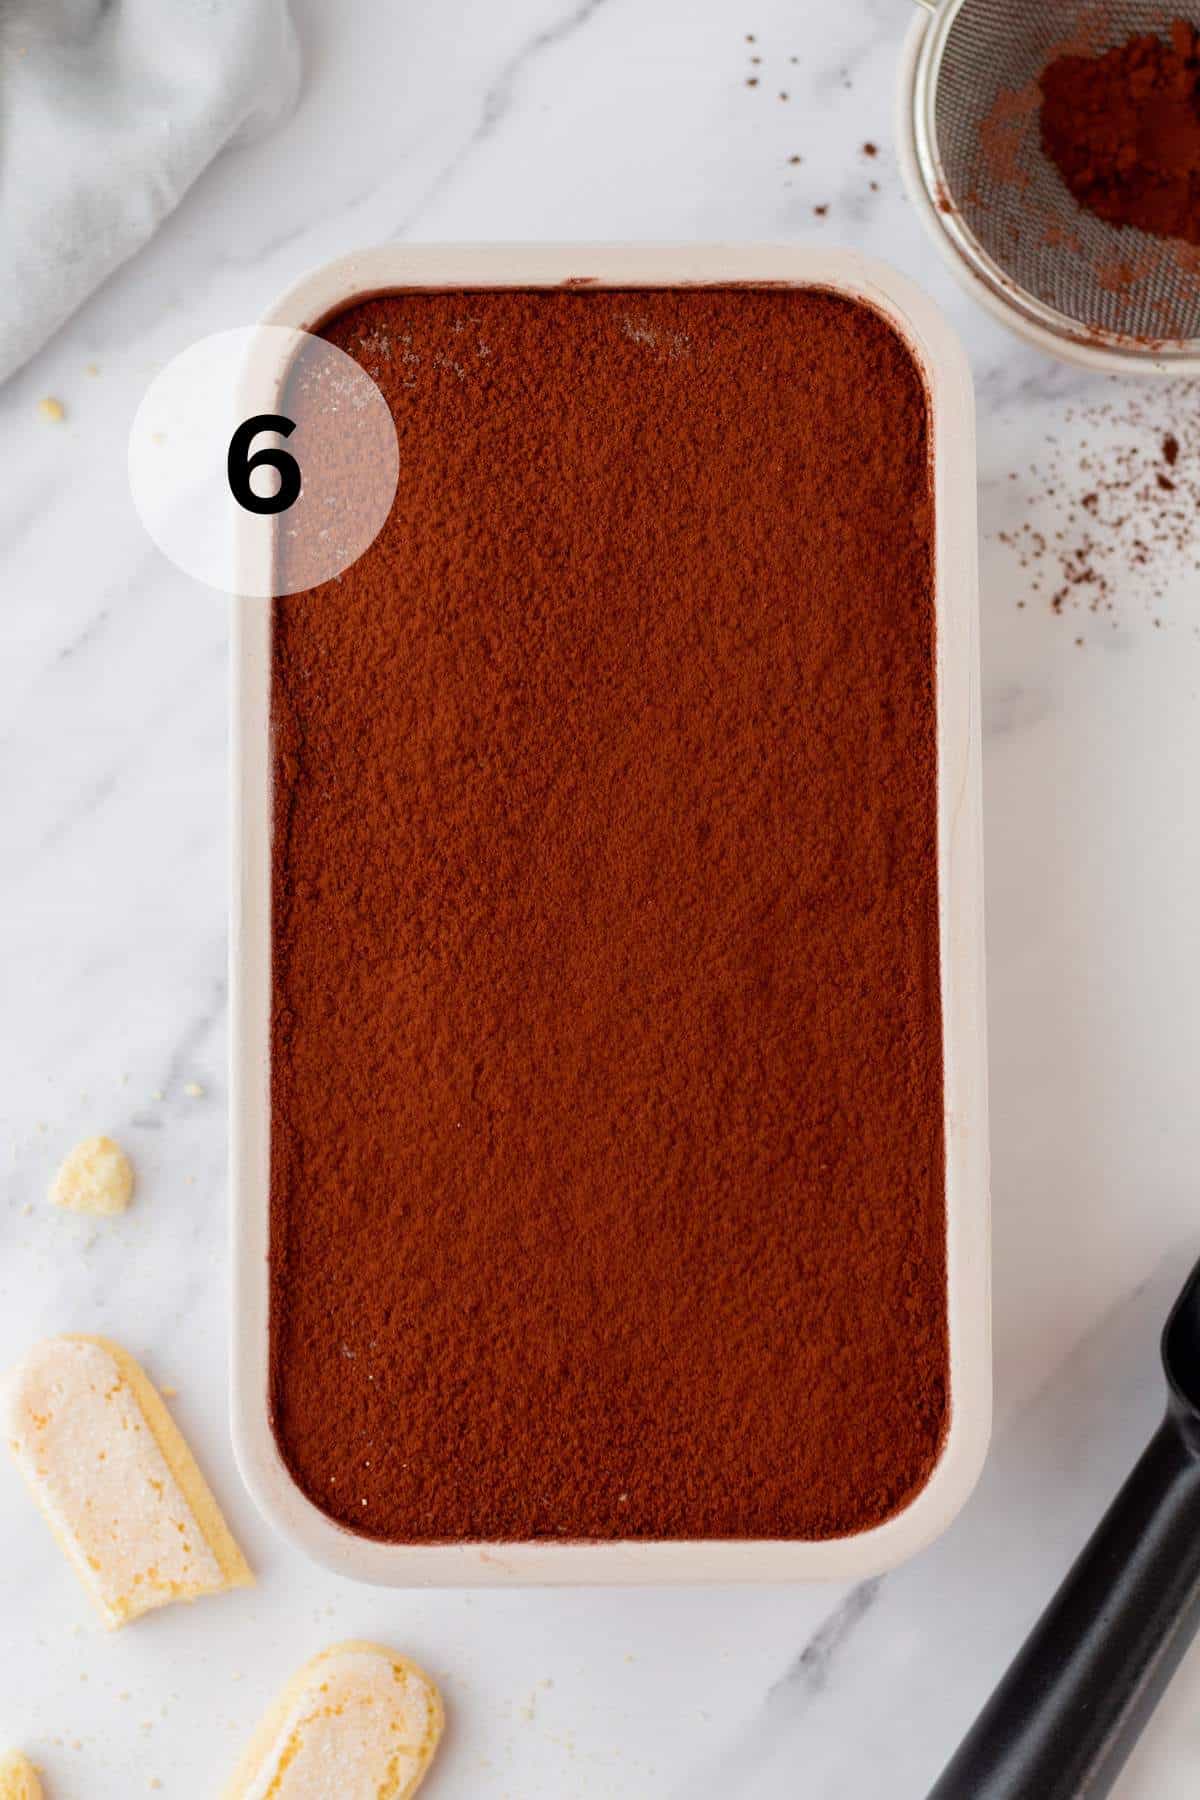
Step 6. Transfer the mixture to a loaf pan or container. Smooth the top, press in extra ladyfinger bits if saved, and dust generously with cocoa powder. Cover and freeze for at least 6 hours or overnight.
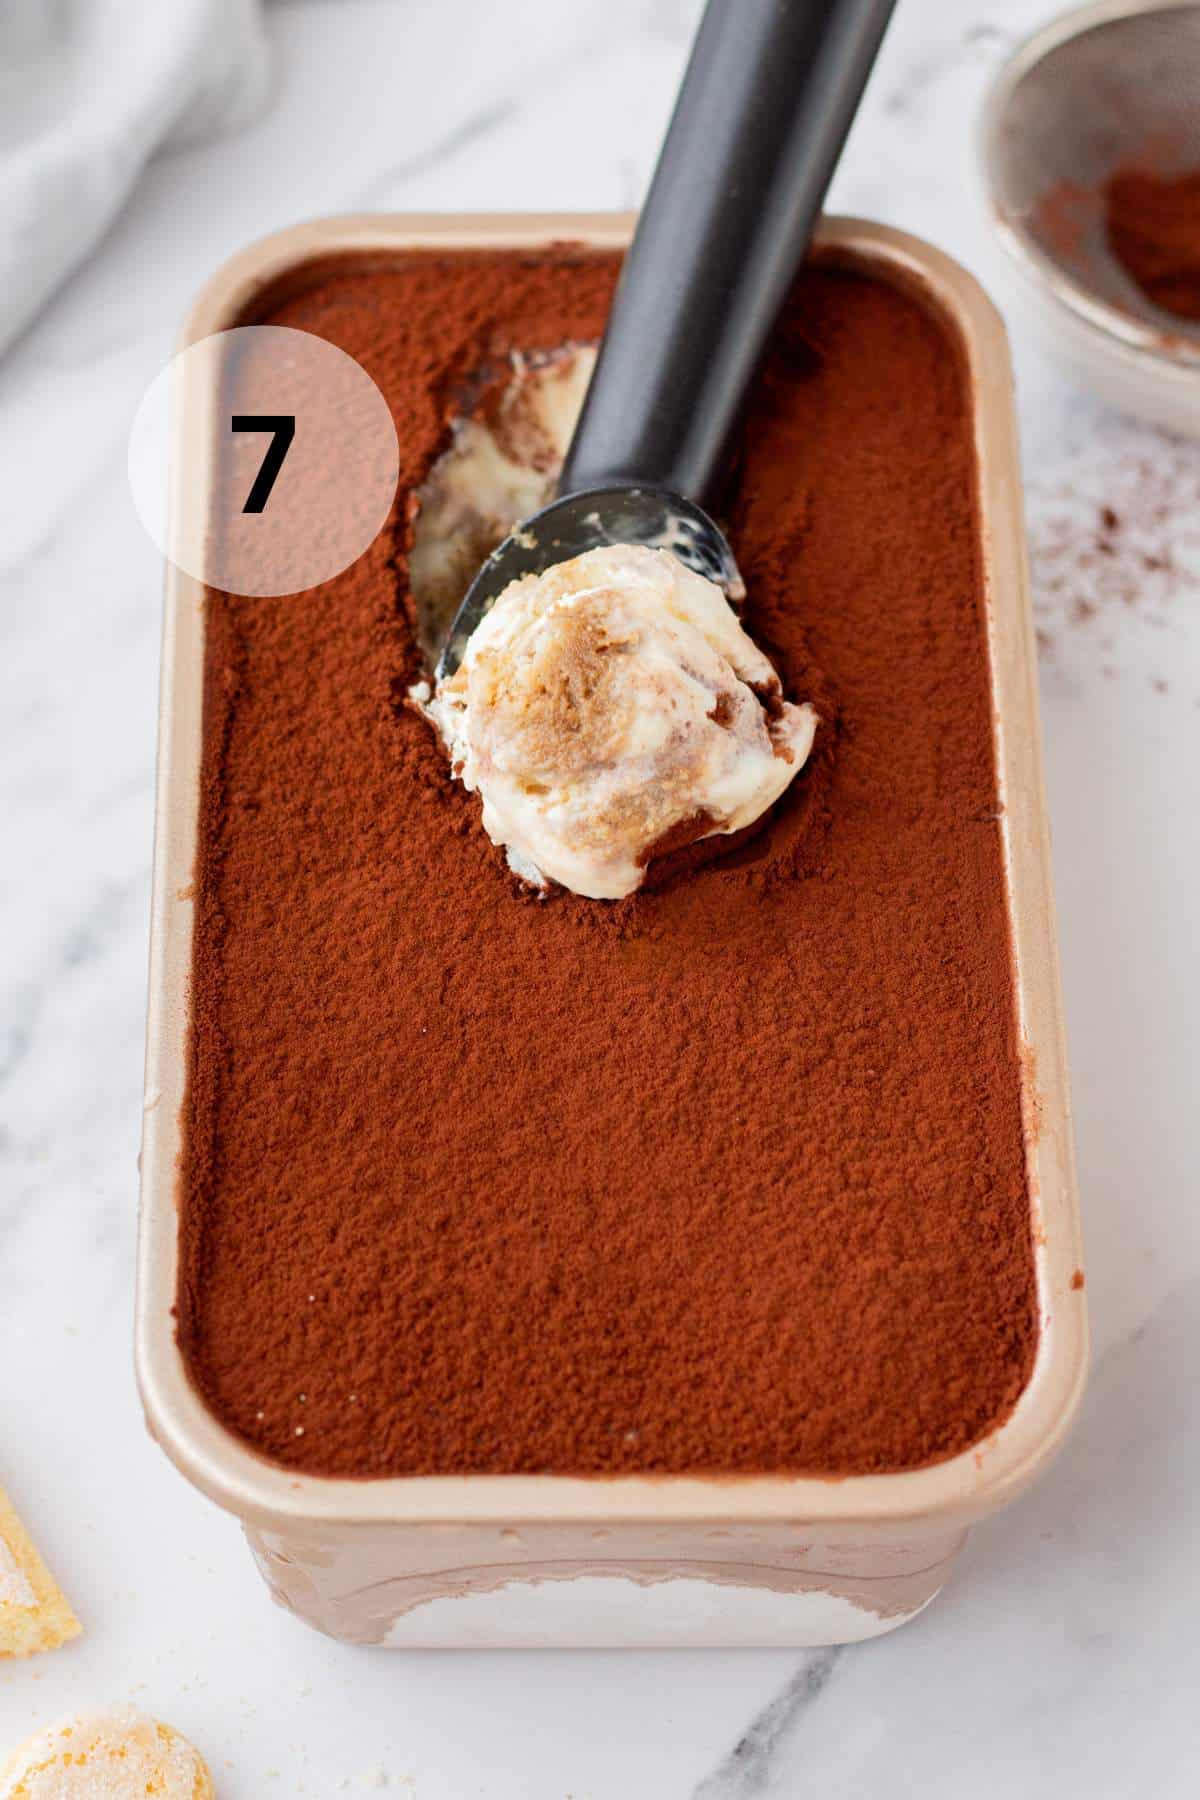
Step 7. Let sit at room temperature for 5–10 minutes before scooping. Dust with more cocoa or chocolate shavings if desired.
Helpful tips
- Use room temperature mascarpone: This helps it blend smoothly into the mixture without lumps.
- Chill your mixing bowl and beaters: Cold equipment helps the cream whip faster and stay stable.
- Don’t skip the coffee soak: Quickly dipping the ladyfingers in espresso or strong coffee gives that signature tiramisu flavor. Don’t let them sit too long, or they’ll get soggy.
- Let it soften before scooping: Like most no-churn ice creams, this is firm straight from the freezer. Let it sit at room temp for 5–10 minutes before serving.
Frequently asked questions
Yes, you can skip it to keep this recipe alcohol-free. Although, the small amount adds depth of flavor and doesn’t make the ice cream taste boozy.
At least 6 hours, but overnight is best for a firm, scoopable texture.
Store this tightly covered or in an airtight container in the freezer and it will stay scoopable and creamy for up to 2 weeks.
More delicious summer treats
Stay cool all season long with these other refreshing and delicious summertime picks.


If you try this recipe, let me know! Leave a comment and if your family loves it as much as mine does, be sure to give it a five star ⭐️ rating! Also, tag @kimscravings on Instagram with a picture of your creation. Be sure to subscribe to our mailing list to receive more healthy delicious recipes straight to your inbox.
This was incredibly delicious and easy to make and very refreshing! I will definitely make it again this summer!