Valentine’s Day Cookies
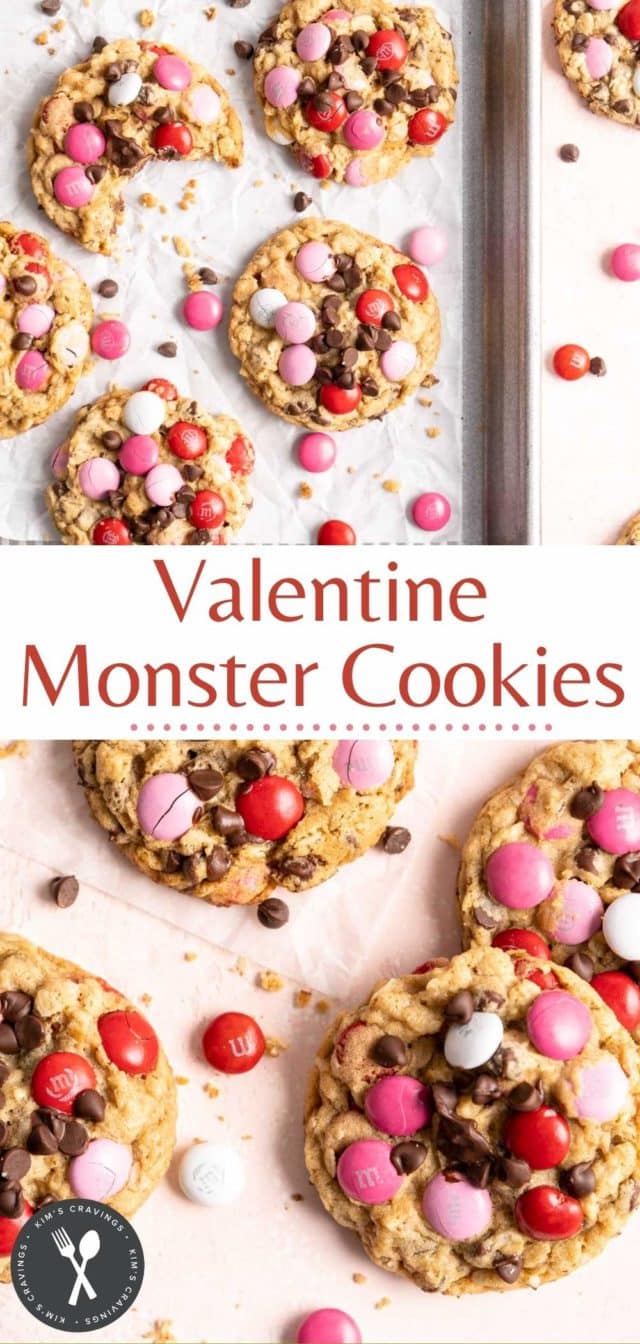

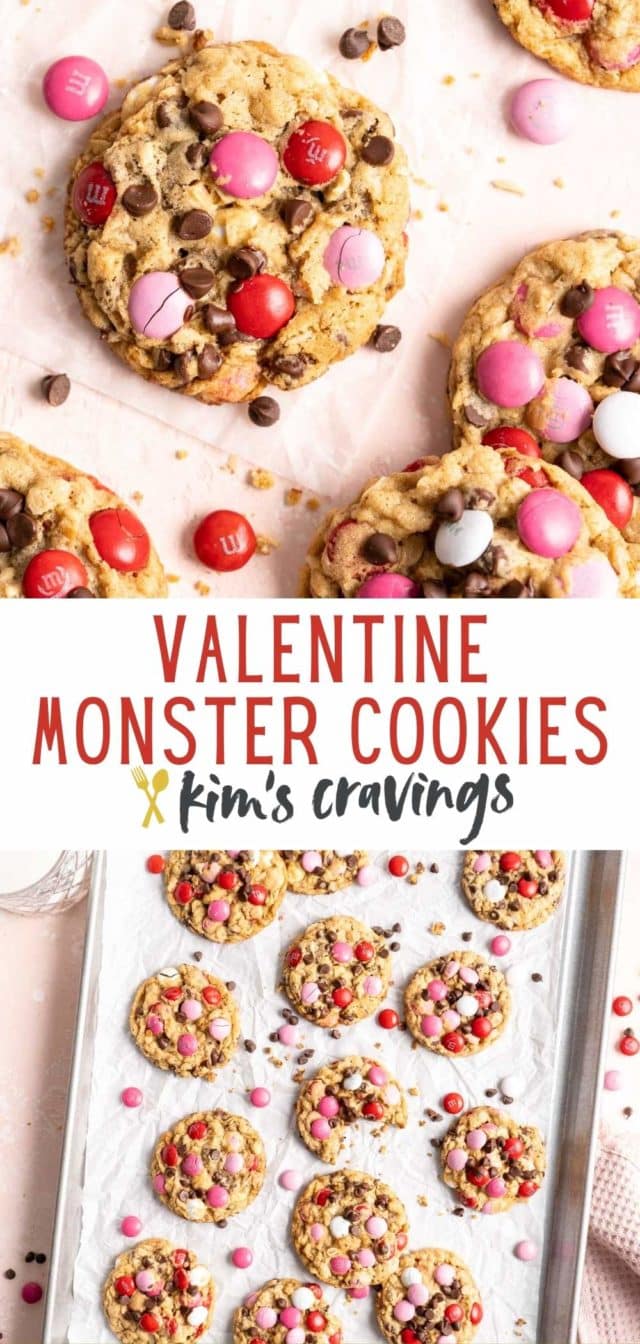
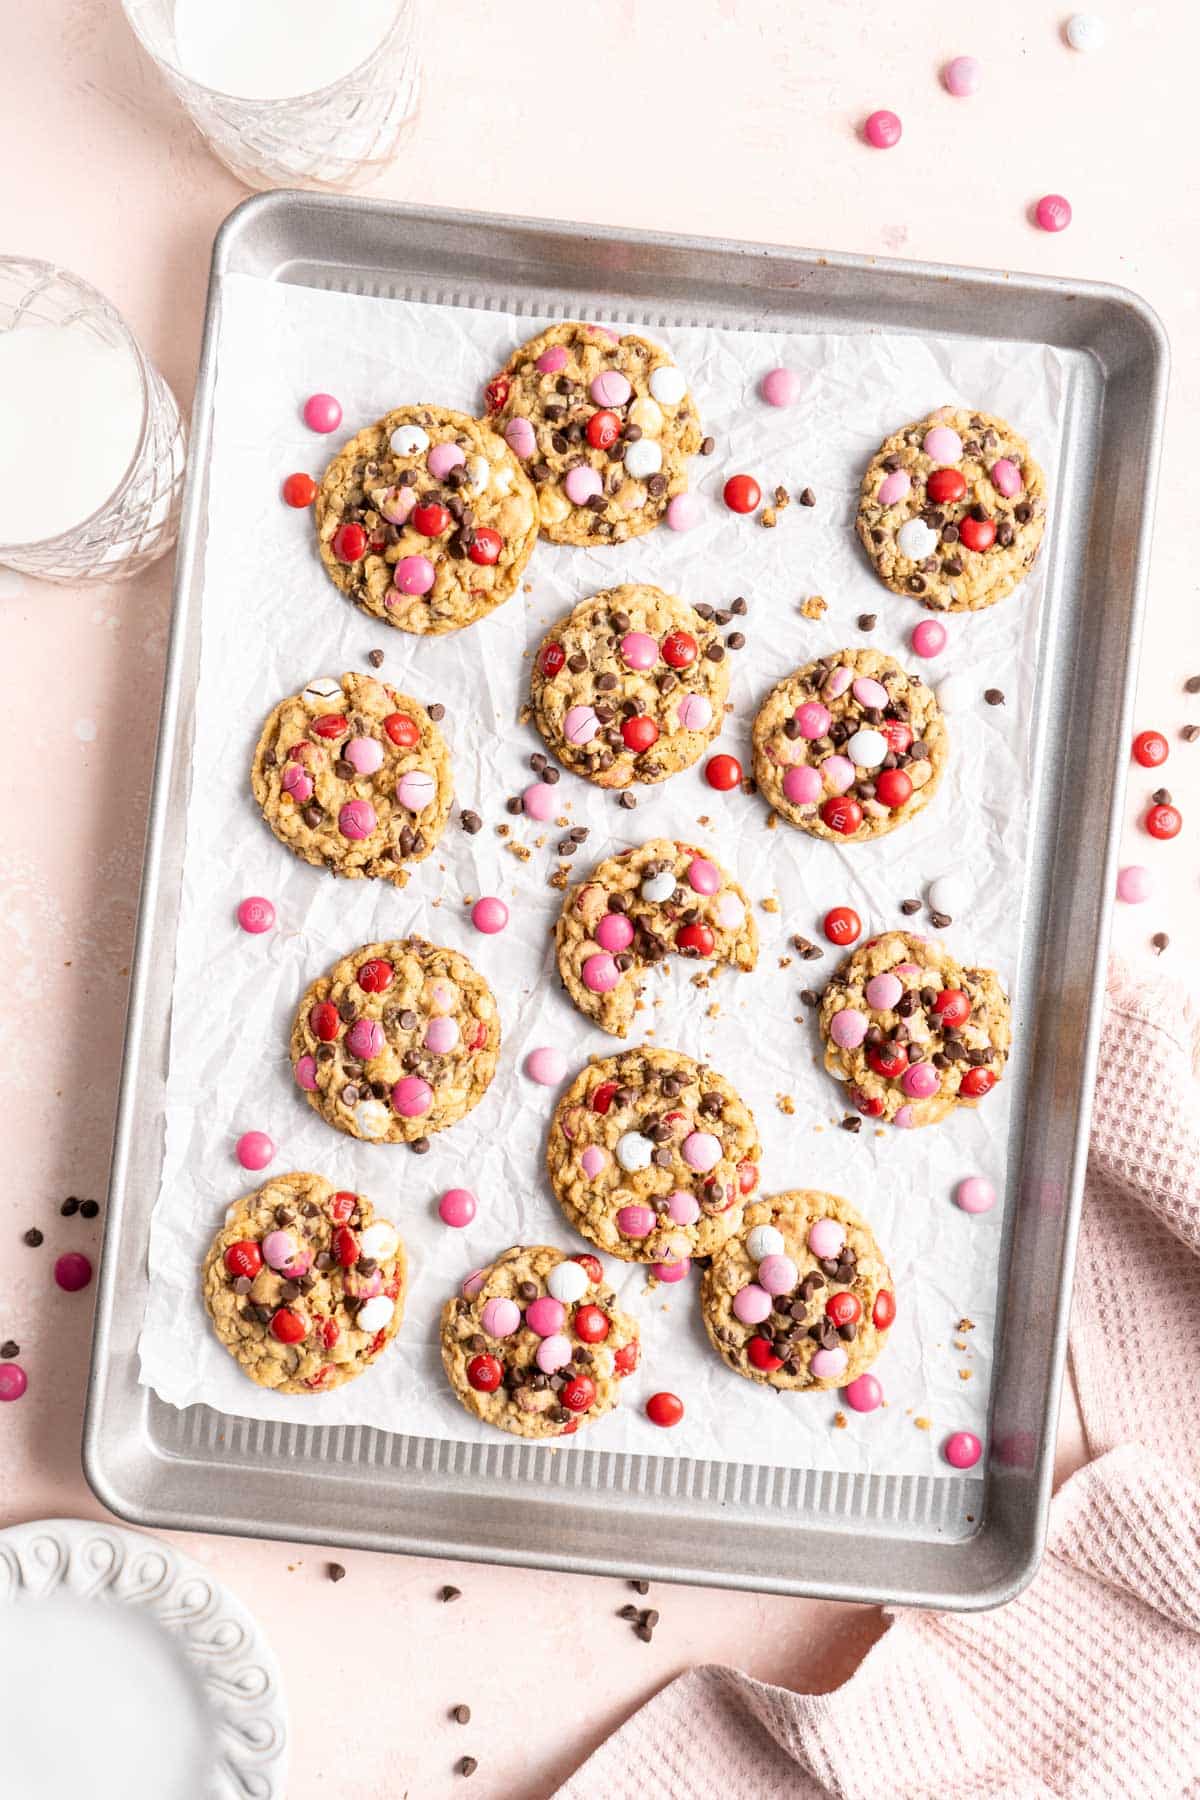
Soft and chewy Valentine’s Day Cookies are classic monster cookies made with peanut butter, oats, chocolate chips and red, pink and white M&M’s. An easy, delicious cookie recipe that’s perfect for parties, after school snacks and gifts for friends and teachers.
EMAIL ME THE RECIPE!
In search of Valentine’s Day Cookies? The holiday of love will be here before we know it, and at my house we’re celebrating with these incredibly delicious, yet easy to make Valentine’s monster cookies! I’ve taken homemade peanut butter oatmeal cookies and loaded them with mini chocolate chips and festive red, pink and white M&M’s. These are great for classroom favors or to give to friends and family who deserve something a little sweet.
Monster cookies are one of my all-time favs! And this version is the best I’ve ever tasted. I find that some tend to be dry or hard, and these come out perfectly soft and chewy every time.
Hi Kim! Another tasty recipe! I was skeptical about only 3/4 c flour in a cookie recipe but they came out better than expected! Love the oatmeal and peanut butter combo!
— Nicole
Why you’ll love this recipe
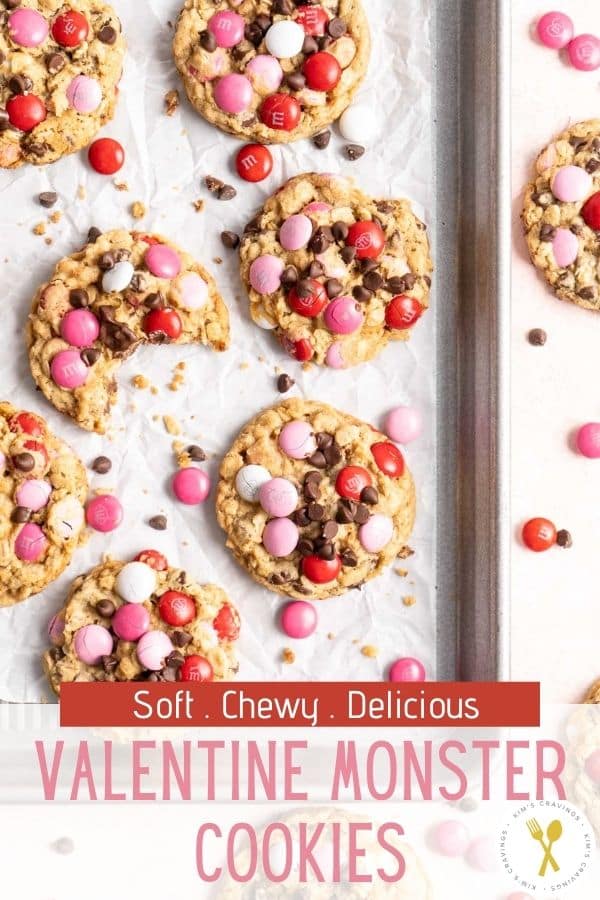
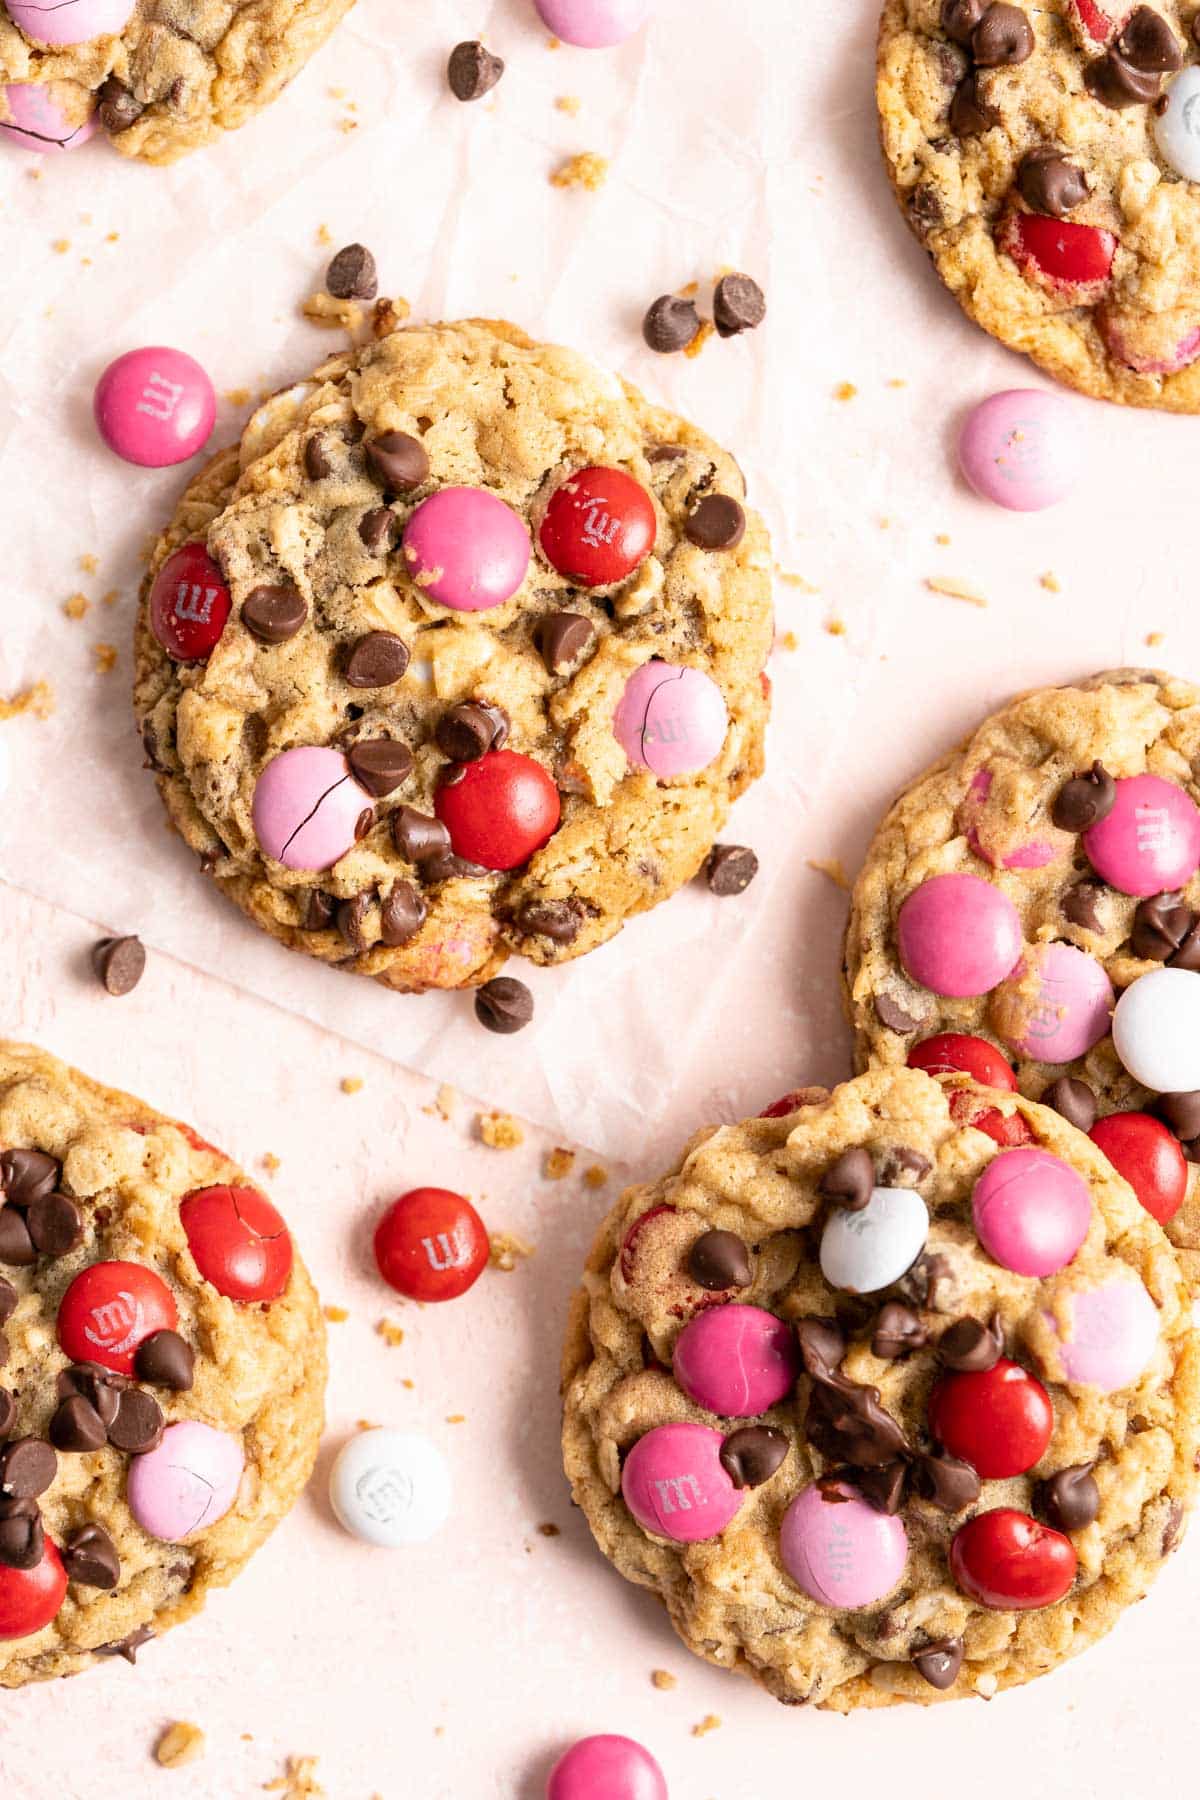
- Delicious flavor. The combination of sweet chocolate chips with hearty rolled oats and a bit of crunch from the M&M’s is insanely delicious! These are addicting from the very first bite!
- The best texture! Monster cookies are slightly crisp on the edges and soft and chewy on the inside. Plus, they have a delightful chocolatey crunch from the candy.
- Perfect for sharing. Everyone loves these loaded cookies, and they make the perfect Valentine’s Day gift!
Ingredients needed
This Valentine’s cookie recipe combines all the basic monster cookie ingredients to create the perfect thick & chewy base! Here’s everything you’ll need:
- Butter. We recommend using unsalted butter, so that you have control over the amount of salt going into the recipe.
- Brown sugar. Use light or dark brown sugar to add sweetness and make these chewy and moist.
- Peanut butter. While it’s great for cooking and eating, natural style peanut butter isn’t ideal for this recipe. The cookies will turn out too dry and crumbly. I do not recommend crunchy style peanut butter for that same reason. Use processed creamy peanut butter such as Jif or Skippy.
- Egg. One large egg will add structure, stability, and richness.
- Vanilla. For flavor depth and a touch of sweetness. Use pure vanilla extract, not imitation.
- All-purpose flour. Flour provides structure and depending on its ratio to the other ingredients, will make the cookies chewy, fluffy, cake-y, crisp, or crumbly. Today’s ratio of ingredients makes a soft, tender cookie with the perfect amount of chewiness.
- Cornstarch. This is my “secret” ingredient to add thickness and make them ultra soft.
- Baking powder & baking soda. For the perfect rise and chewy texture.
- Salt. A small amount of salt is VERY important to balance the sweetness and enhance other flavors.
- Oats. Old-fashioned rolled oats provide lots of great texture.
- Semi-sweet chocolate chips. These call for semi-sweet chocolate chips. Mini chips are great because they disperse better throughout the dough, but feel free to use standard-sized or chunks. My favorite brand for chocolate chips is Ghirardelli.
- M&M candies. We used the regular milk chocolate M&M’s. However, feel free to try different flavors and change up the colors for another holiday!
How to make this recipe
Making fun and festive Valentine’s Day cookies is so simple, and these turn out so ridiculously delicious! Here’s how they come together:
Please see the recipe card for the full, printable recipe with all of the details.
- Prep. Preheat the oven and line your baking pans with parchment paper or a Silpat mat or other similar silicone baking mat.
- Wet ingredients. In a large bowl, using a stand mixer or a hand mixer with the paddle attachment, cream together the butter, brown sugar and peanut butter on medium to high speed until light and fluffy, about 3 minutes. Mix in the egg and vanilla, scrapping down the sides of the bowl as needed.
- Dry ingredients. In a separate medium bowl, whisk to combine the flour, baking soda, cornstarch, baking powder, and salt.
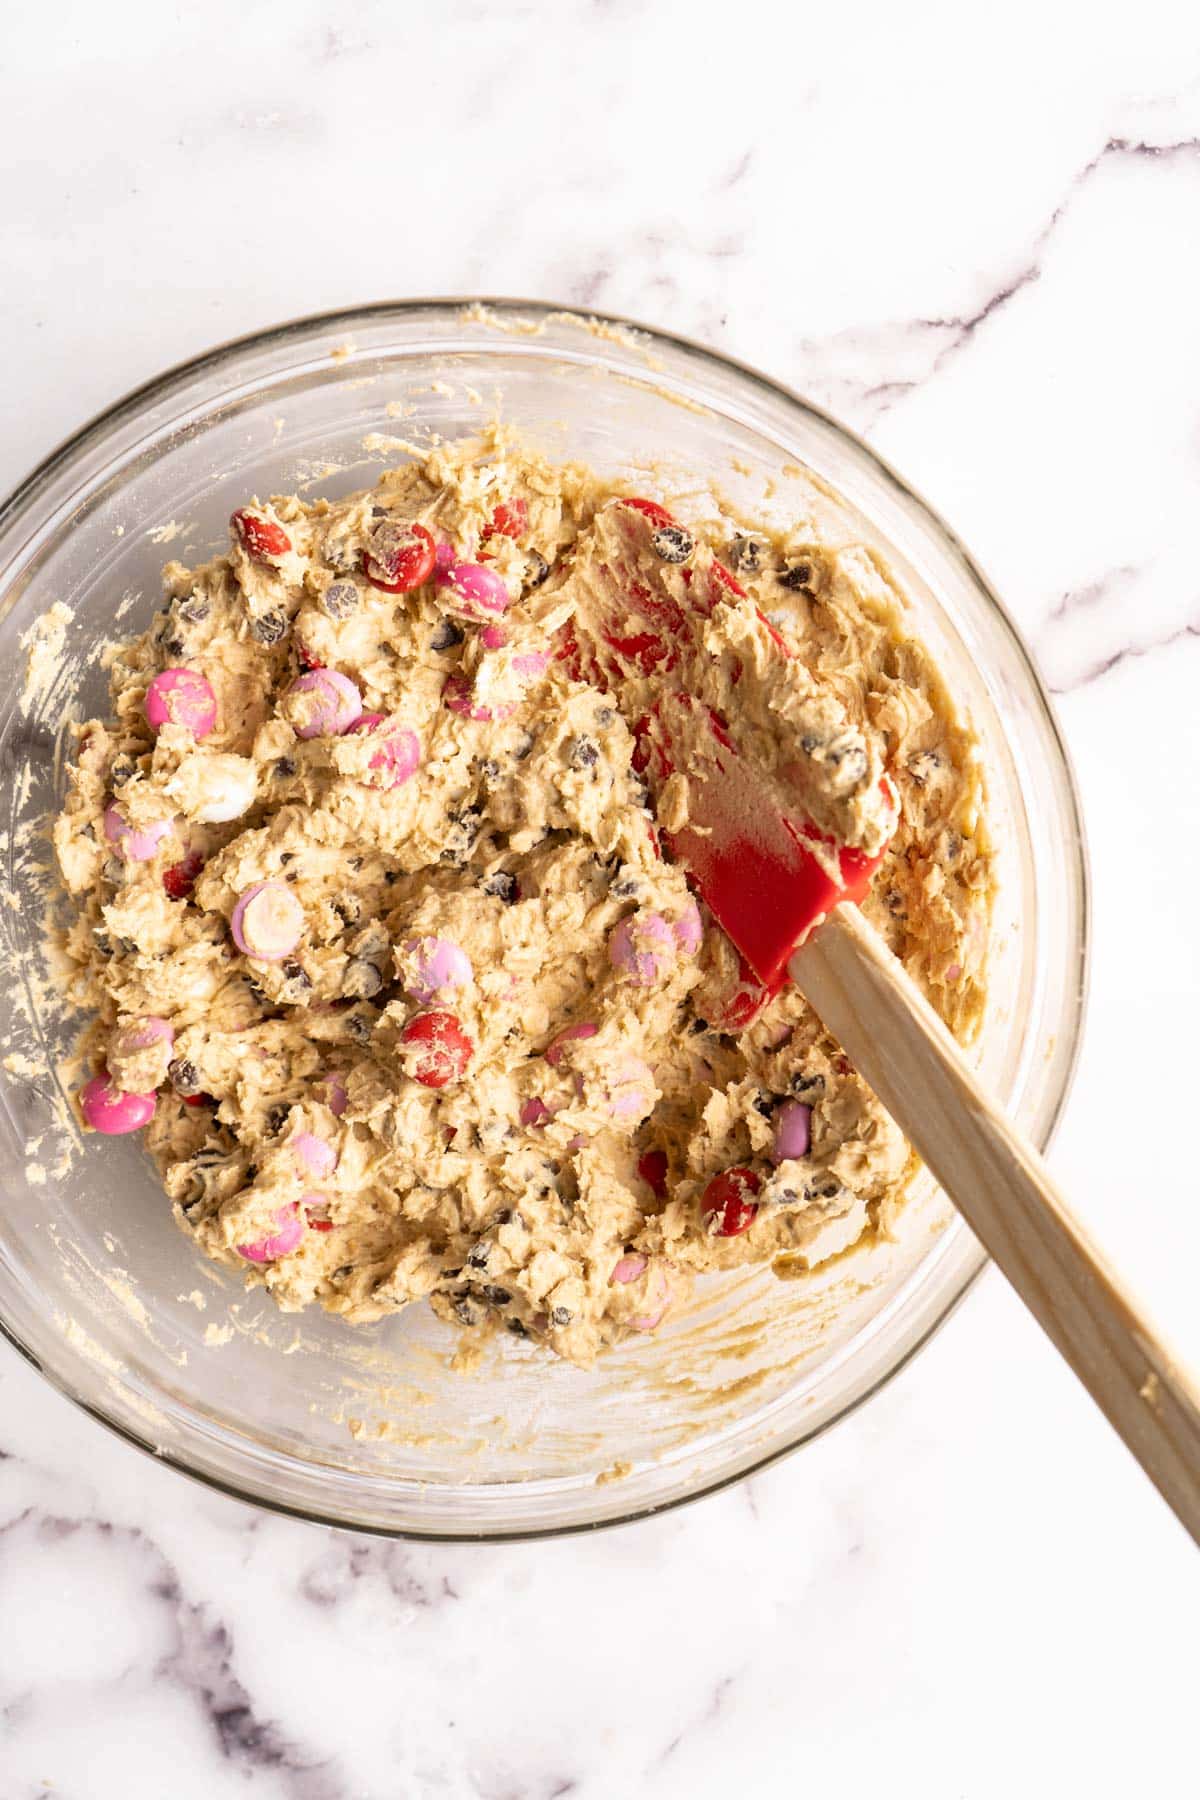
- Add dry ingredients to wet mixture. On low speed, gradually add in the dry ingredients and mix until just combined. Stir in oats, chocolate chips and M&M candies by hand. To make the cookie dough more manageable to work with, allow it to sit for about 15 minutes. You can also cover with plastic wrap and chill the dough in the fridge for at least 30 minutes to make it less sticky.

- Scoop dough balls. Use a large spoon or cookie scoop to make dough balls (mine were about 2 tablespoons full). Place the cookie dough balls onto a cookie sheet, leaving 2 inches in between each one.
- Bake. Place dough balls in the oven and bake for about 9-10 minutes. Do NOT overbake! Remove from the oven right when edges start looking set and golden. The centers may look slightly underbaked, but they will continue to cook even after they are removed from the oven.
- Cool. Let the cookies cool on the baking sheet for about 5 minutes. Then, transfer them to wire racks to continue to cool.
Expert tips
There are tons of tips and tricks for baking the perfect cookies, but follow the suggestions below and you’re sure to have some amazing Valentine’s cookies!
- Softened butter. Be sure your butter is softened to room temperature, so that it combines properly with the sugars. Room temperature butter is still a bit cool to the touch and it should indent slightly when you press on it with your finger. Take butter out of the refrigerator about 1 hour before beginning your recipe. Try this trick to soften butter quickly.
- Measure flour correctly. Using a food scale is the most precise method for measuring ingredients, especially flour. If you don’t have one available, lightly spoon flour (don’t pack) into a measuring cup and without shaking the cup, use the straight side of a butter knife to level the flour across the measuring cup.
- Fresh baking soda and baking powder. Be sure that your baking soda and baking powder are fresh before using, so these rise properly! These ingredients lose potency over time. When you open a new can, write the date on the lid with a Sharpie. Discard the opened can after 6 months.
- Bake on parchment or silicone. Parchment or, better yet, a silicone baking mat is highly recommended. Greasing the baking sheet creates an overly greasy foundation, which will cause these to spread too much. Silicone baking mats will grip onto the bottom of your cookies to prevent them from spreading too much. The mats also promote even browning.
- Don’t overbake. I recommend experimenting with a couple of cookies before baking the entire batch. This will help you find that sweet spot when it comes to bake time in your oven and your preferred level of doneness. Remember these continue to bake for a short time, even after they’ve been removed from the oven. And, as they cool, they will become more chewy than doughy.
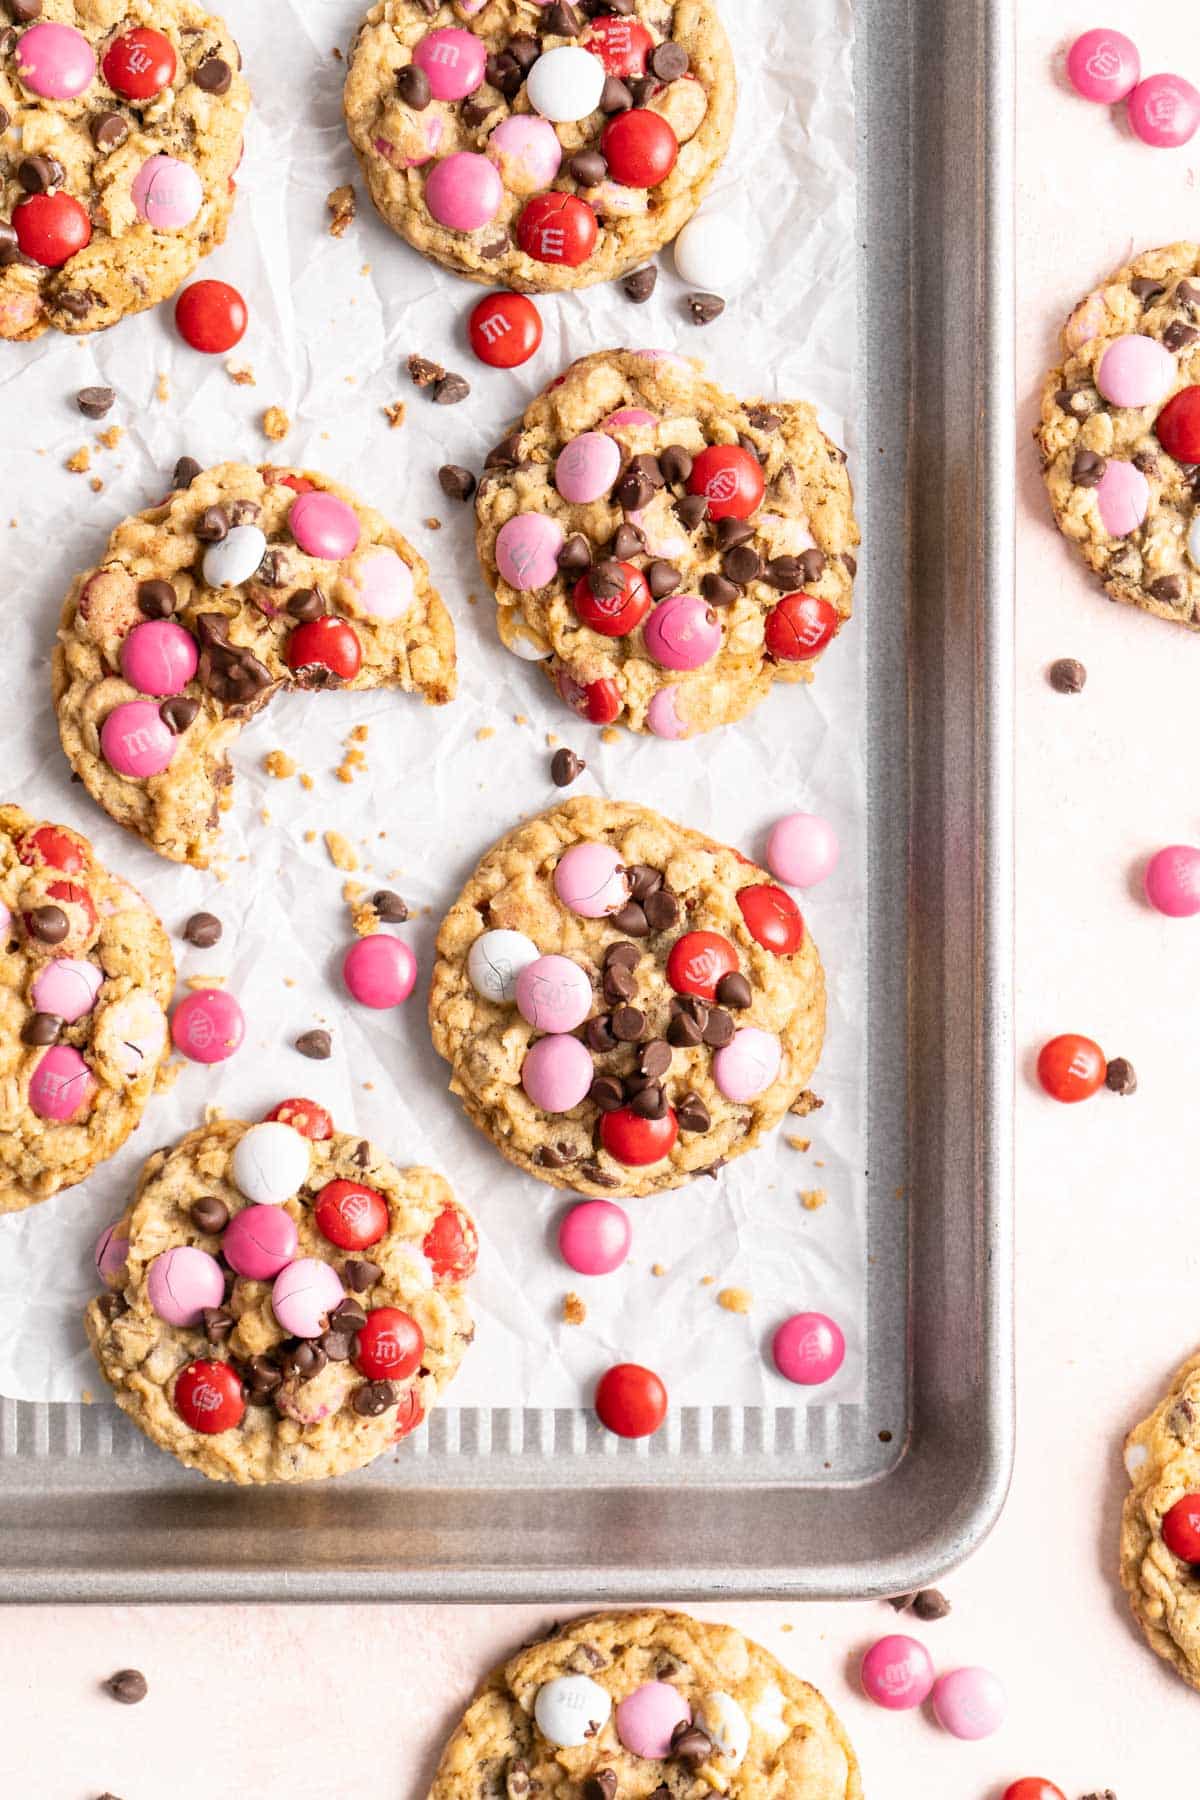
For presentation, dot a few extra M&Ms and chocolate chips on each mound of dough before baking.
Frequently asked questions
Monster cookies are basically a peanut butter and oatmeal cookie with chocolate chips and M&M candies mixed in the batter. Some recipes do not contain flour, but this one does.
If these are removed from the baking sheet too soon after coming out of the oven, they are prone to cracking and crumbling. Let them cool for about 5 minutes on the baking sheet before removing them to a cooling rack to cool completely.
To make a heart-shaped cookie without a cookie cutter, you need to shape the balls of cookie dough on the tray before baking. This chocolate chip cookies recipe gives a great visual tutorial on how to shape the cookies.
Customize this recipe
This Valentine cookie recipe is pretty much perfect as-is, but feel free to get creative and experiment with your favorite ingredients! Here’s some options:
- White chocolate. Swap out the semi-sweet chocolate chips for white chocolate chips or use a combination of the two types.
- Nuts. Add in up to about 1 cup of chopped nuts if you want an extra crunch. Just be sure to use unsalted nuts, to avoid these turning out too salty.
- Sprinkles. Stir in 1/2 cup of red and pink sprinkles. You can even add more to the tops of the cookies before baking.
- Double the recipe. This recipe yields about 24 medium cookies. You can double the recipe if you need a larger batch for a party, gifting, or event.
Storing & freezing recommendations
- Freezing dough. Keep a batch or two of the dough in the freezer for a freshly baked treat for any event! Scoop out balls and place them on a sheet pan lined with parchment paper. Chill the dough in the freezer for 30 minutes. This will flash-freeze it, so the balls don’t stick together. Once the balls are firm, you can transfer them to a freezer-safe bag or container. Frozen dough will keep well for up to 3 months. Be sure to label your bag with the date.
- Bake from frozen. Baking from frozen will work just fine. The tops of your cookies may darken a bit more, but they will still be delicious. Follow all of the cooking instructions, but add a minute or two onto the bake time.
- Freezing baked cookies. Store in a freezer-safe container or baggie and freeze for up to 3 months.
- Storing. Once baked, these will keep in an airtight container or zip-top baggie at room temperature for about 1 week, but I can’t imagine them lasting that long!
I typically package these Valentine’s Day cookies in little clear bags and tie them with a ribbon; my kids love to give these colorful cookies as Valentine’s Day gifts to their friends at school! This Valentine’s Day, make something sweet for your loved ones like these festive treats, they’re sure to be appreciated by all!
More sweet treats for your valentine
Looking for more dessert recipes that are perfect for Valentine’s Day? You’ll love our favs!
If you try this recipe, let me know! Leave a comment and if your family loves these cookies as much as mine does, be sure to give it a five star ⭐️ rating! Also, tag @kimscravings on Instagram with a picture of your creation. Be sure to subscribe to our mailing list to receive more healthy delicious recipes straight to your inbox.
Valentine’s Day Cookies
Ingredients
- ½ cup 1 stick (or 115g) unsalted butter, slightly softened
- 1 cup (200g) packed light or dark brown sugar
- ½ cup (125g) creamy peanut butter, not natural style
- 1 large egg
- 2 teaspoons vanilla extract
- ¾ cup (94g) all-purpose flour, spoon and leveled
- 1 teaspoon baking soda
- 1 teaspoon cornstarch
- ¼ teaspoon baking powder
- ¼ teaspoon salt
- 1½ cups (129g) old-fashioned oats
- 1 cup (180g) semi-sweet chocolate chips, I like using mini chips
- 1 cup (170 to 200g) red, pink and white M&M candies, any size
EMAIL ME THE RECIPE!
Instructions
- Preheat oven to 350ºF and line 2 large baking sheets with parchment paper or silicone baking mats. In a large bowl, cream together the butter, brown sugar, and peanut butter with a hand or stand mixer until light and fluffy, about 3 minutes. Mix in the egg and vanilla, scraping down the sides of the bowl as needed.
- In a separate bowl, add the flour, baking soda, cornstarch, baking powder, and salt; whisk to combine. With the mixer on low speed, slowly add the flour mixture to the wet ingredients and mix until just combined. Stir in the oats, chocolate chips, and M&M candies by hand. The dough will be a bit soft and sticky. To make it more manageable to work with, allow the cookie dough to sit for 15 minutes – the oats will absorb some moisture, making the dough easier to work with. It’s not necessary, but you can also chill the dough for about 30 minutes to make it less sticky.
- Drop the cookies by heaping spoonfuls onto the prepared cookie sheets, about 2 tablespoons of dough per cookie, leaving 2 inches in between cookies. For presentation, you can dot a few extra M&Ms and chocolate chips on each mound of dough before baking.
- Bake for 9-10 minutes, or until the cookies are just starting to brown around the edges and the top still looks slightly undercooked. Do not over bake – cookies will continue to bake on the cookie sheet. Remove from the oven and cool for 5-10 minutes on the baking sheet before moving them to a wire rack to cool completely. Cookies will firm up as they cool.
Notes
- Storage. Cookies can be stored in an airtight container, at room temperature, for up to one week.
- Freezing Instructions. Cookie dough will freeze well for up to 3 months. See post for more detailed instructions. Baked cookies will also freeze well for up to 3 months, thaw to room temperature before serving.
- Reheat cookies. Microwave until warm and cookies will taste just like they were freshly baked!
Did you make this recipe?
Tag @kimscravings on Instagram and be sure to subscribe to our mailing list to receive more healthy and delicious recipes straight to your inbox!
Hi Kim! Another tasty recipe! I was skeptical about only 3/4 c flour in a cookie recipe but they came out better than expected! Love the oatmeal and peanut butter combo!
Love hearing that! So happy you enjoyed!
Its the best! I absolutely loved it! Easy to make, delicious, yummy and a different twist to the classic chocolate chip cookie with the oats the peanutbutter and the m&ms!
Definitely a new favorite of mine??? Thank you
Yay! So happy you enjoyed and thanks so much for your sweet comment!