
Buttermilk Waffles
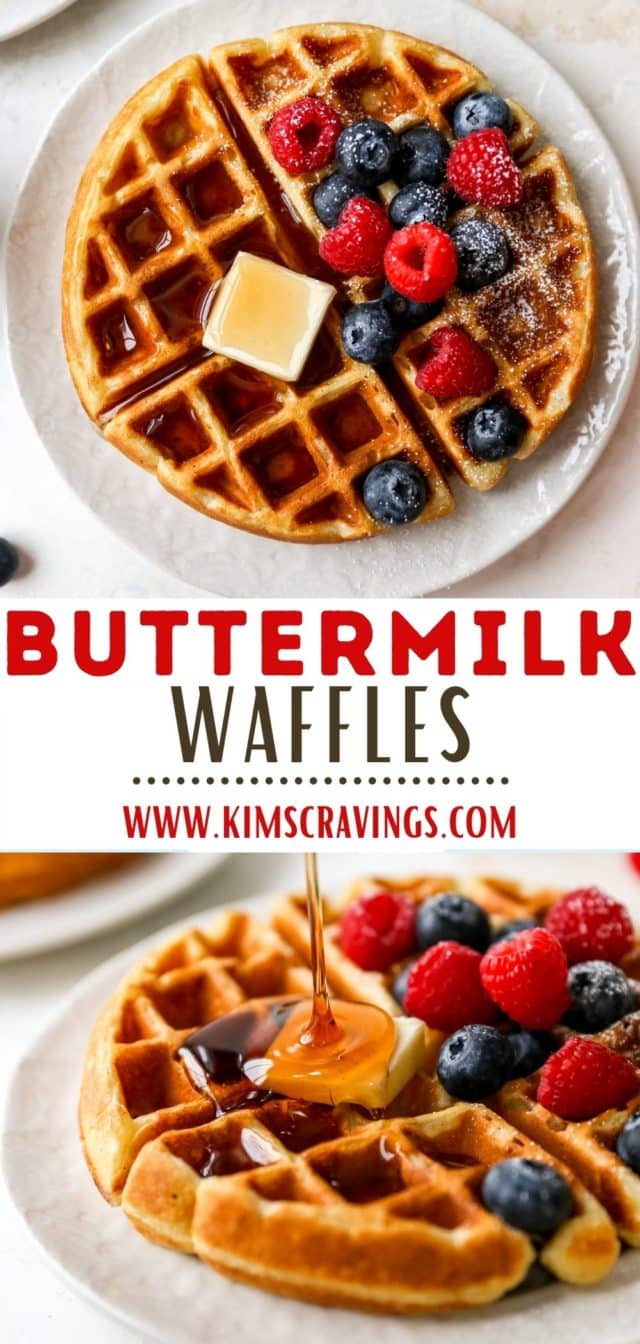
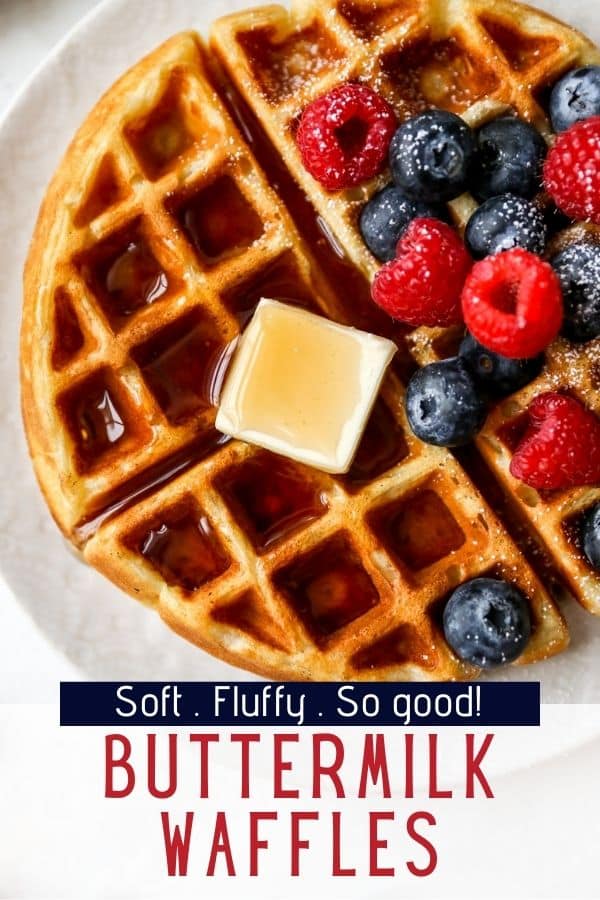
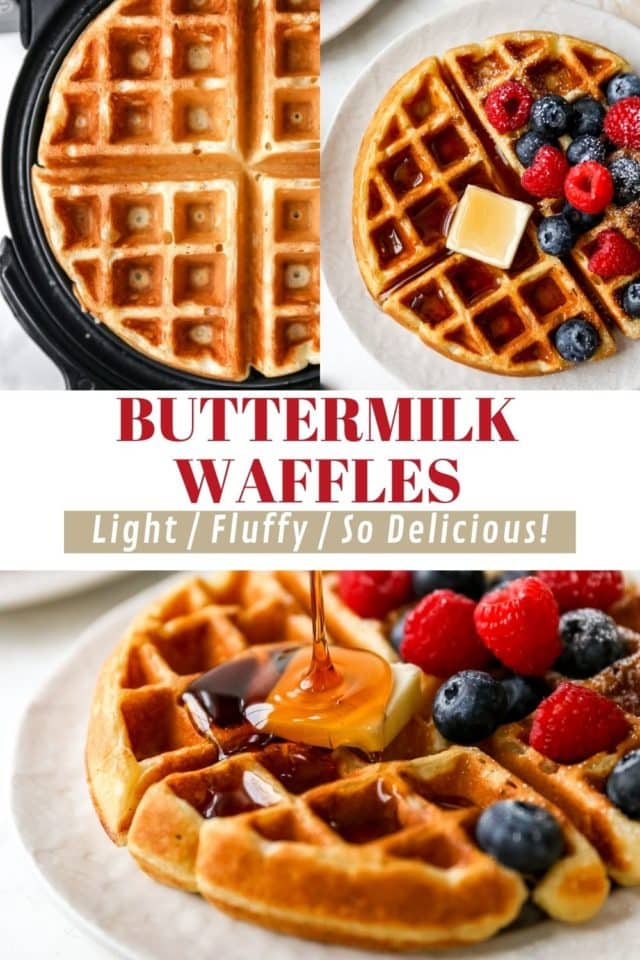
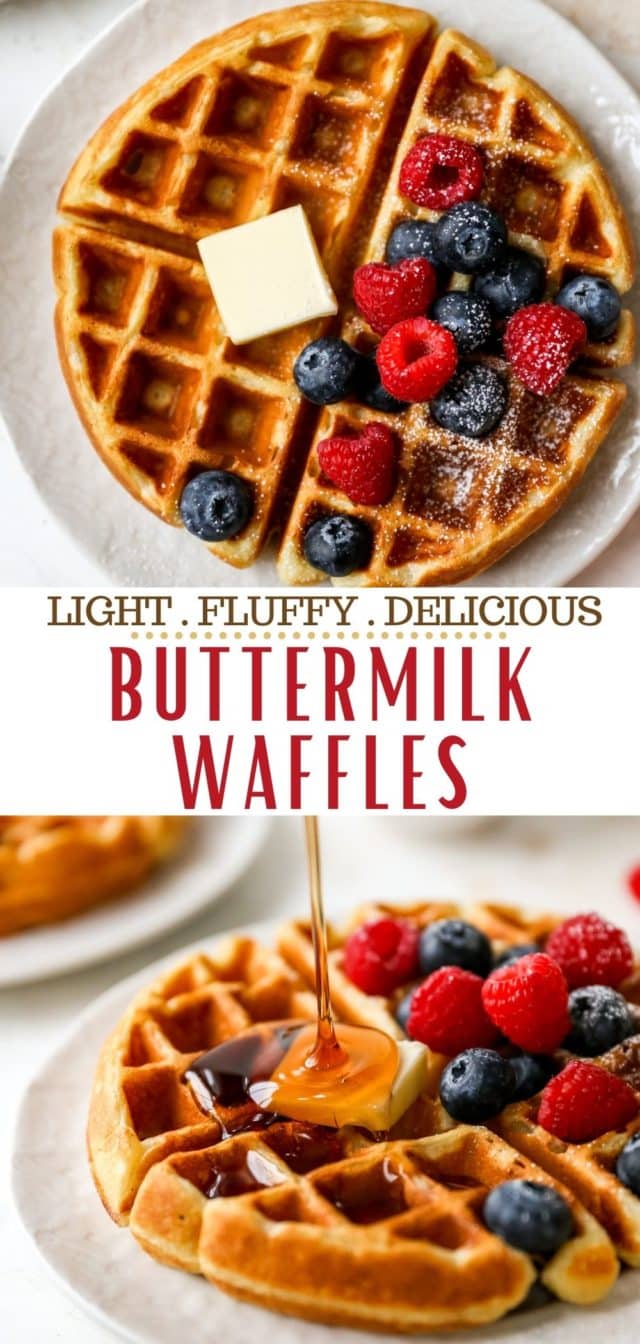
There’s nothing like starting the morning with a stack of Homemade Buttermilk Waffles! They’re golden, fluffy, and just the right mix of crisp on the outside and soft on the inside. With their rich, buttery flavor, these are a breeze to make and guaranteed to bring a little extra joy to your breakfast or brunch table!

EMAIL ME THE RECIPE!

A Note from Kim
Grandma’s Breakfast Memories in Every Bite
Big, fluffy buttermilk waffles always remind me of special times with my beautiful grandma, working her magic in the kitchen. I’ll never forget begging for her Belgian waffles, piled high with butter and drizzled with homemade maple syrup. She even gifted me a waffle maker the first Christmas after I got married, and I still use it (similar), even though it’s over 20 years old!
While I don’t have her exact Belgian waffle recipe, these buttermilk waffles come close. I love making a big batch on weekends, whether for a lazy morning treat or when hosting brunch for friends and family. Perfect for Mother’s Day, Easter, or Christmas morning, they’re easy to make, cook up perfectly every time, and always get a thumbs up from everyone who tries them.
With love (and lots of good eats), 
Made these yesterday and the whole family LOVED! They were so fluffy and delicious. I will make again for sure!
— Carol
Ingredients You’ll Need
This recipe is a spinoff of my family’s classic buttermilk pancakes, passed down for years. They come together with simple ingredients and are absolutely incredible! Here’s what you’ll need to make them:
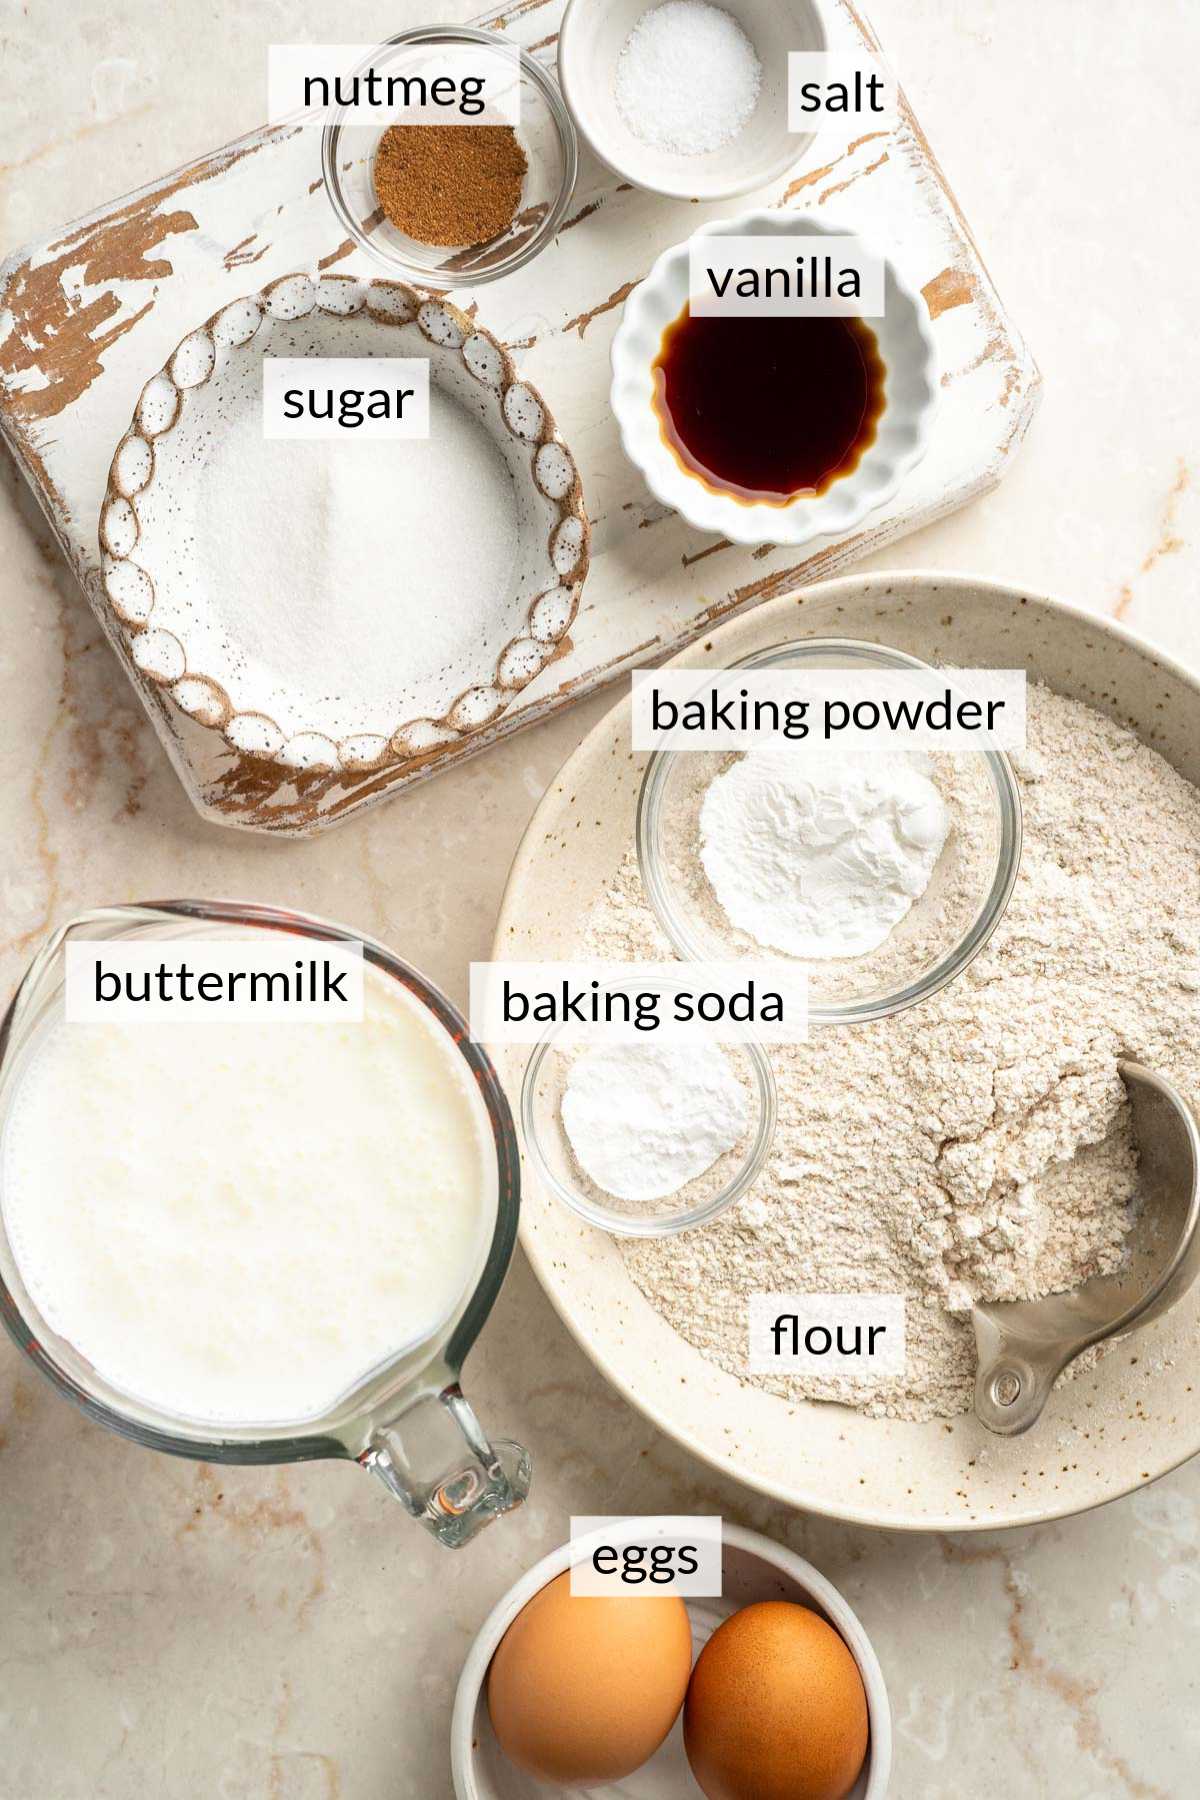
- Flour. For light and fluffy waffles, I recommend using regular all-purpose flour.
- Sugar. Just a touch of regular granulated sugar is needed for a lovely sweetness, that isn’t overpowering.
- Baking essentials. We’re using baking powder, baking soda and salt to ensure these cook up with the perfect rise and texture.
- Nutmeg. Major flavor booster that I highly recommend! Cinnamon is great too, if you don’t have nutmeg.
- Eggs. You’ll need two large eggs to help with binding, give these structure and ensure they cook properly.
- Buttermilk. Adds moisture and richness. Check out the FAQs for my favorite trick to make buttermilk in a pinch.
- Butter. Melted butter gives these classic crisp edges with soft and tender centers and a wonderful butter flavor.
- Vanilla extract. A flavor enhancer that I think is necessary for any pancake or waffle recipe.
How to Make Buttermilk Waffles
This classic waffle recipe is so easy, just grease your waffle iron and mix everything together in one bowl. I like to preheat the oven to 225°F so I can keep the finished waffles warm on a sheet pan while I cook the rest.
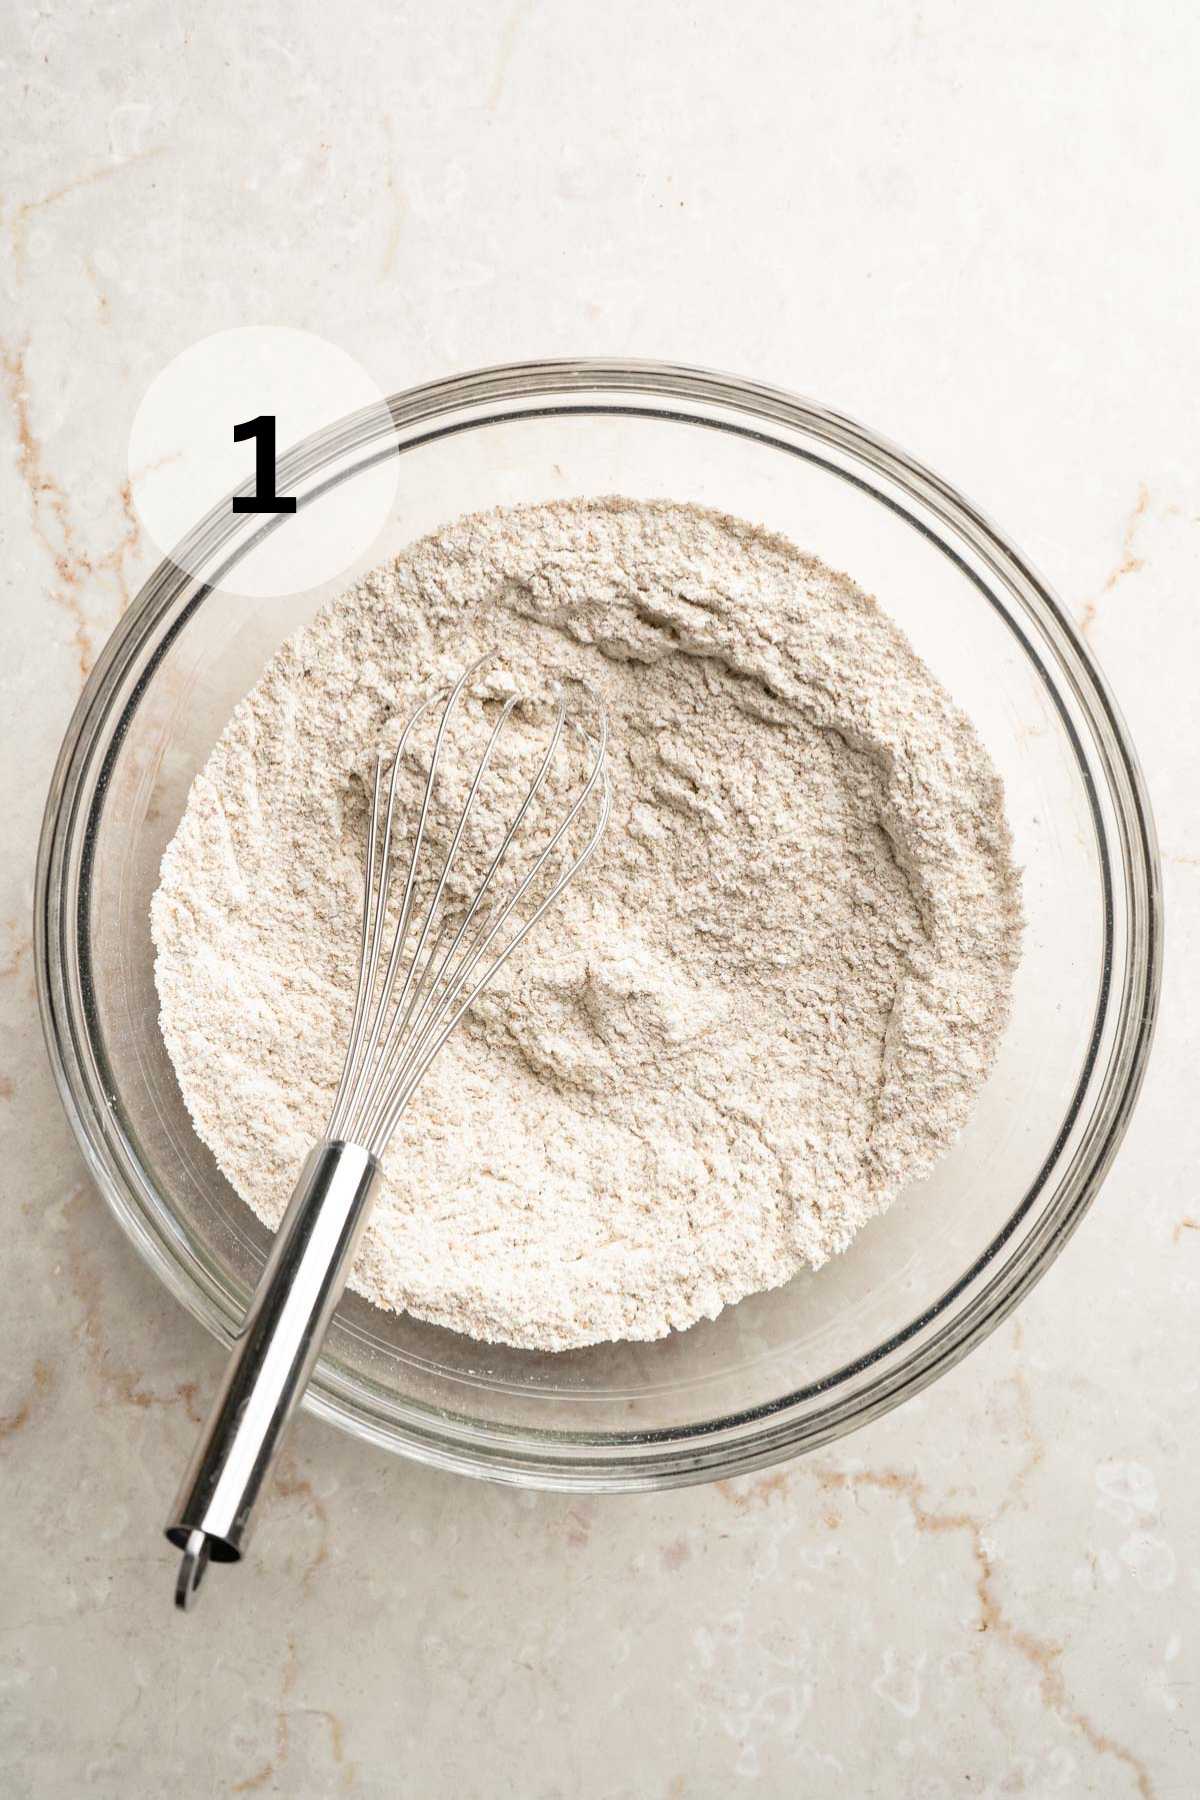
Step 1: Whisk dry ingredients. Combine flour, sugar, baking powder, baking soda, salt, and nutmeg in a large bowl.
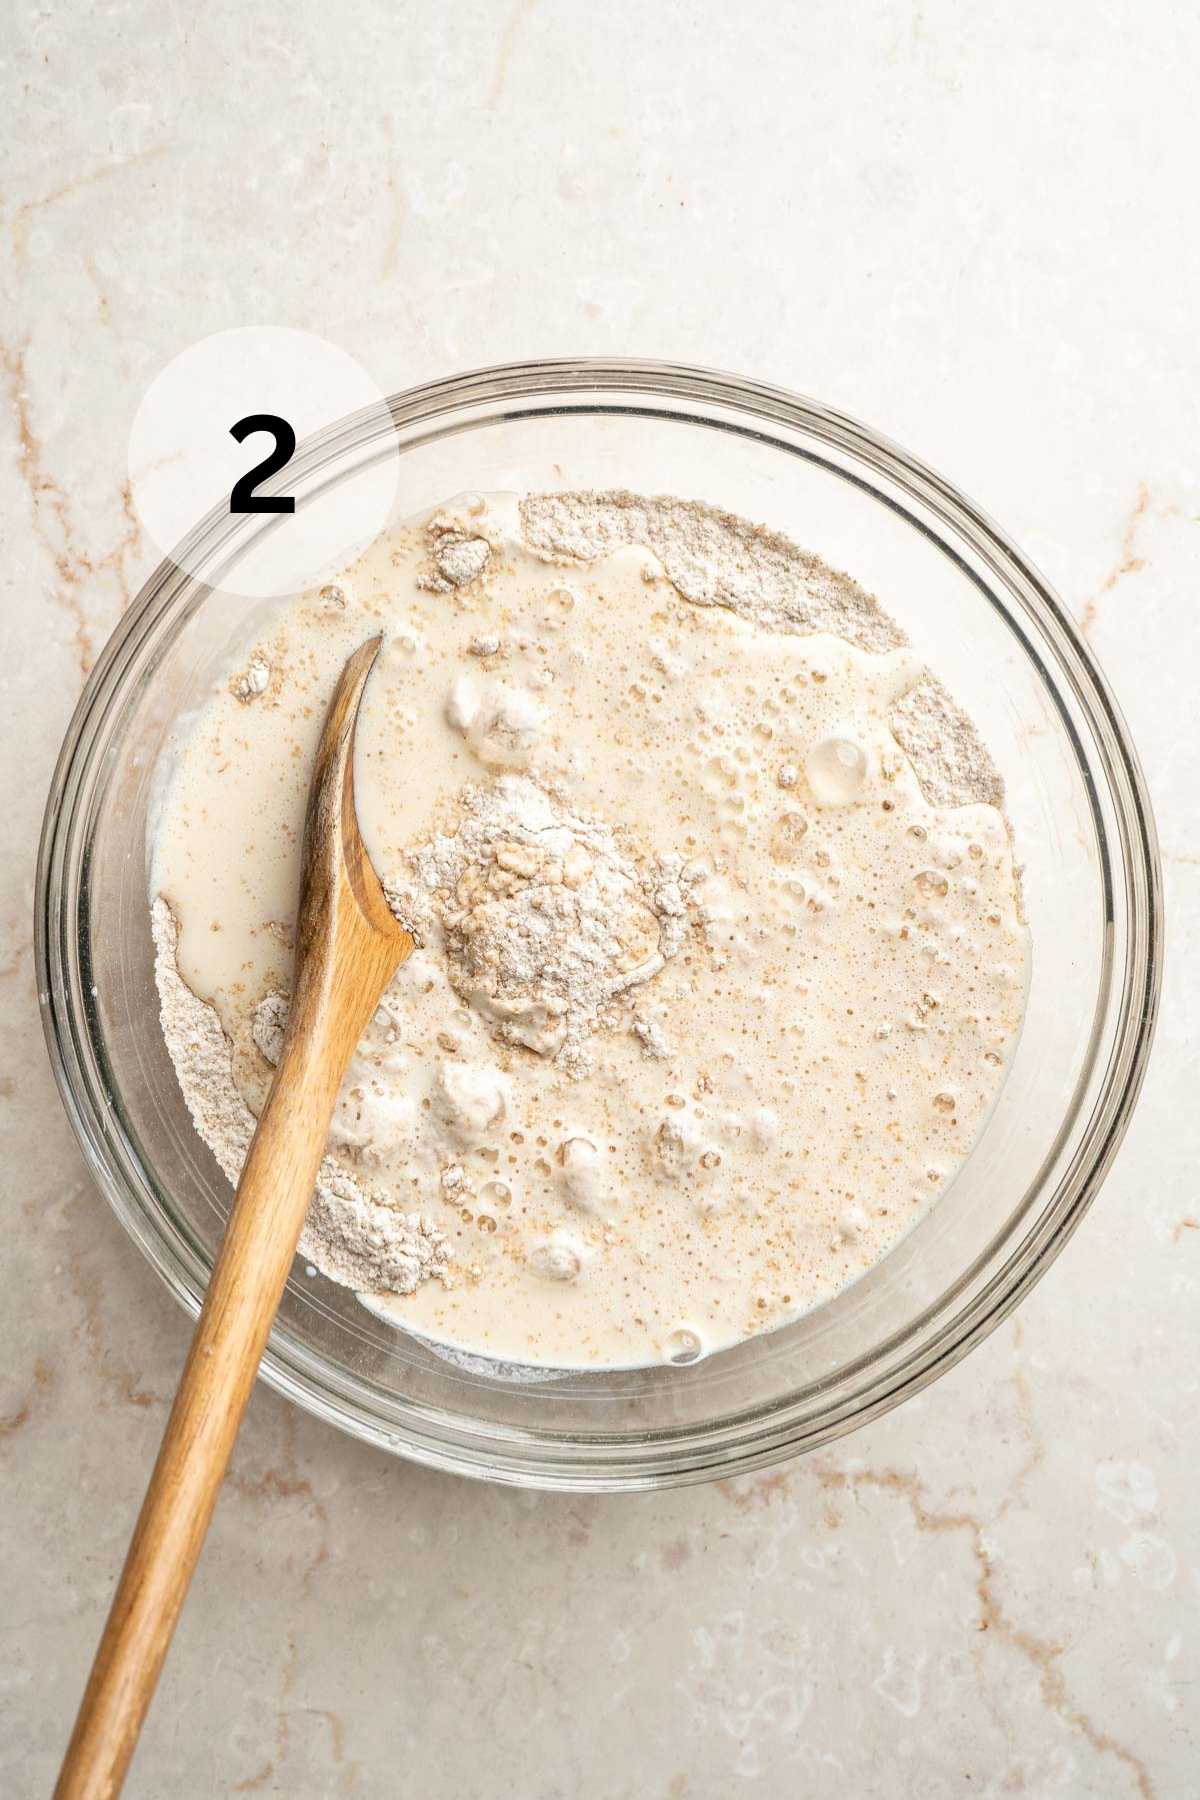
Step 2: Add the wet ingredients. Stir in the eggs, buttermilk, butter and vanilla to the flour mixture. Stir until just mixed. Some small lumps are fine.
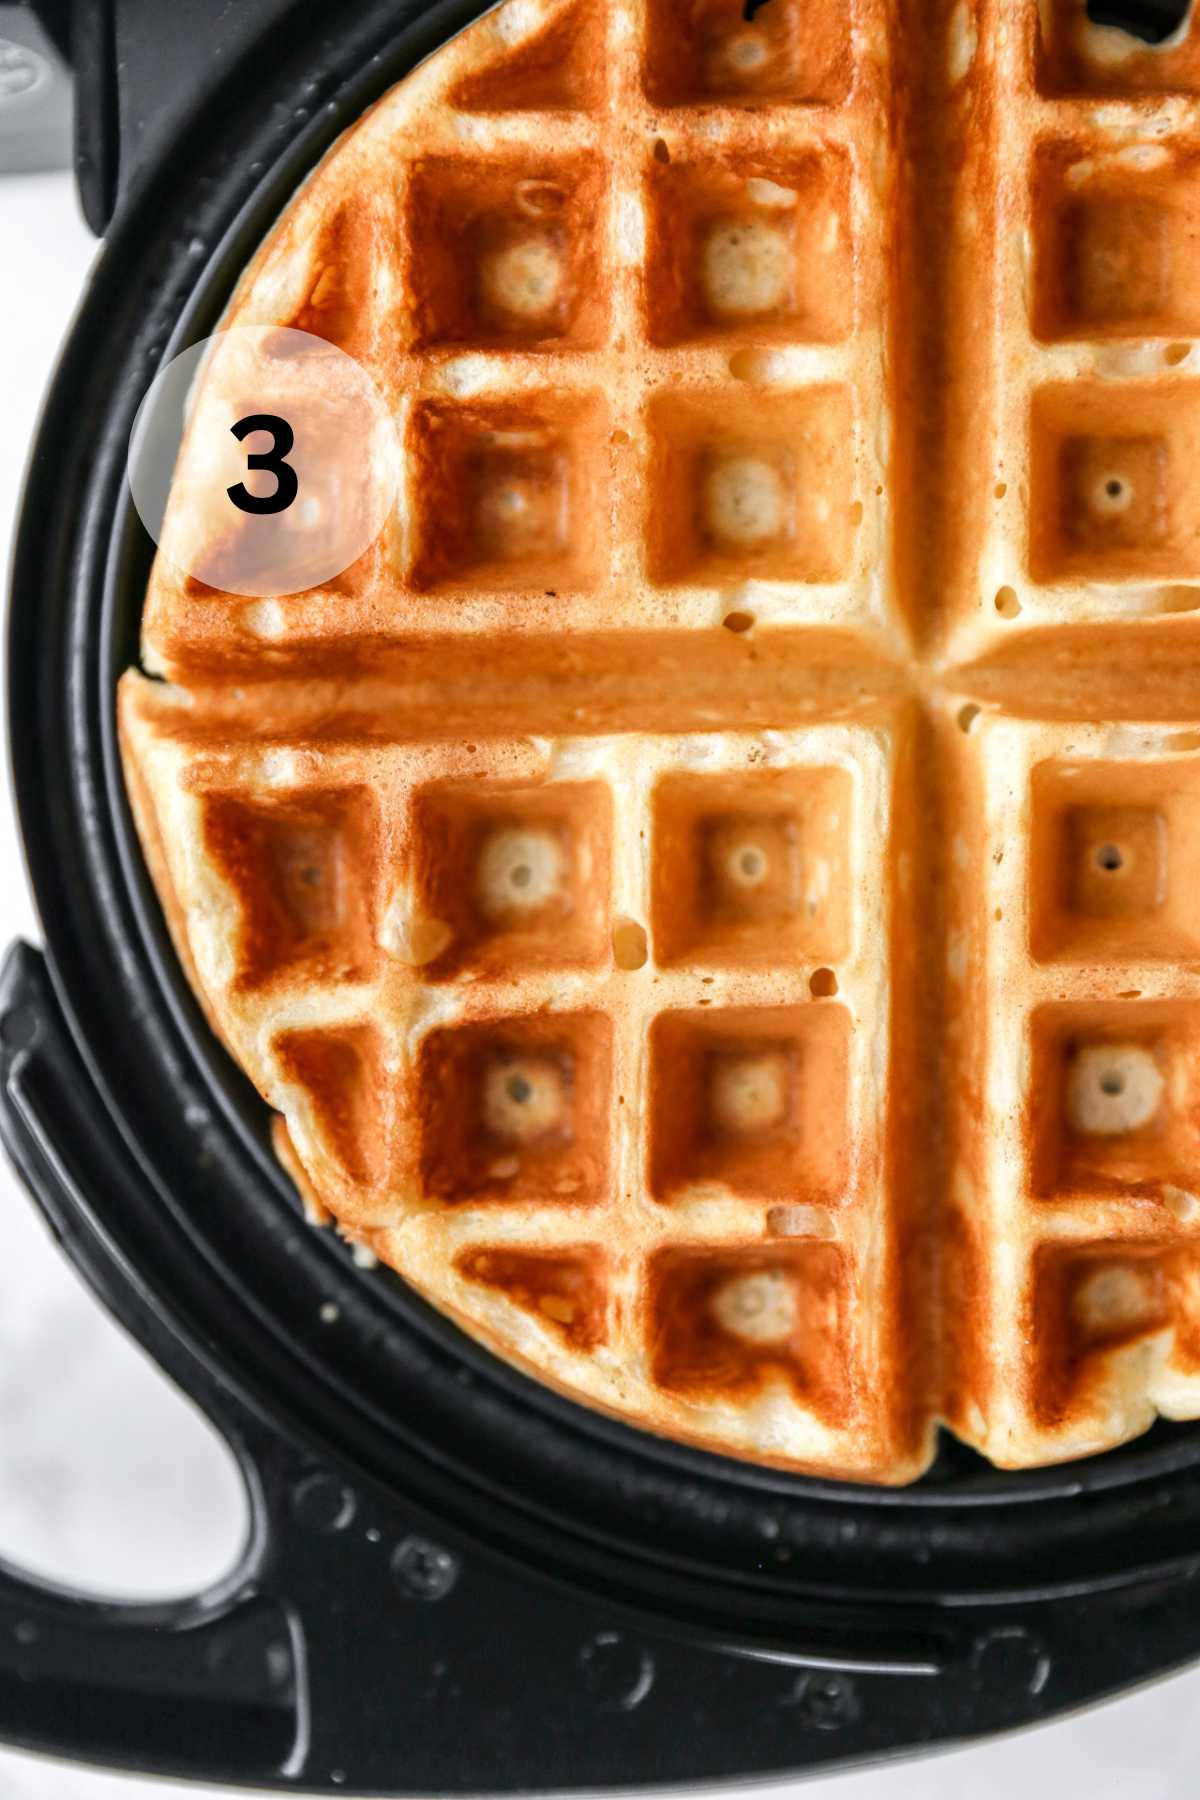
Step 3: Cook. Preheat and grease your waffle iron. Use a measuring cup to pour the batter onto the hot waffle iron (about ⅓ to ½ cup per waffle), spreading it slightly if needed, then close the lid. Cook until golden brown and crisp, adding an extra 1–2 minutes if needed for crispier edges. Grease between batches and repeat with the remaining batter.
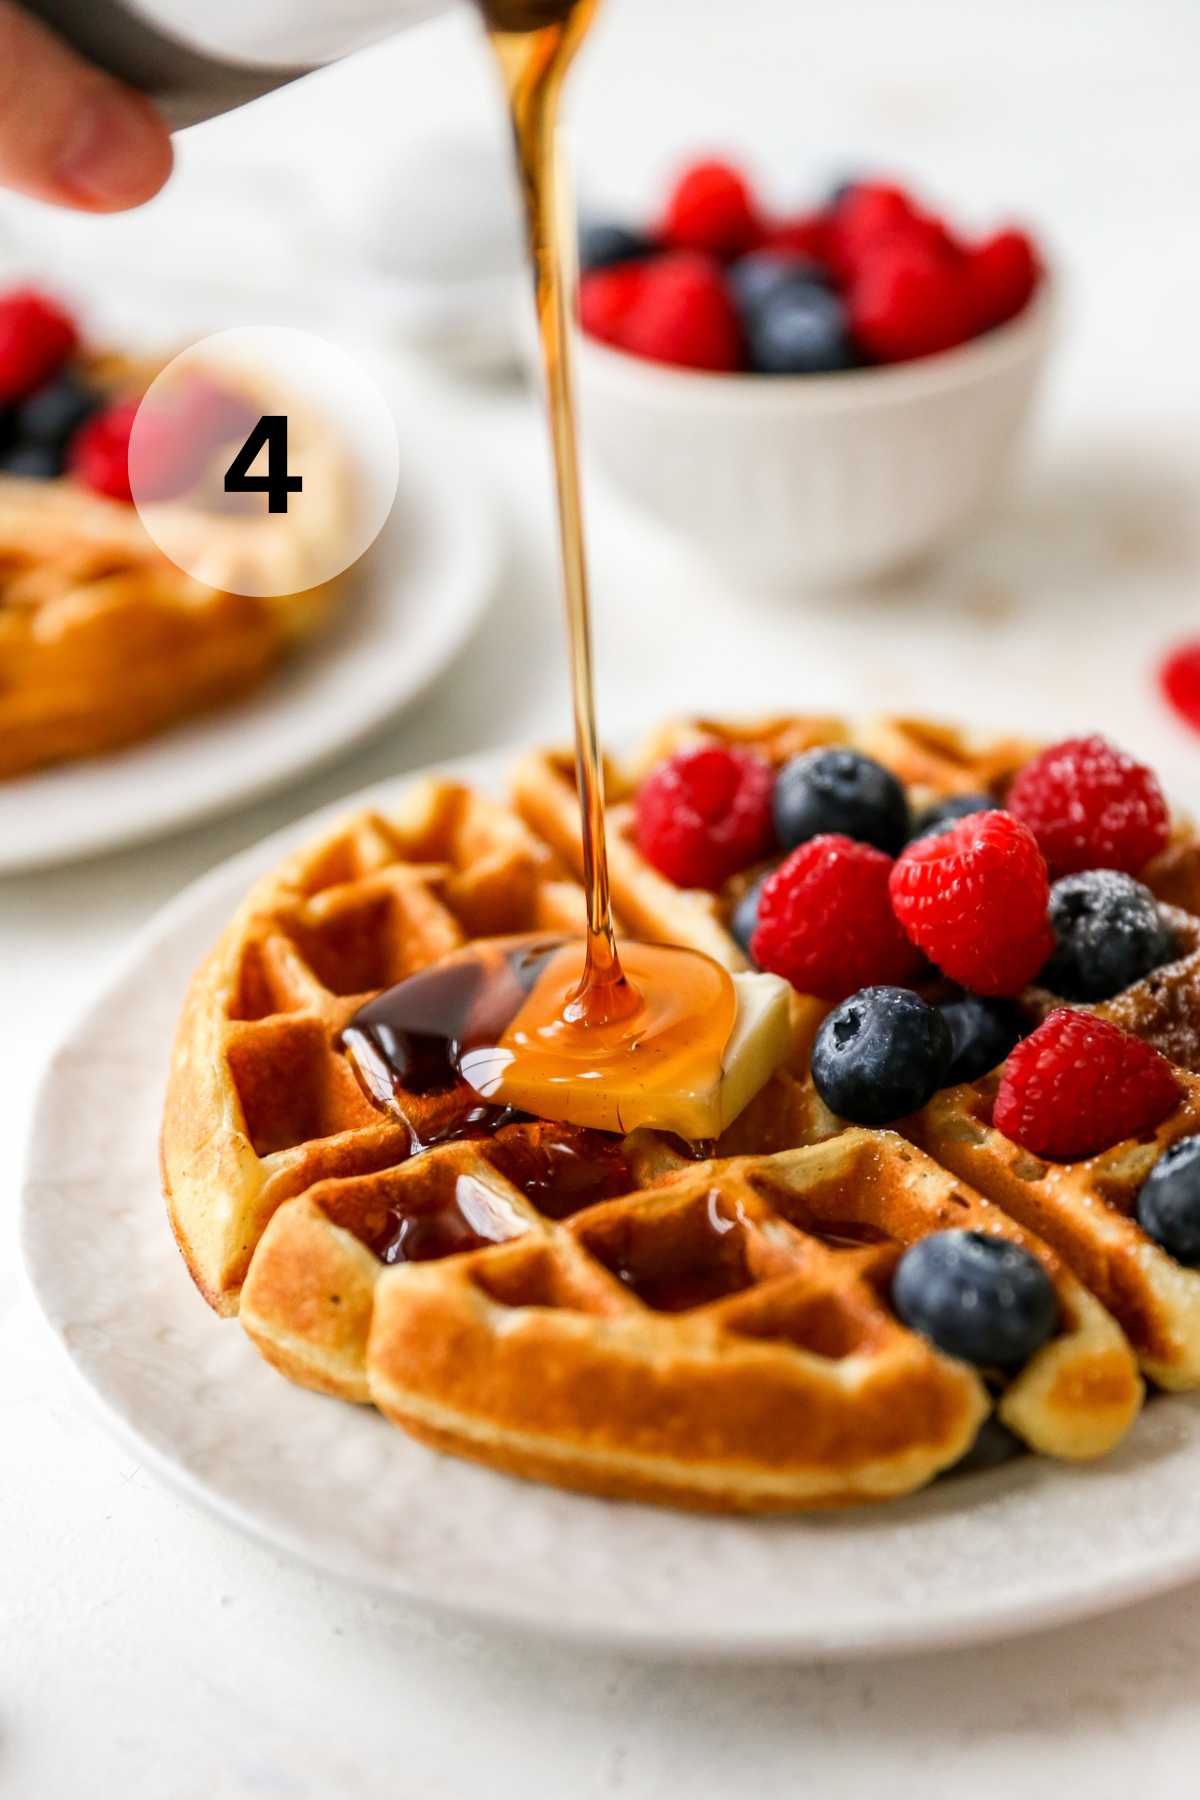
Step 4: Serve. Enjoy with the toppings of your choice! I’ve included all of my favorite topping ideas below.
Helpful Tips
This is the best waffle recipe and it’s super simple to make, but here are a few tips to make sure they live up to the hype!
- Do NOT over mix batter. If you stir the batter too much, these may not have the best texture and could end up tough, rather than light and fluffy. Stir the wet and dry ingredients together until just combined. Lumps are a normal indication that they won’t be tough or rubbery. Here’s more info on over mixing and why it’s a no go.
- Let the waffle batter sit. After mixing your wet ingredients into the dry ingredients, let the batter rest for about 10 minutes. This resting time allows the gluten to relax and expand, which results in a more tender texture as the waffles cook. Meanwhile you can be heating the iron.
- Make ahead. The batter can be made in advance. You can refrigerate it for up to 4 hours before you plan to use it.
- Mix-ins. I honestly LOVE the flavor of these as is, but feel free to get creative and add other ingredients to the mix such as almond extract, chocolate chips, blueberries or even a handful of shredded coconut.
- Waffle iron. Not all work the same way. Make sure to check the manufacturer’s instructions that came with your iron for the recommendations on cooking time.
Frequently Asked Questions
Back in the day of churning your own butter, buttermilk was the thin, slightly tart liquid remaining, after butter was churned. Pioneers and settlers used it in things like cornbread, biscuits, stews and gravy. Now cultured buttermilk is what is available at the grocery store. It’s processed and made from low-fat milk that is soured by adding lactic acid bacteria, much like yogurt. It’s an awesome ingredient in baking. It adds rich flavor and makes breads and cakes ultra moist. It also reacts to baking soda to create nice and fluffy pancakes and waffles. No need to have half your carton of buttermilk go to waste – use it to make Mexican Cornbread, Easy Lemon Pound Cake, Buttermilk Pancakes and Buttermilk Blueberry Muffins.
Yes, you can use any other variety of milk, even nondairy milk, in place of buttermilk! Just follow my buttermilk substitute instructions, below!
The combination of buttermilk and baking soda will help your waffles rise and make them thick and fluffy. Buttermilk is also what makes them taste amazing! If you don’t have any on hand, you can make a substitute. Simply stir together slightly less (to account for the additional liquid from the lemon juice) than 2 cups of milk with about 2 tablespoons of lemon juice. Let the mixture sit for 5 minutes, then you can use it in the recipe in place of the 2 cups buttermilk. The “real” thing is highly recommend, but this trick will work in a pinch.
Topping Options
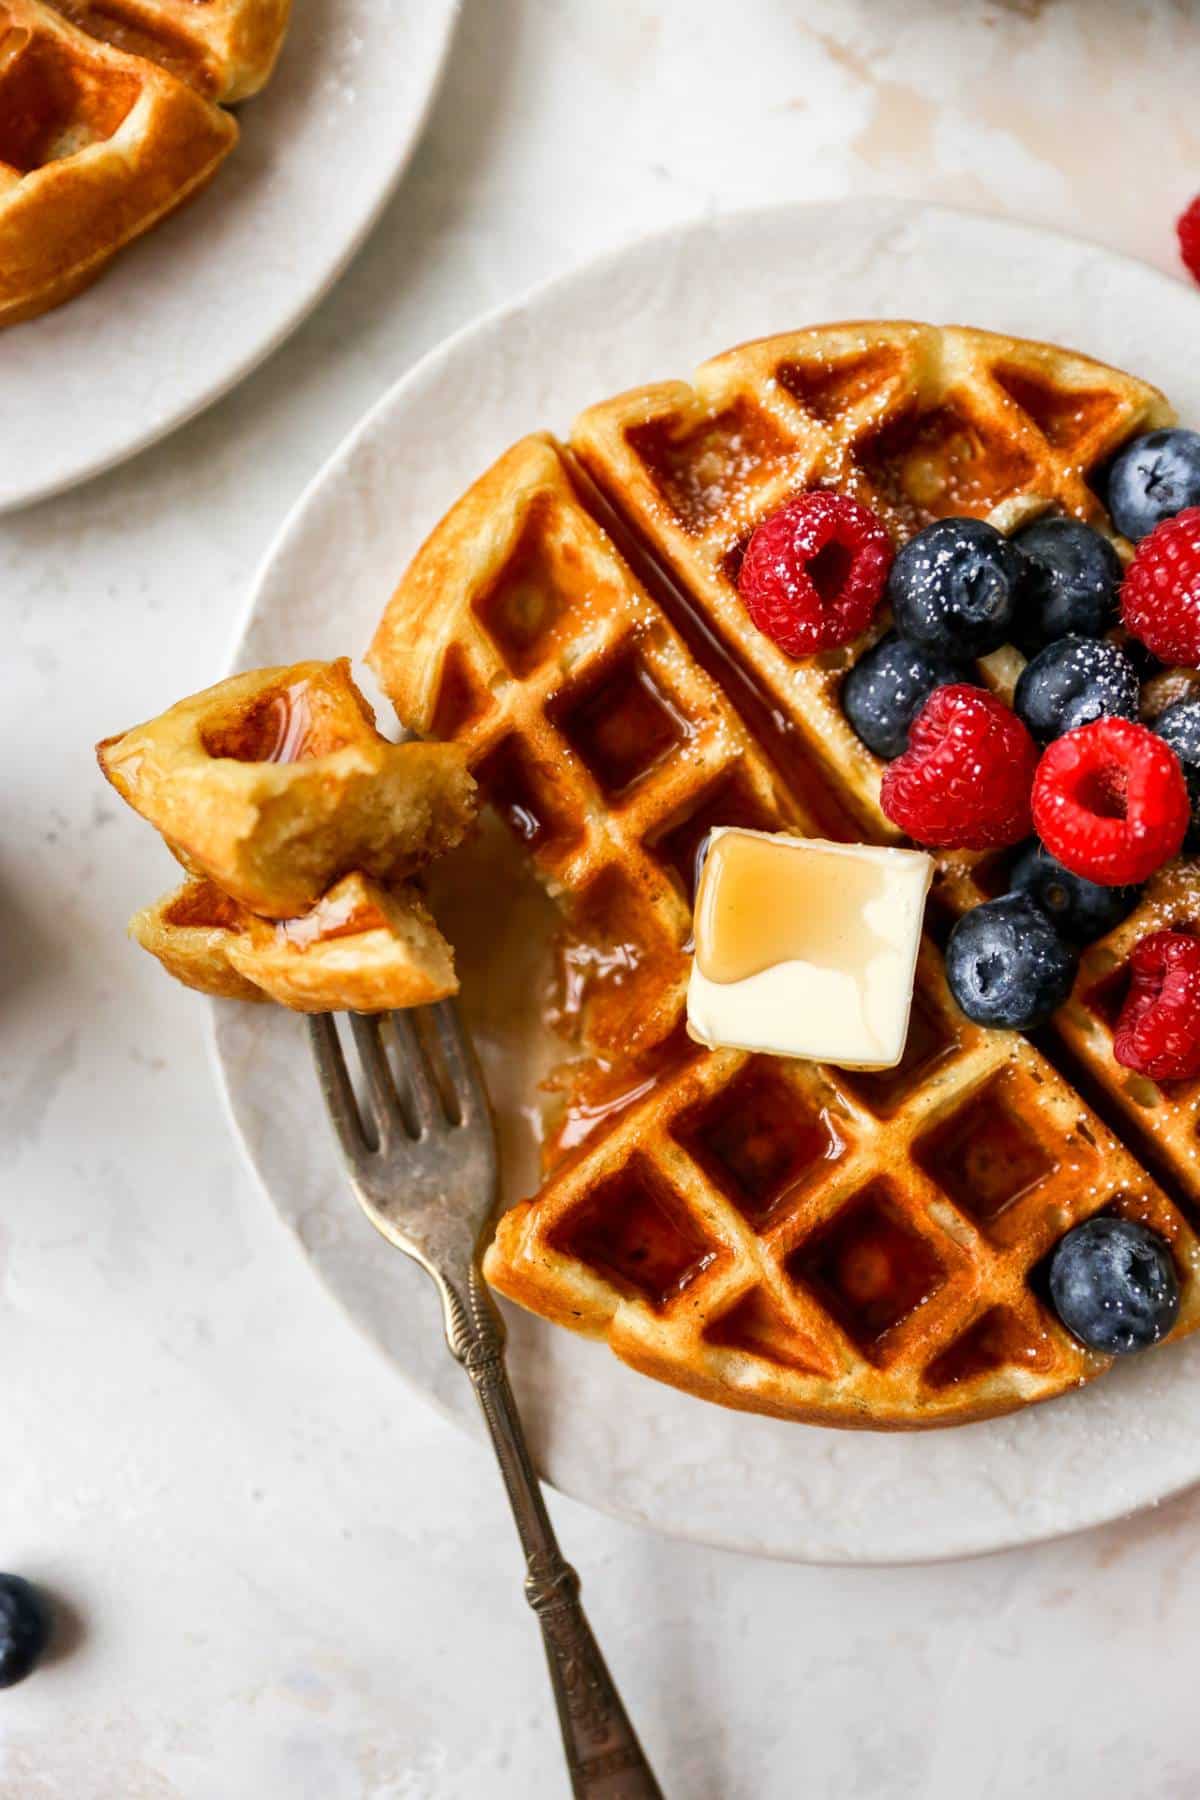
While I really love to eat these with just a little butter and syrup, there are so many fun topping options to try. You could even set up a waffle bar for a special occasion. How perfect would that be for Easter or Mother’s Day brunch?! Some other favorite toppings:
- Powdered sugar. Dust it over the top with a sifter or spoon.
- Fruit. Fresh berries, cinnamon apples, sliced bananas are all delicious choices!
- Whipped cream. You can add a dollop of whipped cream for the ultimate topping. Grab my homemade whipped cream recipe for major deliciousness.
- Caramel sauce. A drizzle of salted caramel sauce would be amazing on these!
- Sliced almonds or chopped pecans. Love that nutty flavor and added crunch!
- Nutella, almond butter or peanut butter. This is the way to go for a little extra decadence!
Need more ideas? Mary from Barefeet in the Kitchen has a ton of fun waffle topping options, from sweet to savory!
Serving Suggestions
These easy buttermilk waffles pair well with a variety of breakfast sides. Below are some of my favorite sides:
- Hash browns or breakfast potatoes. Yes, please!
- Fresh fruit or fruit salad. To keep this breakfast on the lighter side, fruit is such a great option.
- Yogurt. Serve on the side or add a spoonful on top.
- Bacon, sausage, or ham. Anyone else love the bacon/maple syrup combo?
- Eggs. Scrambled on the side, or perhaps over easy and served on top.
Storing and Reheating Recommendations
- To store. Leftover waffles will stay fresh in the fridge for up to about 5 days. Cool completely, then store them in a large zip-top baggie or another airtight container of your choice and place them in the refrigerator.
- To reheat. When you’re ready to enjoy, pop them in the toaster or oven at 350ºF for about 5 minutes and until they’re hot and crispy.
- To freeze. Once they have completely cooled, place them into freezer bags individually. Alternatively, place them in a single layer on a lined baking sheet and freeze until solid (about 1-2 hours) and then store stacks in a freezer bag. Freeze for up to three months.
- To reheat. No need to thaw first. Reheat frozen waffles in a toaster, toaster oven or bake them for 8-12 minutes at 350°F in your preheated oven.
More Breakfast Favorites
Looking for more wonderful breakfast ideas? Enjoy these other delicious recipes:


If you try this buttermilk waffle recipe, let me know! Leave a comment and if your family loves it as much as mine does, be sure to give it a five star ⭐️ rating! Also, subscribe to our mailing list to receive more delicious recipes straight to your inbox.

Buttermilk Waffles
Ingredients
- 2 cups all-purpose flour
- 2 tablespoons granulated sugar
- 2 teaspoon baking powder
- 1 teaspoon baking soda
- 1/2 teaspoon salt
- 1/4 teaspoon ground nutmeg or cinnamon, (optional)
- 2 large lightly beaten eggs
- 2 cups buttermilk*
- 1/3 cup melted butter
- 1 teaspoon vanilla extract
EMAIL ME THE RECIPE!
Instructions
- To keep waffles warm while you are making the whole batch, heat oven to 225°F and place a large sheet pan inside.
- In a large bowl, mix 2 cups all-purpose flour, 2 tablespoons granulated sugar, 2 teaspoon baking powder, 1 teaspoon baking soda, 1/2 teaspoon salt, and 1/4 teaspoon ground nutmeg or cinnamon (if using).
- Add the 2 large lightly beaten eggs, 2 cups buttermilk*, 1/3 cup melted butter and 1 teaspoon vanilla extract; whisk until just combined. Some small lumps remaining are fine. (Do not over-stir the mixture. Mix until a few streaks of flour are remaining.) Let batter sit for about 10 minutes.
- Preheat waffle iron and grease. Pour about 1/3 – 1/2 cup of batter into the waffle iron (or until batter reaches about 1/2-inch to the edge of the iron). Cook until ready, about 2 to 3 minutes. Remove and either serve immediately or keep warm in the oven. Spray or grease waffle iron again and continue cooking remaining batter.
- Serve with butter, warm maple syrup and any other favorite toppings. Enjoy!
Notes
Did you make this recipe?
Tag @kimscravings on Instagram and be sure to subscribe to our mailing list to receive more healthy and delicious recipes straight to your inbox!
can the batter sit overnight in the fridge?
That should be just fine.
Make these waffles every other Saturday! We love them! Light, fluffy, and easy to make and taste great! Love your recipes!
That makes me so happy to hear! Thanks so much for taking time to comment!
Made these yesterday and the whole family LOVED! They were so fluffy and delicious. I will make again for sure!
So happy to hear!