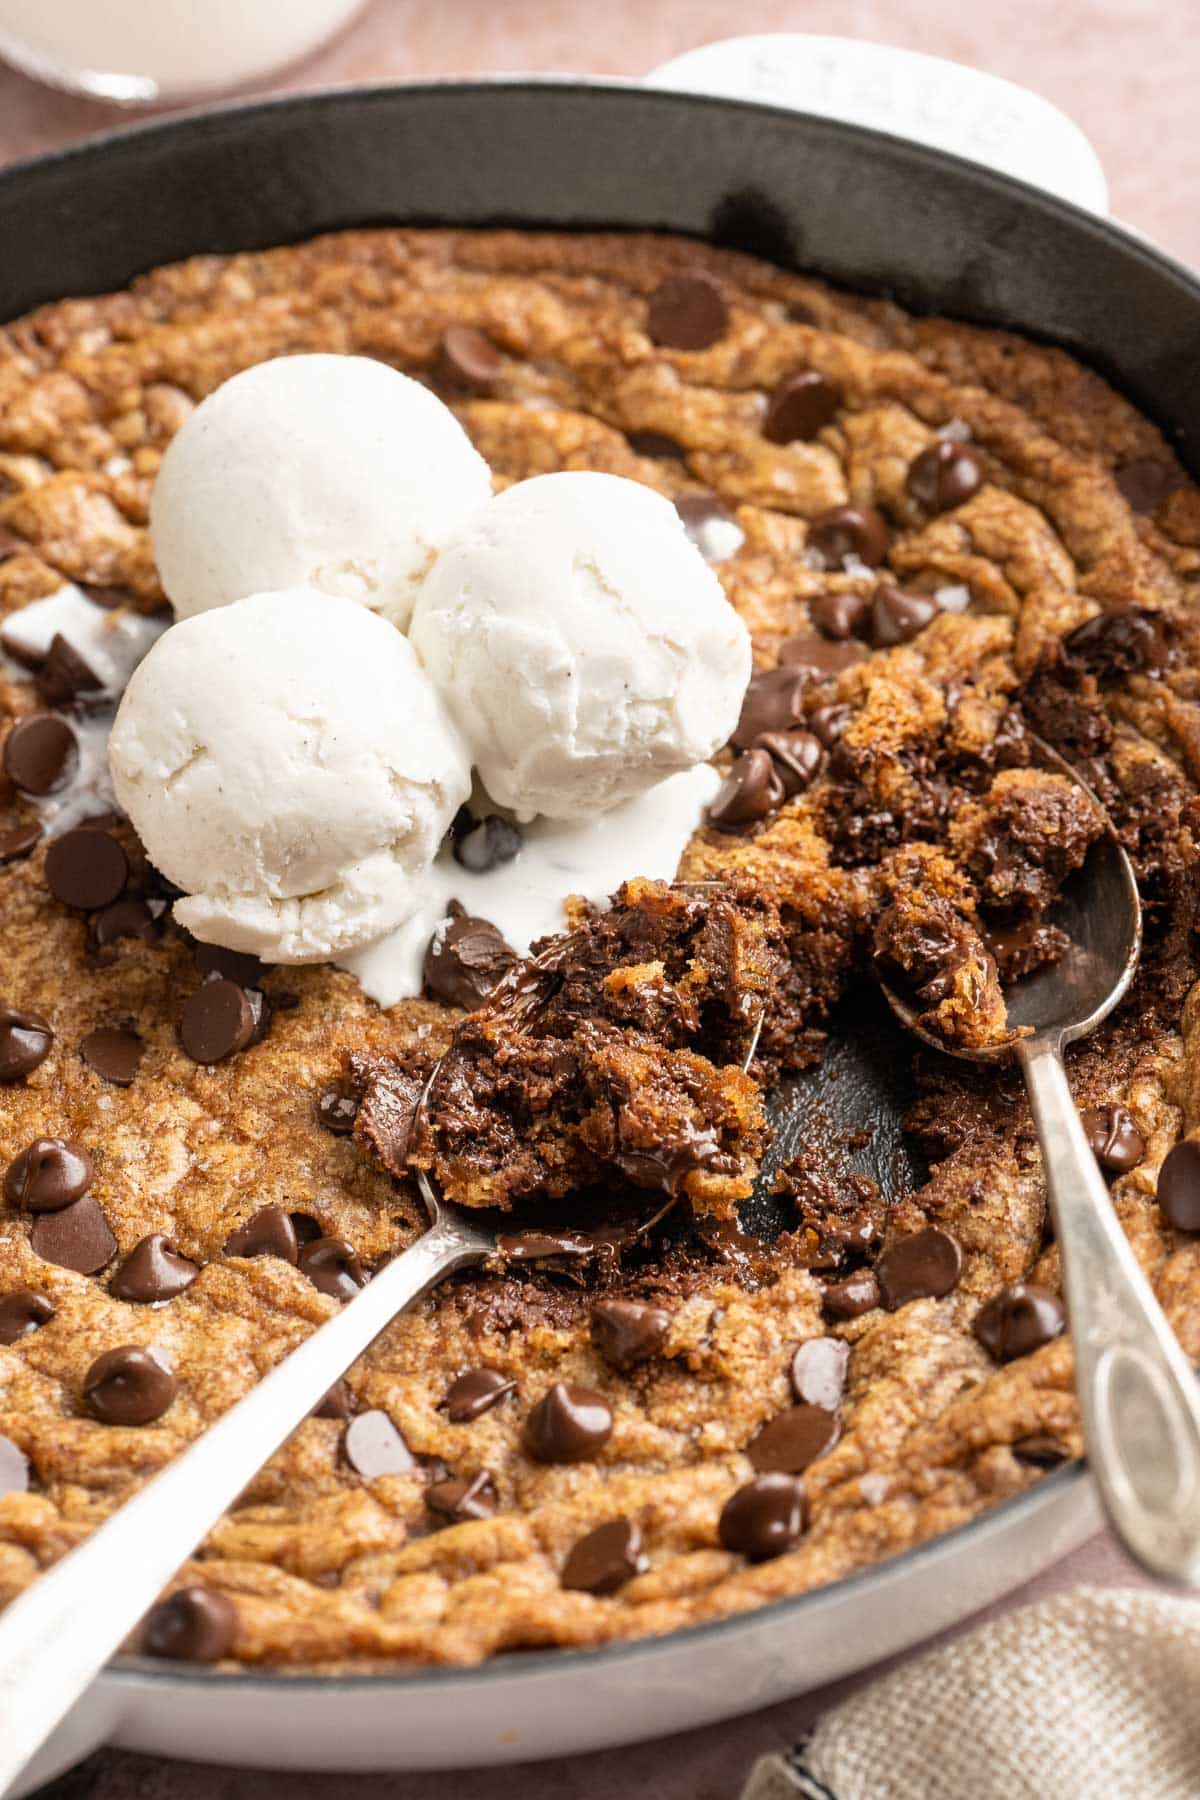
Chocolate Chip Skillet Cookie
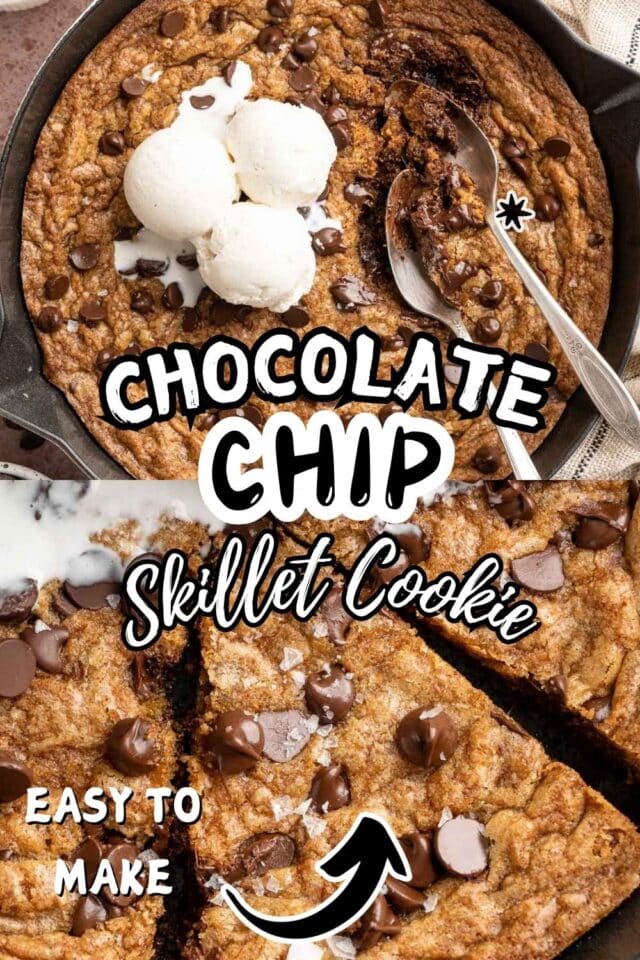
This Chocolate Chip Skillet Cookie is everything you love about classic cookies—crisp edges, melty chocolate, and soft centers, just bigger, better, and meant for sharing (or not!). It’s the ultimate cozy dessert, perfect with a scoop of ice cream on top and a spoon in hand.

EMAIL ME THE RECIPE!
What I love most about this chocolate chip skillet cookie, besides how unbelievably delicious it is, is just how easy and fun it is to make. There’s no chilling the dough, no scooping out individual cookies, and no rotating baking sheets in and out of the oven. You just press the dough right into a skillet, bake it until the edges are golden and the center is soft and gooey, and that’s it. It feels a little fancy, but it’s really as low-effort as it gets.
Even though any oven-safe pan will work, there’s something extra cozy about serving this dessert in a cast iron skillet. It’s my go-to when we have friends over for dinner—warm, melty, and always a crowd-pleaser. The skillet cookie cake gets everyone gathered around the table with forks in hand and eyes on that dreamy scoop of melting ice cream on top.
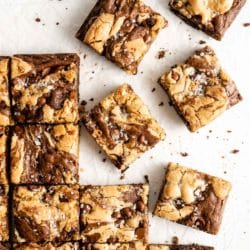
You can slice it into neat wedges or just dig right in, family-style. Either way, it’s the kind of dessert that makes you feel like a kid again.
Just made this for my husband in our cast iron skillet and it was SO GOOD. Topped it with ice cream and caramel sauce too. He was so happy! Can’t wait to try this over a campfire someday! Thanks Kim!
— Emily
Ingredients you’ll need
Nothing fancy needed for this skillet cookie recipe, just your classic cookie ingredients! If you’ve made chocolate chip cookies before, you’ve already got everything you need for this gooey skillet version.

- Butter: You can use salted or unsalted butter. If using unsalted, bump up the added salt slightly. Make sure your butter is softened to blend easily with the sugars.
- Light brown sugar: Adds moisture and a rich, caramel-like flavor. Pack it tightly into the measuring cup for an accurate amount of sweetness.
- Granulated sugar: Gives structure and a bit of crispness around the edges, balancing the softness from the brown sugar.
- Vanilla extract: Enhances the overall flavor. Use pure vanilla for the best taste.
- Egg: Binds everything together and adds richness. Make sure it’s at room temperature for easier mixing.
- All-purpose flour: Provides the structure for your cookie. Spoon and level for an accurate measurement—don’t pack it in!
Baking soda: Helps the cookie rise and brown nicely.
Salt: Brings out all the other flavors. Use 1/2 teaspoon if using unsalted butter, or just 1/4 teaspoon if your butter is salted.
Semi-sweet chocolate chips: Classic cookie flavor! You can use chunks or a combo of both chunks and chips. Don’t forget to save a few to sprinkle over the top before baking for that bakery-style look.
Variations
Here are some ideas for making this giant cookie your own!
- Add nuts: Mix in chopped walnuts or pecans for a nutty crunchy.
- Try different chocolate: Use white chocolate chips, dark chocolate chunks, or peanut butter chips for a flavor swap.
- Top it off: Serve warm with a scoop of vanilla ice cream, a drizzle of hot fudge, or a sprinkle of flaky sea salt.
- Make it s’mores-style: Add mini marshmallows and crushed graham crackers to the dough or sprinkle on top before baking.
- Go gluten-free: Substitute with a 1:1 gluten-free flour blend to make it celiac-friendly.

Chocolate Chip Skillet Cookie
Ingredients
- 1/2 cup (1 stick, 113g) salted or unsalted butter
- 1/2 cup (90g) packed light brown sugar
- 1/4 cup (50g) granulated sugar
- 1 teaspoon vanilla
- 1 large egg
- 1 cup (120g) all-purpose flour
- 1/2 teaspoon baking soda
- 1/4 teaspoon salt, 1/2 teaspoon salt if using unsalted butter
- 1 cup (170g) semi-sweet chocolate chips , (you can use chocolate chunks or a combination of chocolate chips and chocolate chunks), reserve some for sprinkling over the top before baking
EMAIL ME THE RECIPE!
Instructions
- Preheat the oven to 350°F and generously grease a 9 or 10-inch cast iron skillet with butter or olive oil.
- Microwave the butter for about 40 seconds to just barely melt it.
- Add the butter to a large mixing bowl. With a stand mixer or hand mixer, beat the butter and sugars together until smooth and creamy. Mix in the vanilla and egg on low speed just until combined, about 10–15 seconds.
- Add the flour, baking soda and salt and mix until almost combined.
- Gently fold in the chocolate chips without over-mixing.
- Spread the dough onto the bottom of the prepared skillet. Top with the reserved chocolate and bake for 24 minutes, or until the edges are golden brown and a toothpick inserted in the center comes out clean.
- Let the cookie cool in the pan for at least 5 minutes before cutting. Serve with a scoop of vanilla ice cream, if desired.
Notes
Did you make this recipe?
Tag @kimscravings on Instagram and be sure to subscribe to our mailing list to receive more healthy and delicious recipes straight to your inbox!
How to make a skillet cookie
Preheat your oven to 350°F and generously grease a 9- or 10-inch cast iron skillet (or other oven-save pan) with butter or oil. This helps create those golden, crispy edges we all love. Once your skillet is ready, it’s time to mix, stir, and press that delicious dough into the pan. Let’s get baking!

Step 1. Microwave the butter for about 40 seconds to just barely melt it.
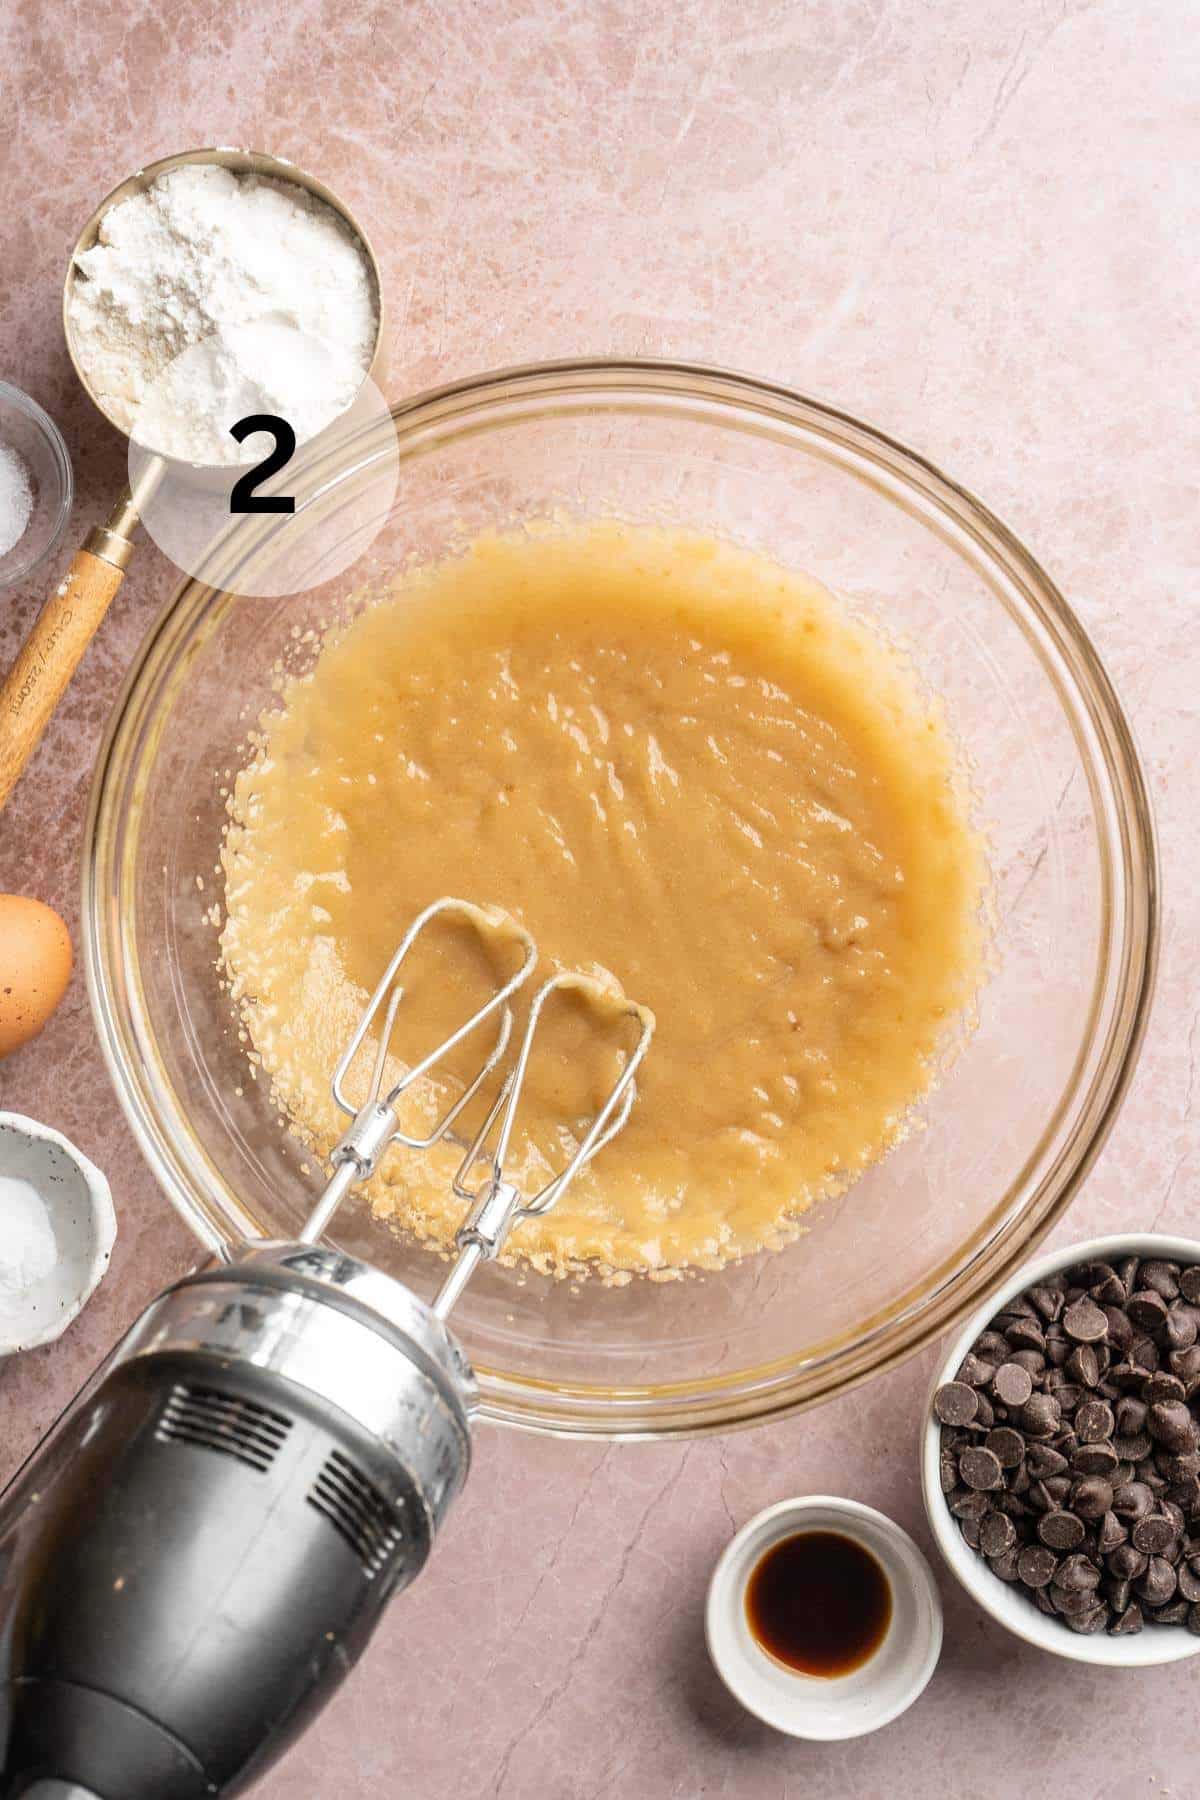
Step 2. Add the melted butter to a large mixing bowl. With an electric mixer, beat the butter and sugars together until smooth and creamy.
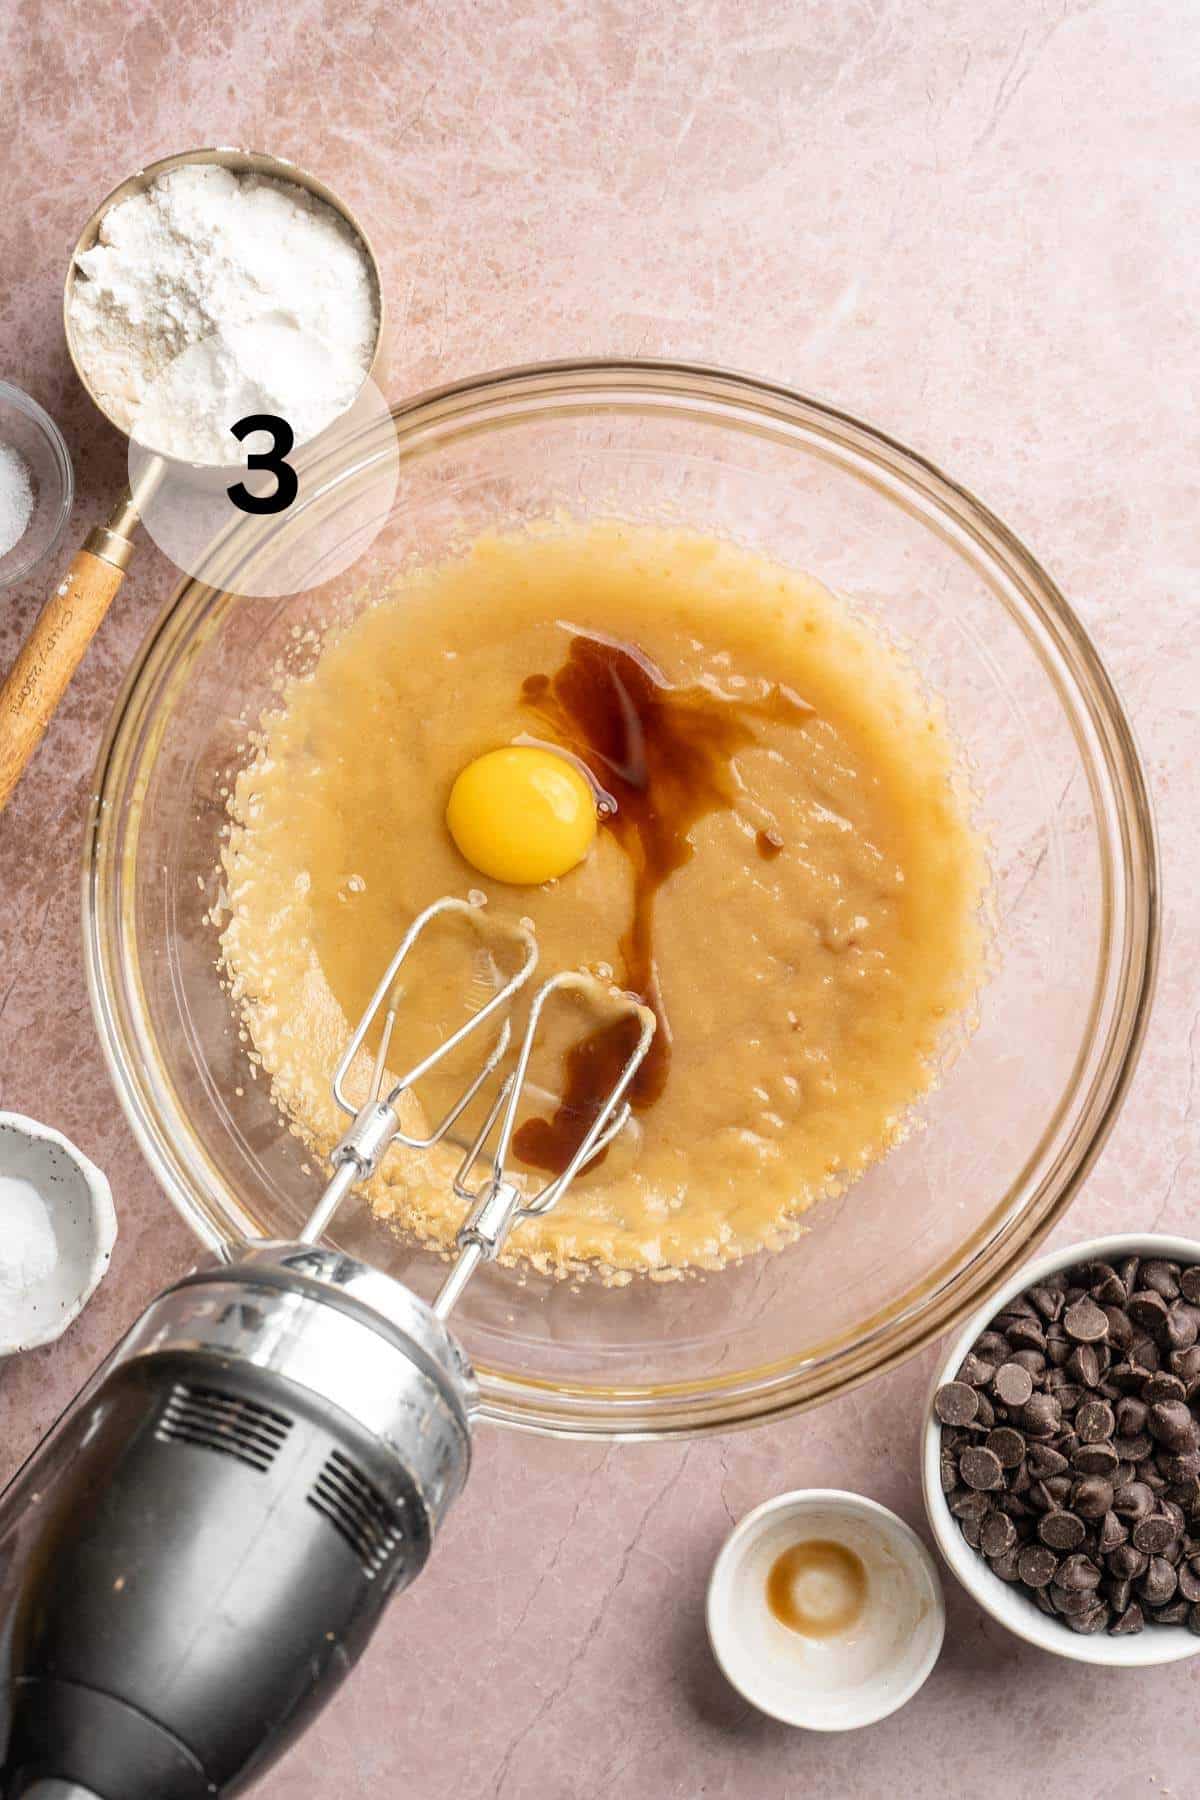
Step 3. Stir the vanilla and egg into the butter mixture on low speed just until combined, about 10–15 seconds.
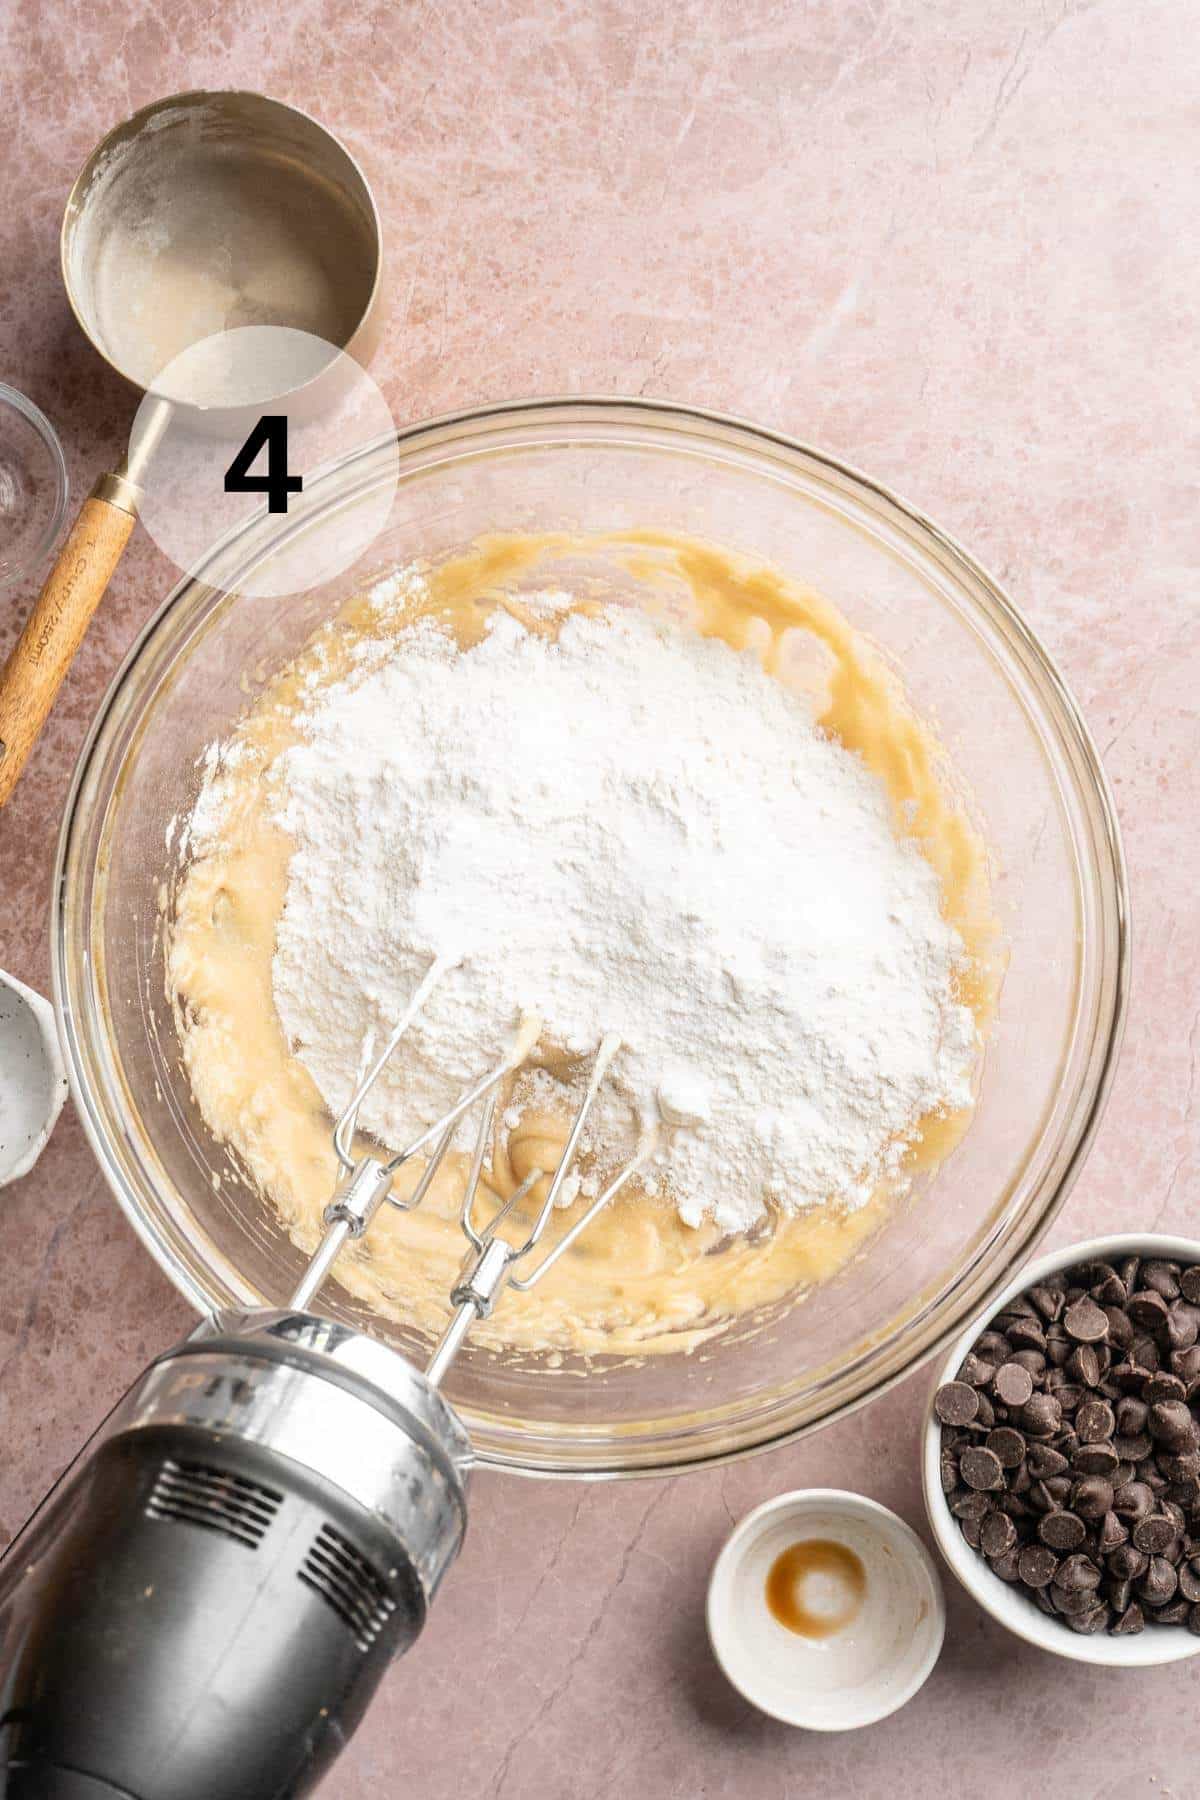
Step 4. Add the flour, baking soda and salt and mix until almost combined.
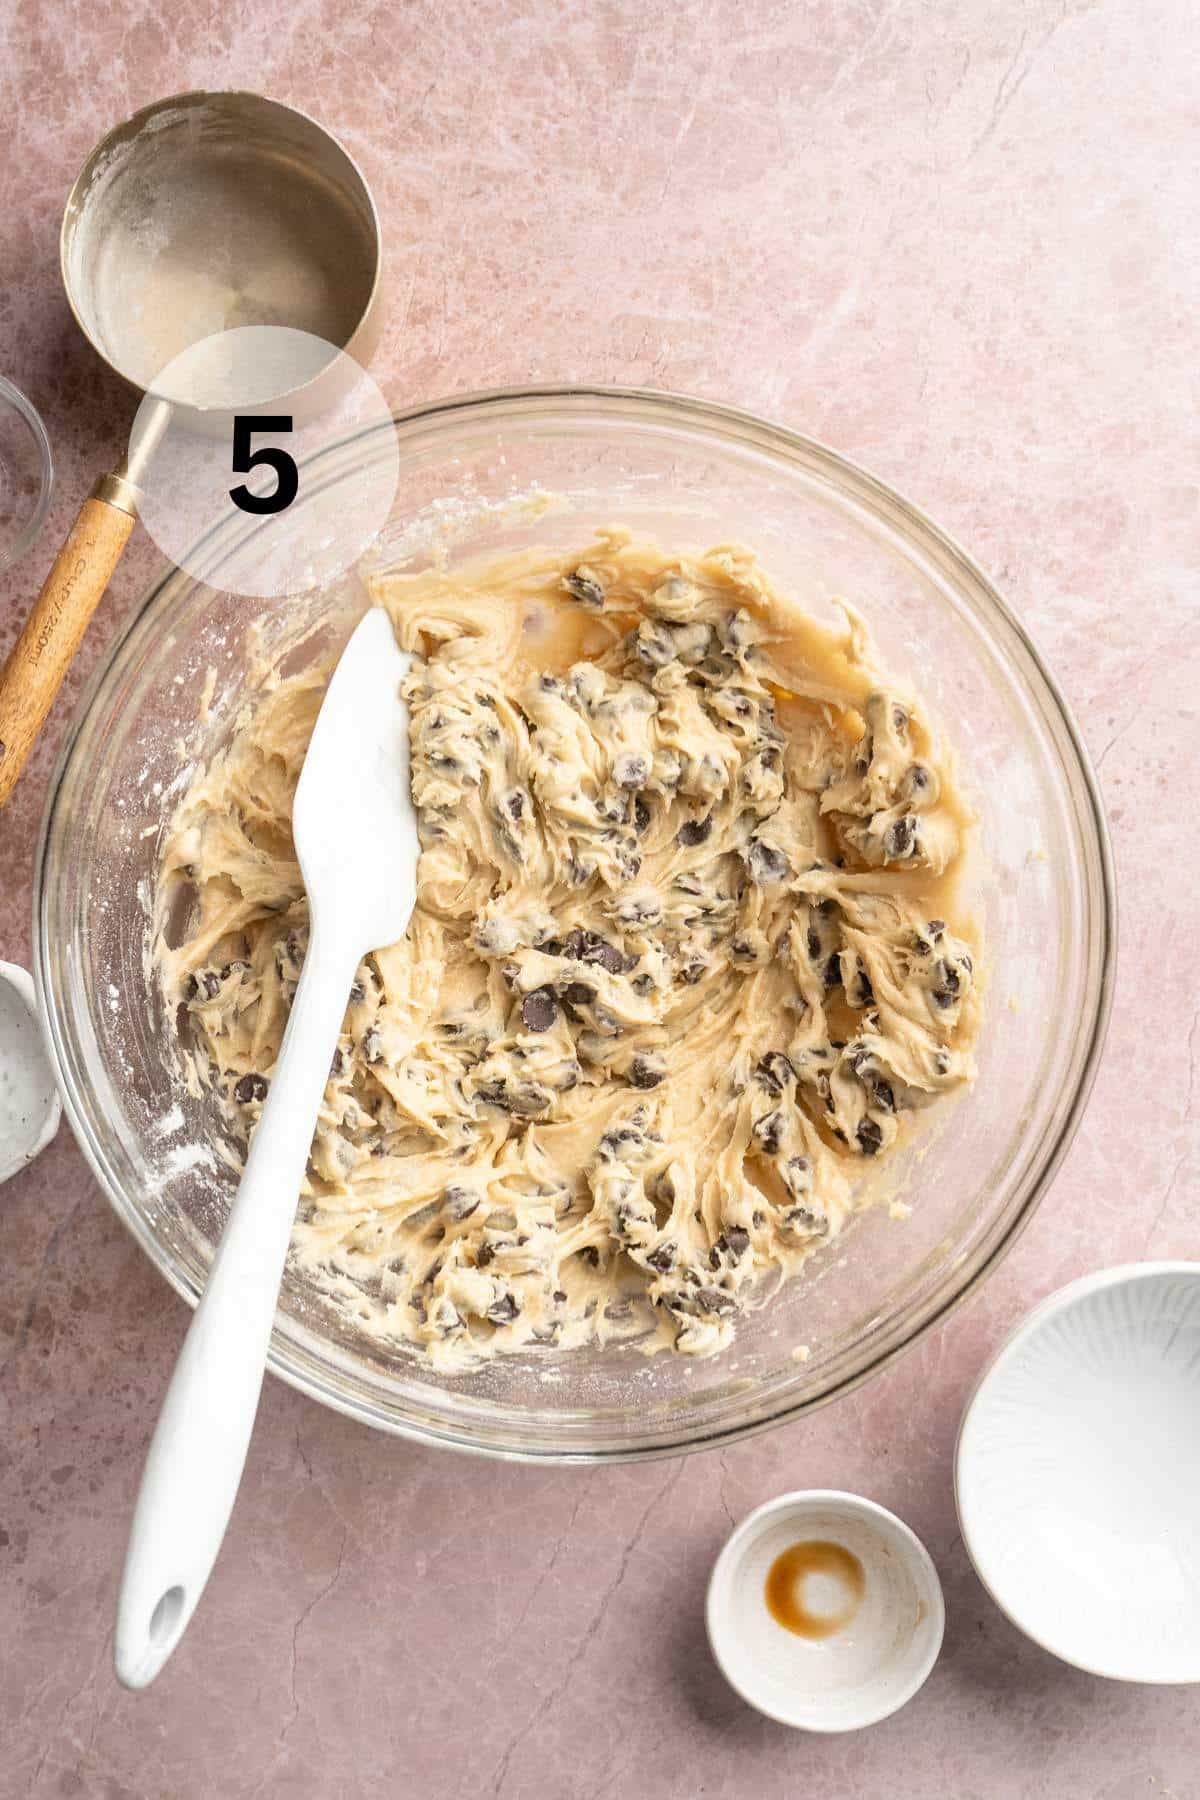
Step 5. Gently fold in the chocolate chips without over-mixing.
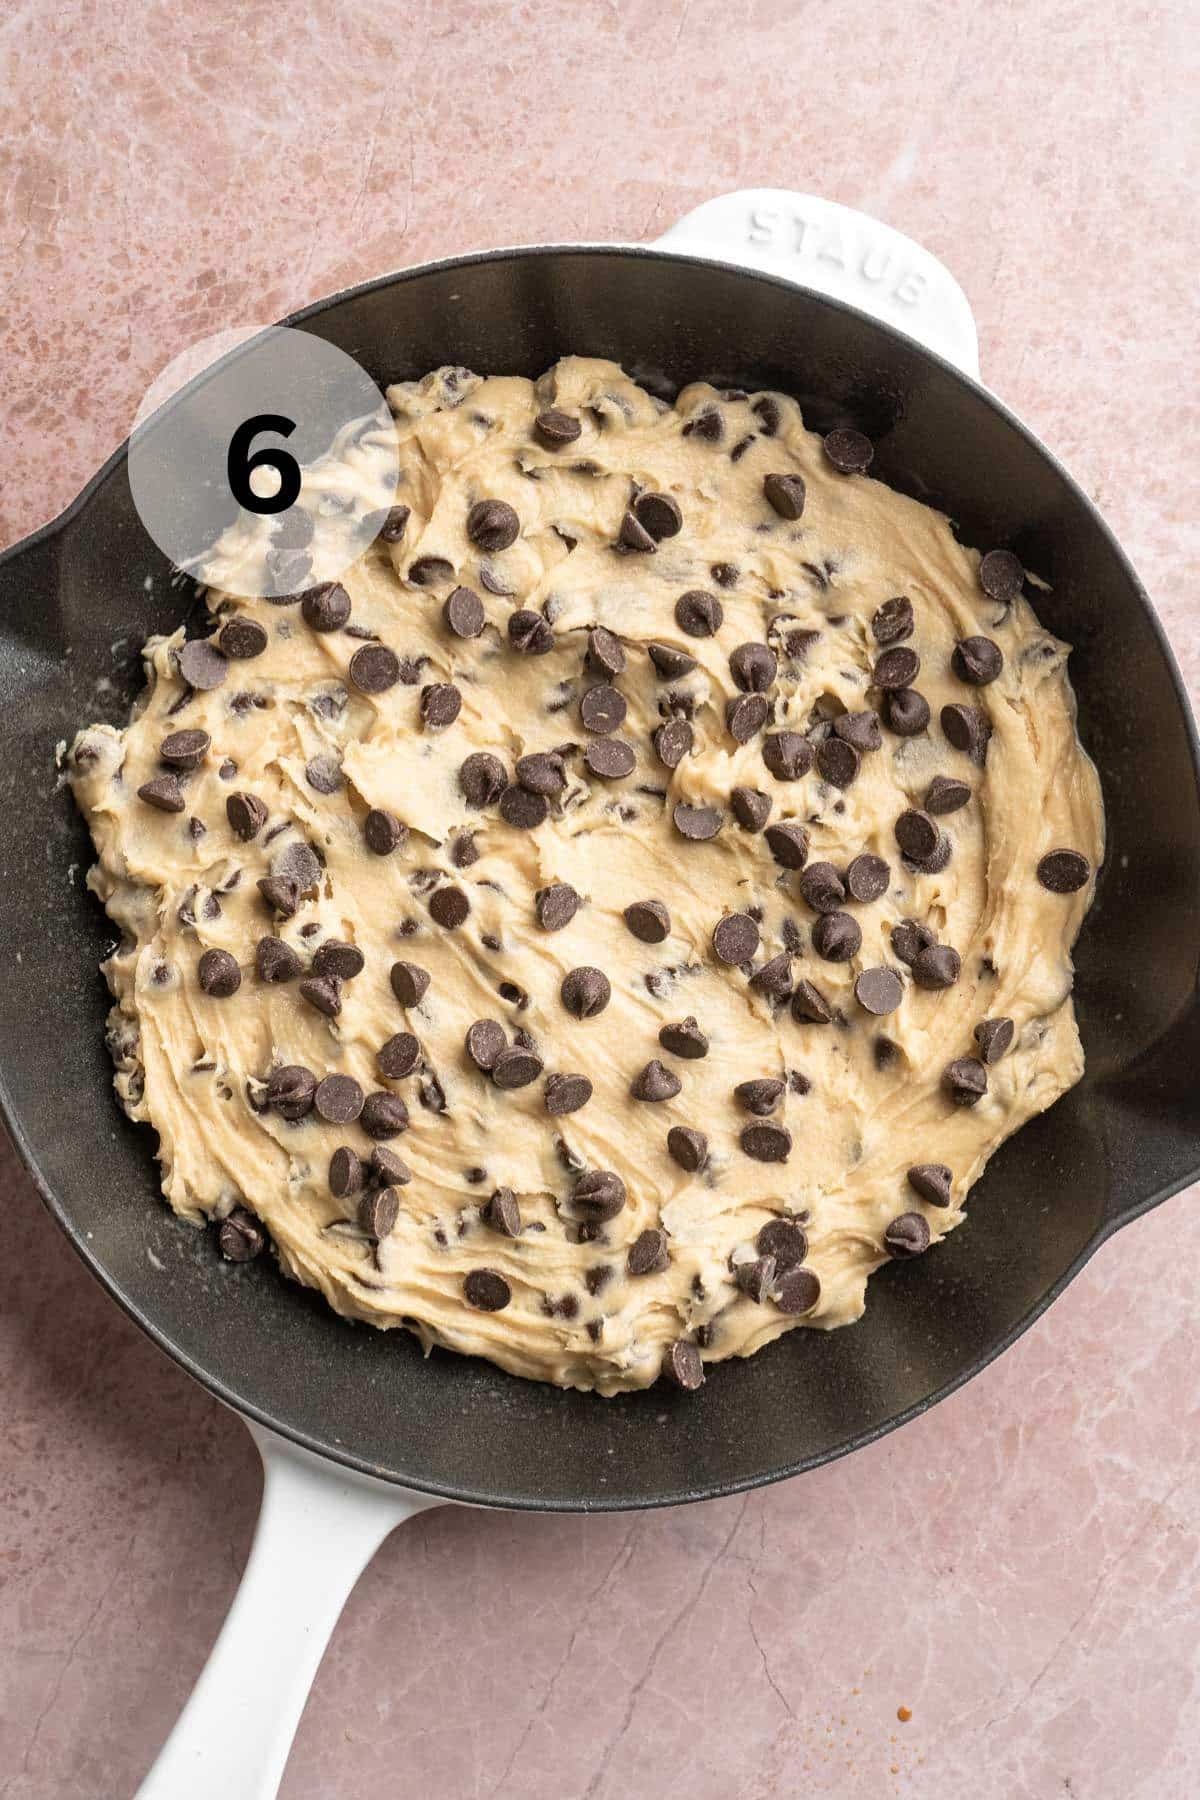
Step 6. Spread the batter onto the bottom of the prepared skillet. Top with the reserved chocolate.
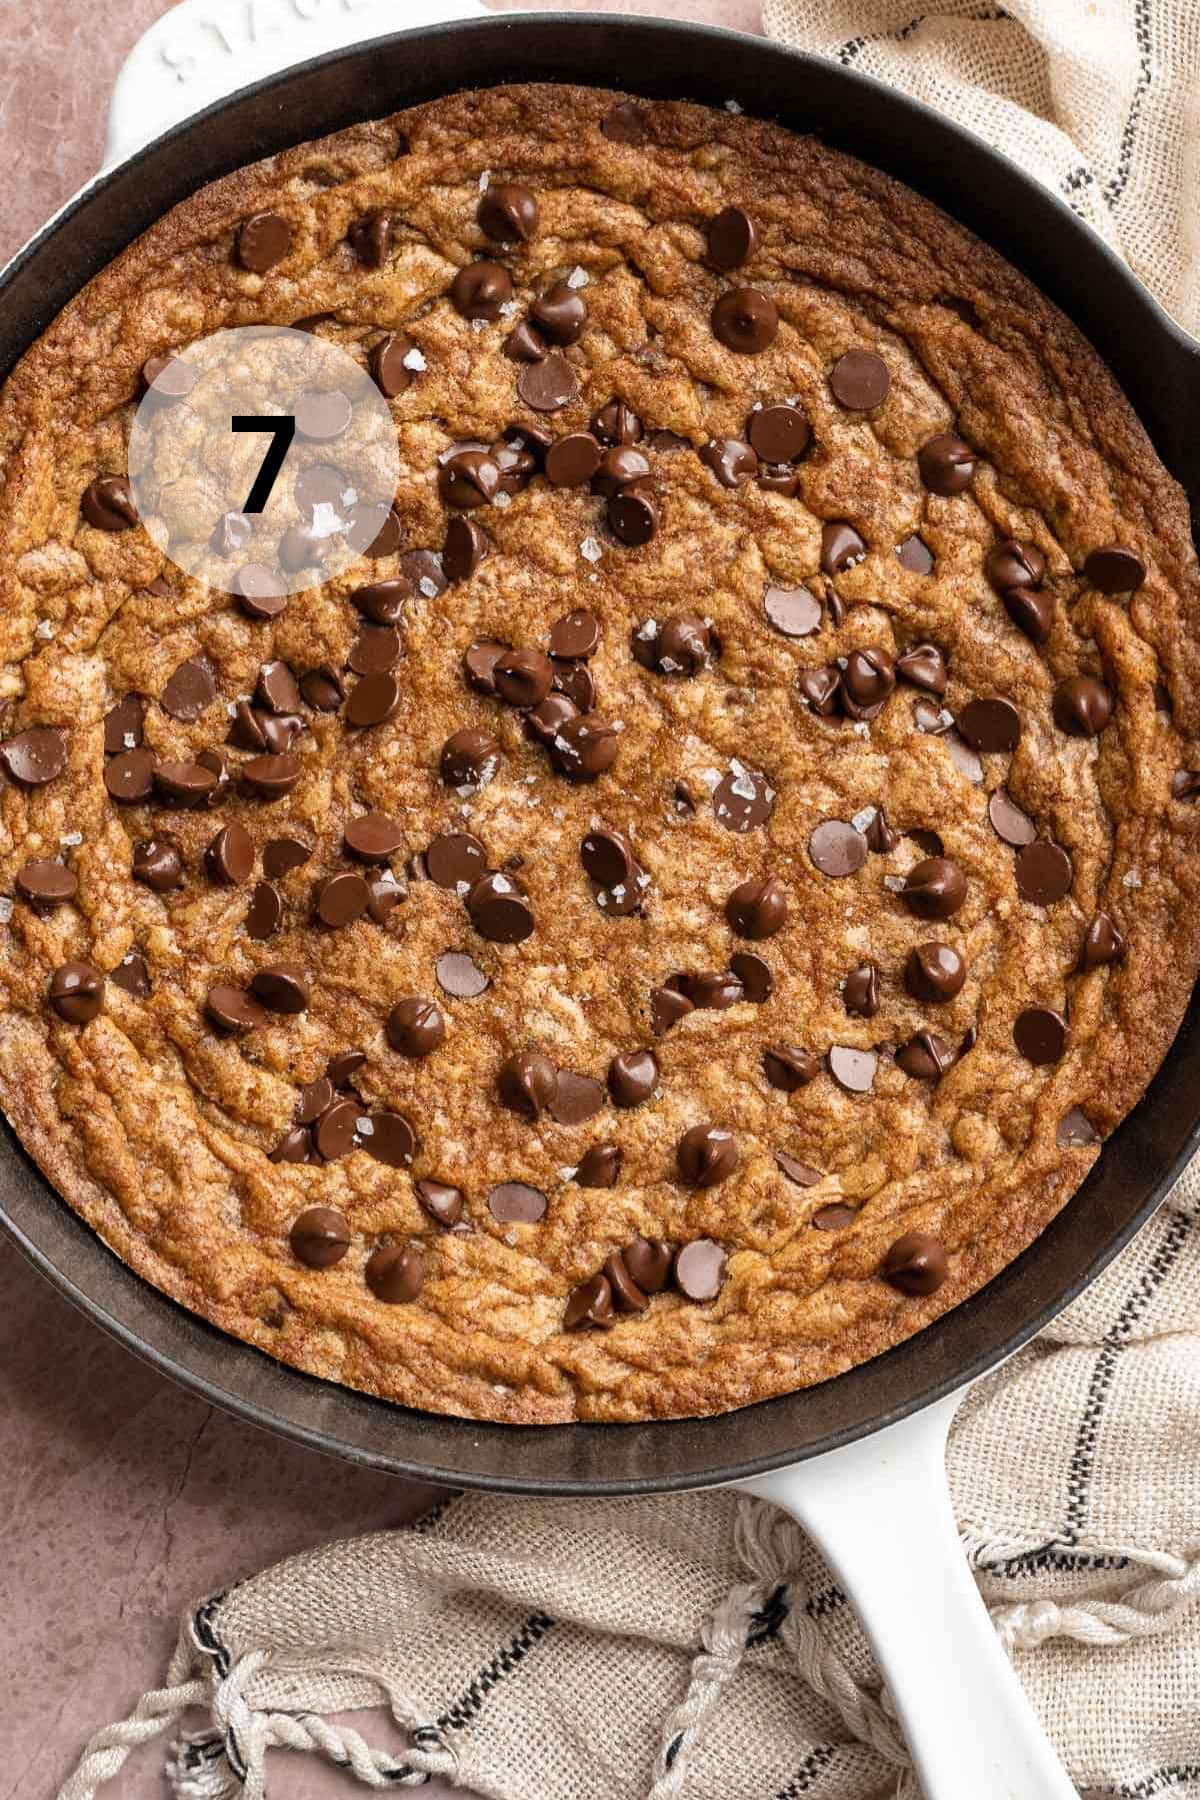
Step 7. Bake for 24 minutes, or until the edges are golden brown and a toothpick inserted in the center comes out clean.
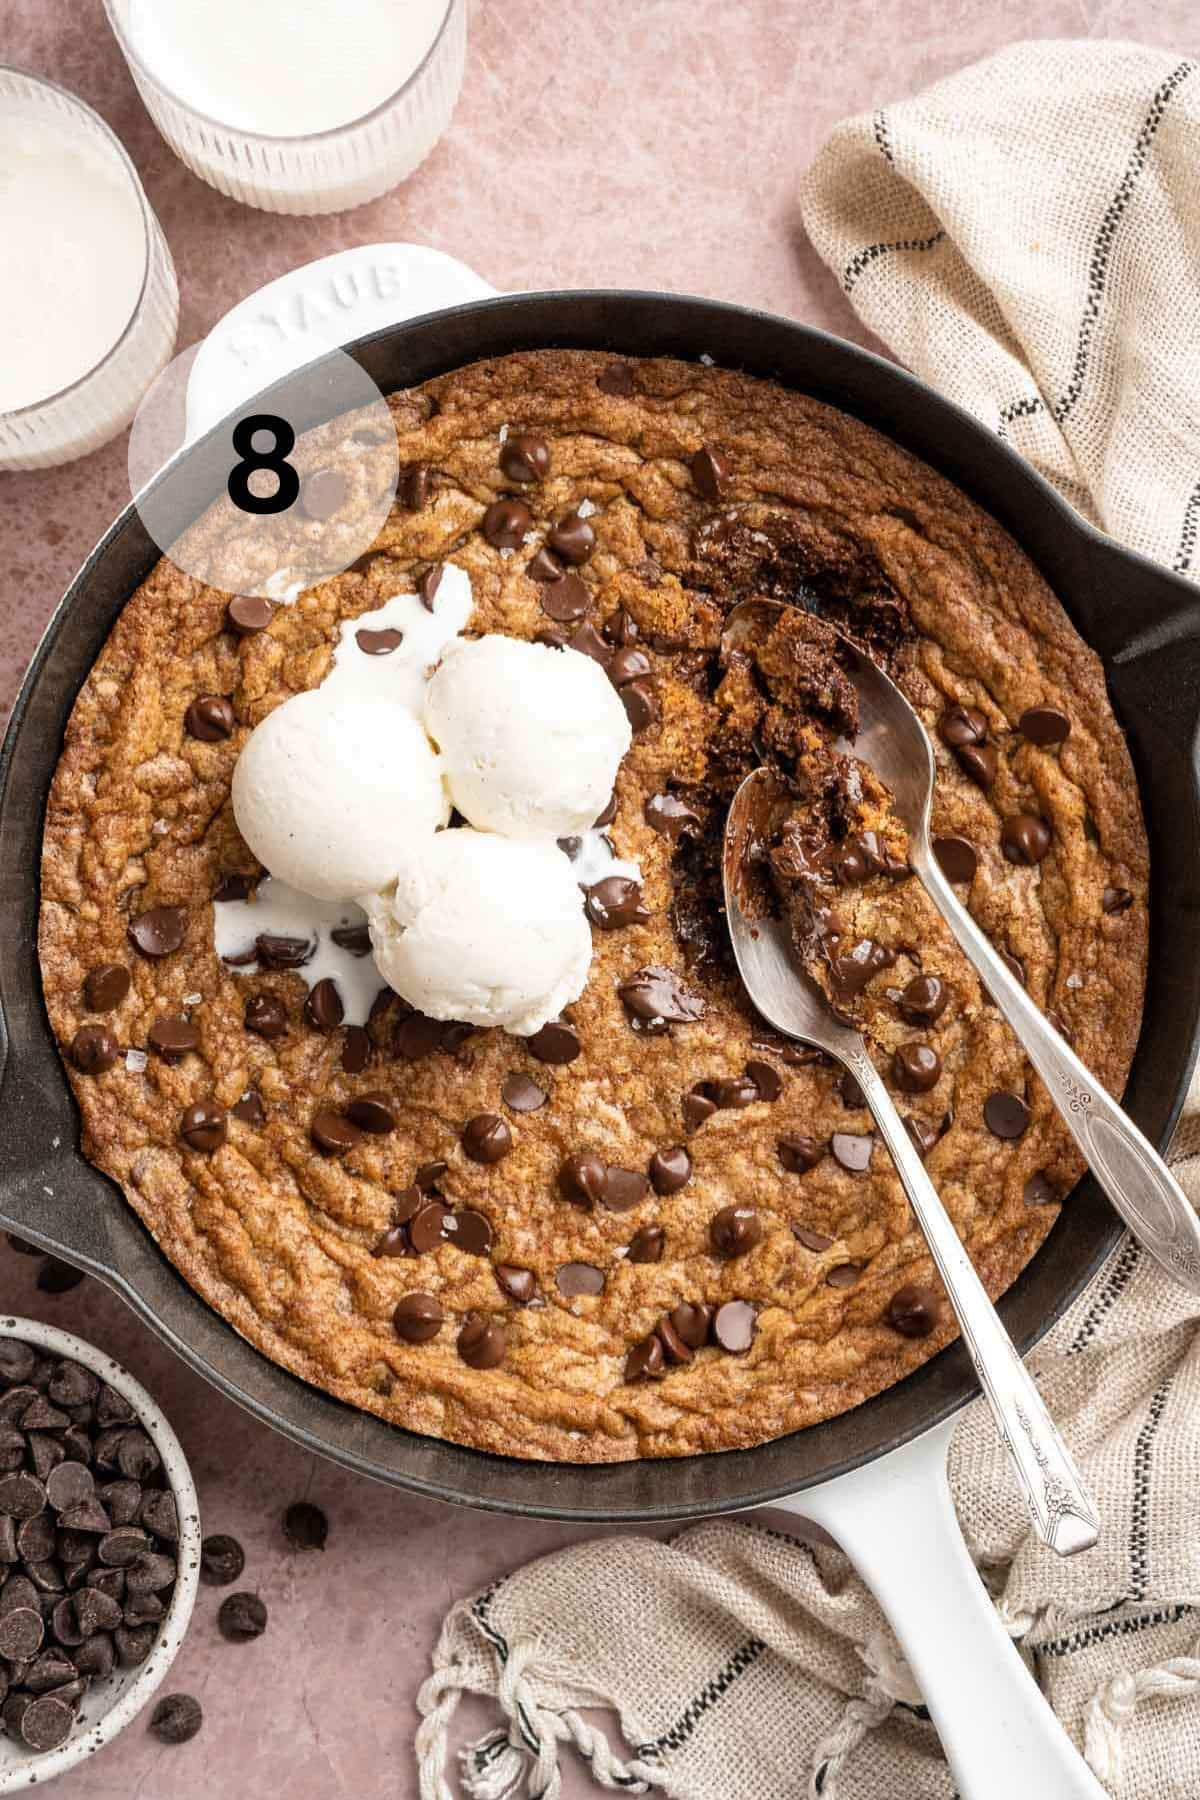
Step 8. Let the cookie cool in the pan for at least 5 minutes before cutting. Serve with a scoop of vanilla ice cream, if desired.
Recipe tips
- Wash and grease your skillet: Make sure your pan is clean, you don’t want leftover flavors from past meals to sneak into your dessert. A quick wash and a good coat of butter help keep your cookie tasting just right and prevent sticking.
- Don’t overmix the dough: Mix until just combined to keep the cookie soft and chewy.
- Slightly underbake for gooey centers: The cookie will continue cooking in the skillet even after it’s out of the oven.
- Let it rest before slicing: Give the cookie skillet 5–10 minutes to set before scooping or slicing—it’ll be easier to serve without falling apart.
Frequently asked questions
Yes! If you don’t have a cast iron skillet, you can use an 8×8 or 9×9-inch baking dish. Just note that the edges might not get quite as crisp. Bake time may also vary.
The edges should be golden brown, and the center should look just set but still soft. It’ll continue cooking a bit as it cools, so don’t overbake!
Yes! You can prep the dough in advance and store it in the fridge for up to 2 days. When ready to bake, press it into your skillet and add a couple extra minutes to the baking time.
Storage recommendations
- Room temperature: Cover the skillet tightly with foil or transfer leftover cookie to an airtight container. Store at room temp for up to 4 days. It stays soft and chewy!
- Refrigerator: For slightly longer storage, place leftovers in the fridge for up to 7 days. Reheat in the microwave for 15–20 seconds to soften before serving.
- Freezer: You can freeze baked cookie slices for up to 3 months. Wrap individual portions in plastic wrap, then place in a freezer-safe container or zip-top bag. Thaw at room temp or microwave for a warm treat.


If you try this, let me know! Leave a comment and if your family loves it as much as mine does, be sure to give it a five star ⭐️ rating! Also, tag @kimscravings on Instagram with a picture of your creation. Be sure to subscribe to our mailing list to receive more healthy delicious recipes straight to your inbox.
Absolutely delicious! I made the recipe exactly as written, checked at 20 minutes and it was perfect at 26 minutes. Chewy, chocolatey, and crunchy — just as promised. We almost finished the whole batch! I shared a similar treat on my blog too: https://indown.io/
So happy you enjoyed!
Made this the other day for my kids, and I’m currently working on my second one as I type this. Everyone loved this, and I loved how simple and easy it all came together. Put together in no time! Pretty sure this will become a regular dessert in my house! Thank you for the recipe!
So happy to hear!
Just made this for my husband in our cast iron skillet and it was SO GOOD. Topped it with ice cream and caramel sauce too. He was so happy! Can’t wait to try this over a campfire someday! Thanks Kim!
So happy you love this recipe!
Absolutely delicious! Made as written, started checking timing at 20 minutes, done at 26 minutes – perfect! Chewy, chocolatey, crunchy as promised. We nearly ate the whole thing, it was that good!
This recipe has easily become my most favorite! Super easy to make, with ingredients you have on hand, and easy cleanup!! I’ve already made it twice it’s that good!!
A little too delicious… I couldn’t keep out of it! 🙂