Cheesecake Bars
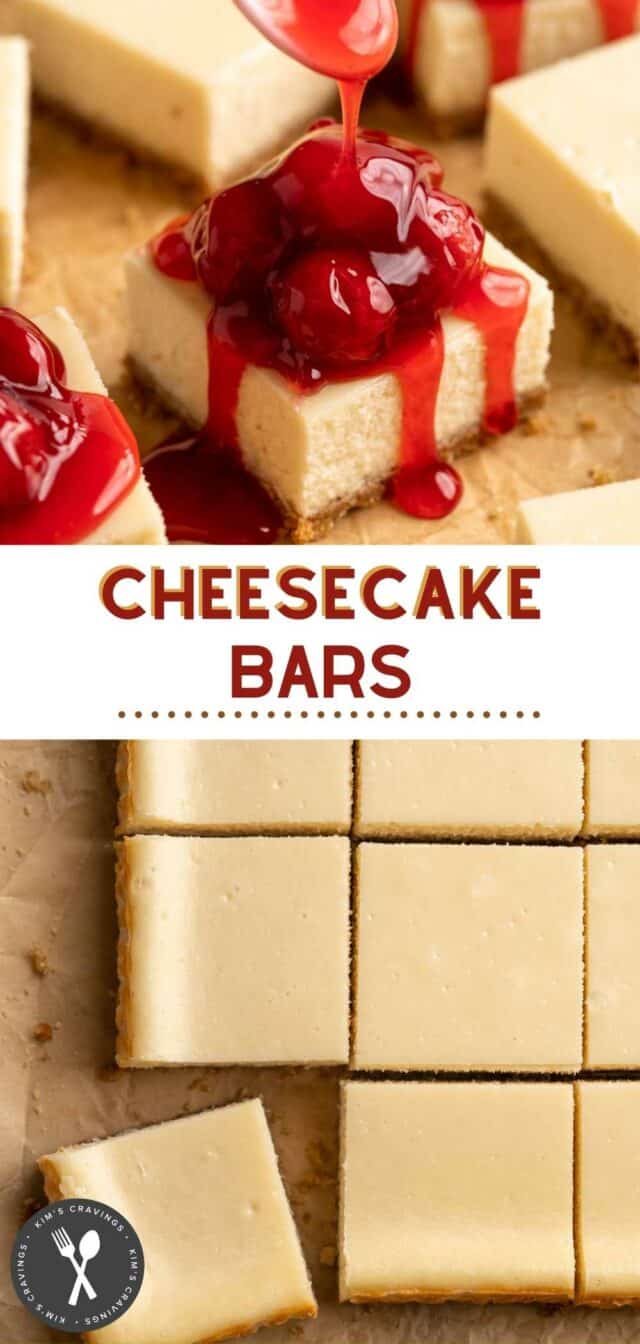
Delicious Cheesecake Bars are one of my VERY favorite desserts! A creamy, luscious cheesecake filling spread over a buttery graham cracker crust and then finished off with a sweet cherry topping – what could be better?! These bars are always a hit and make the perfect holiday dessert! They can be made up to 3 days in advance and they’re freezer friendly!
EMAIL ME THE RECIPE!
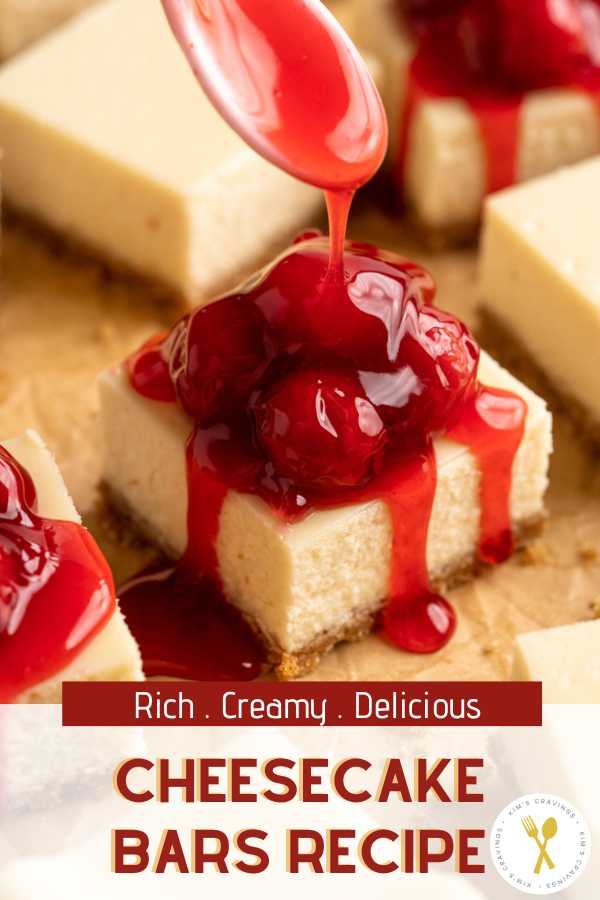
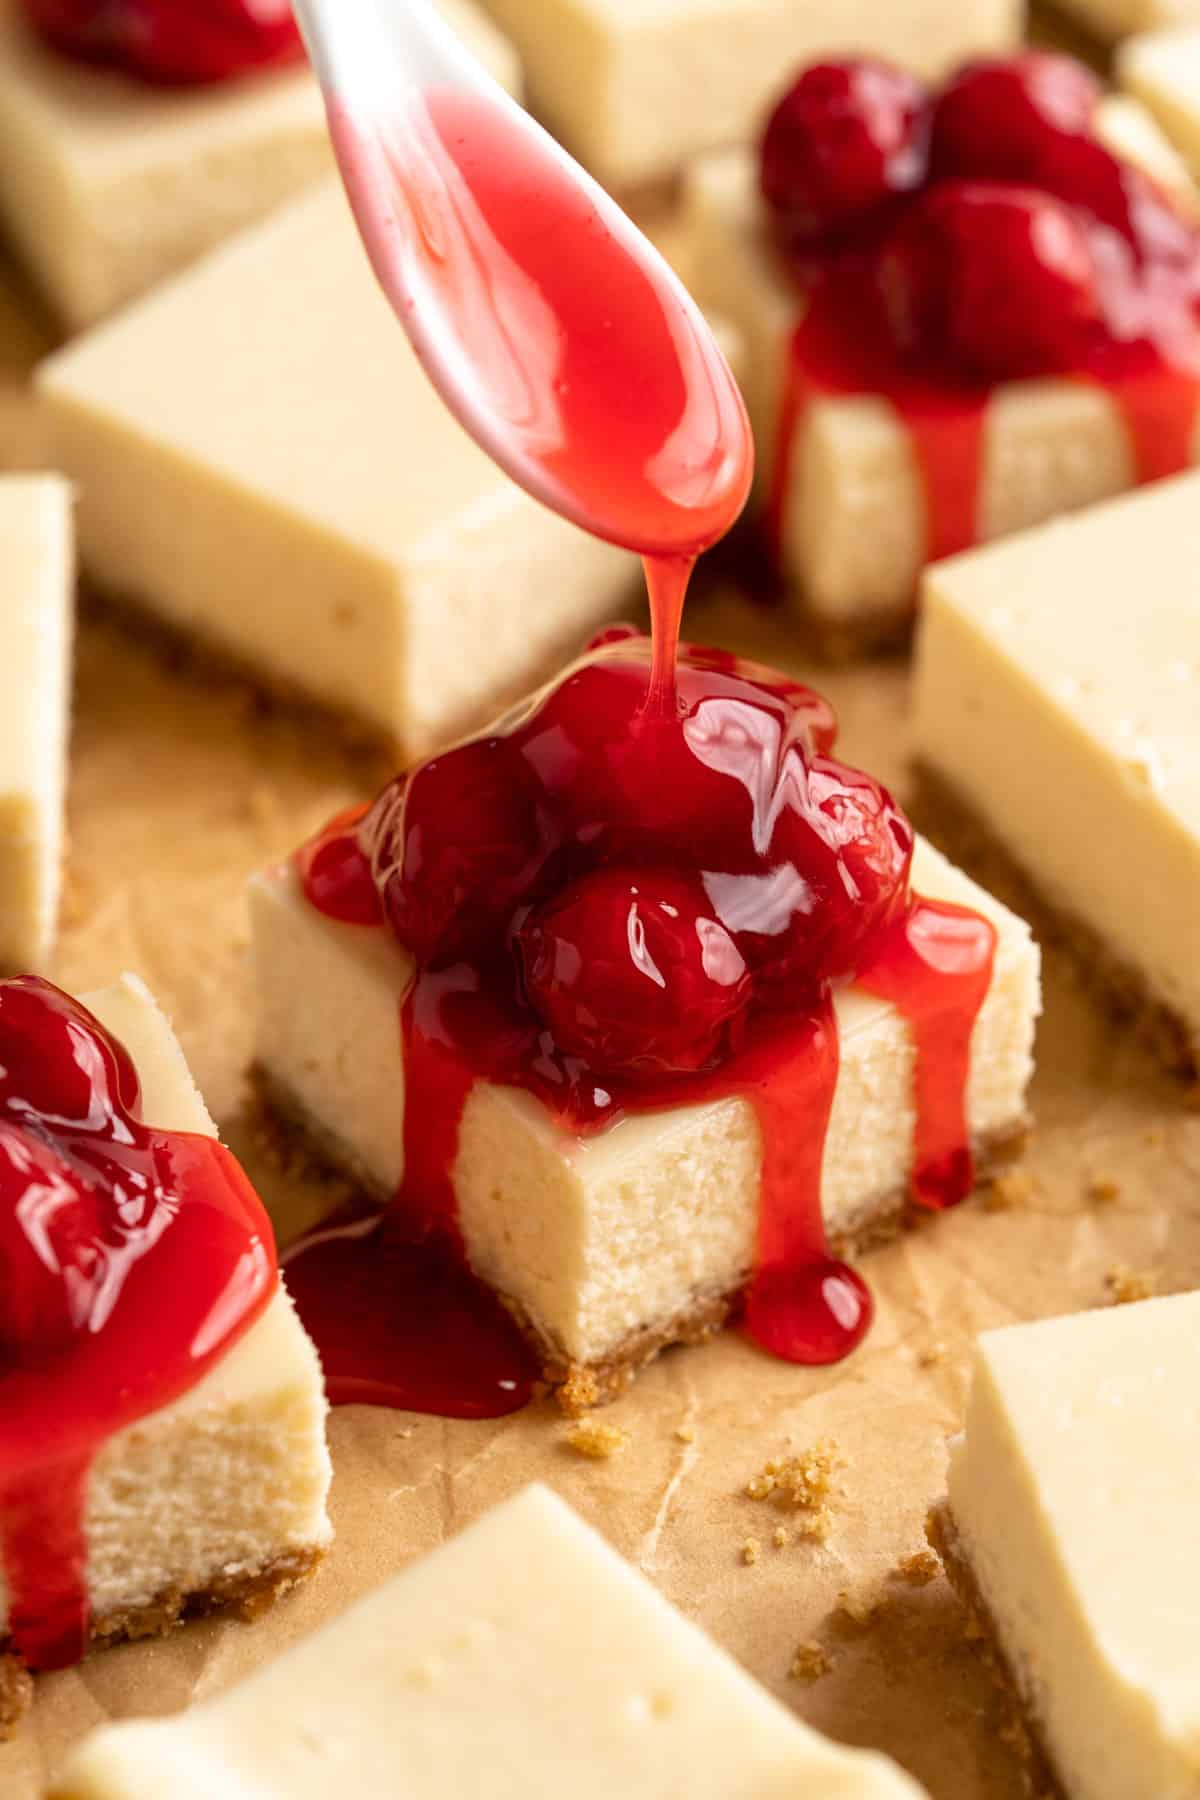
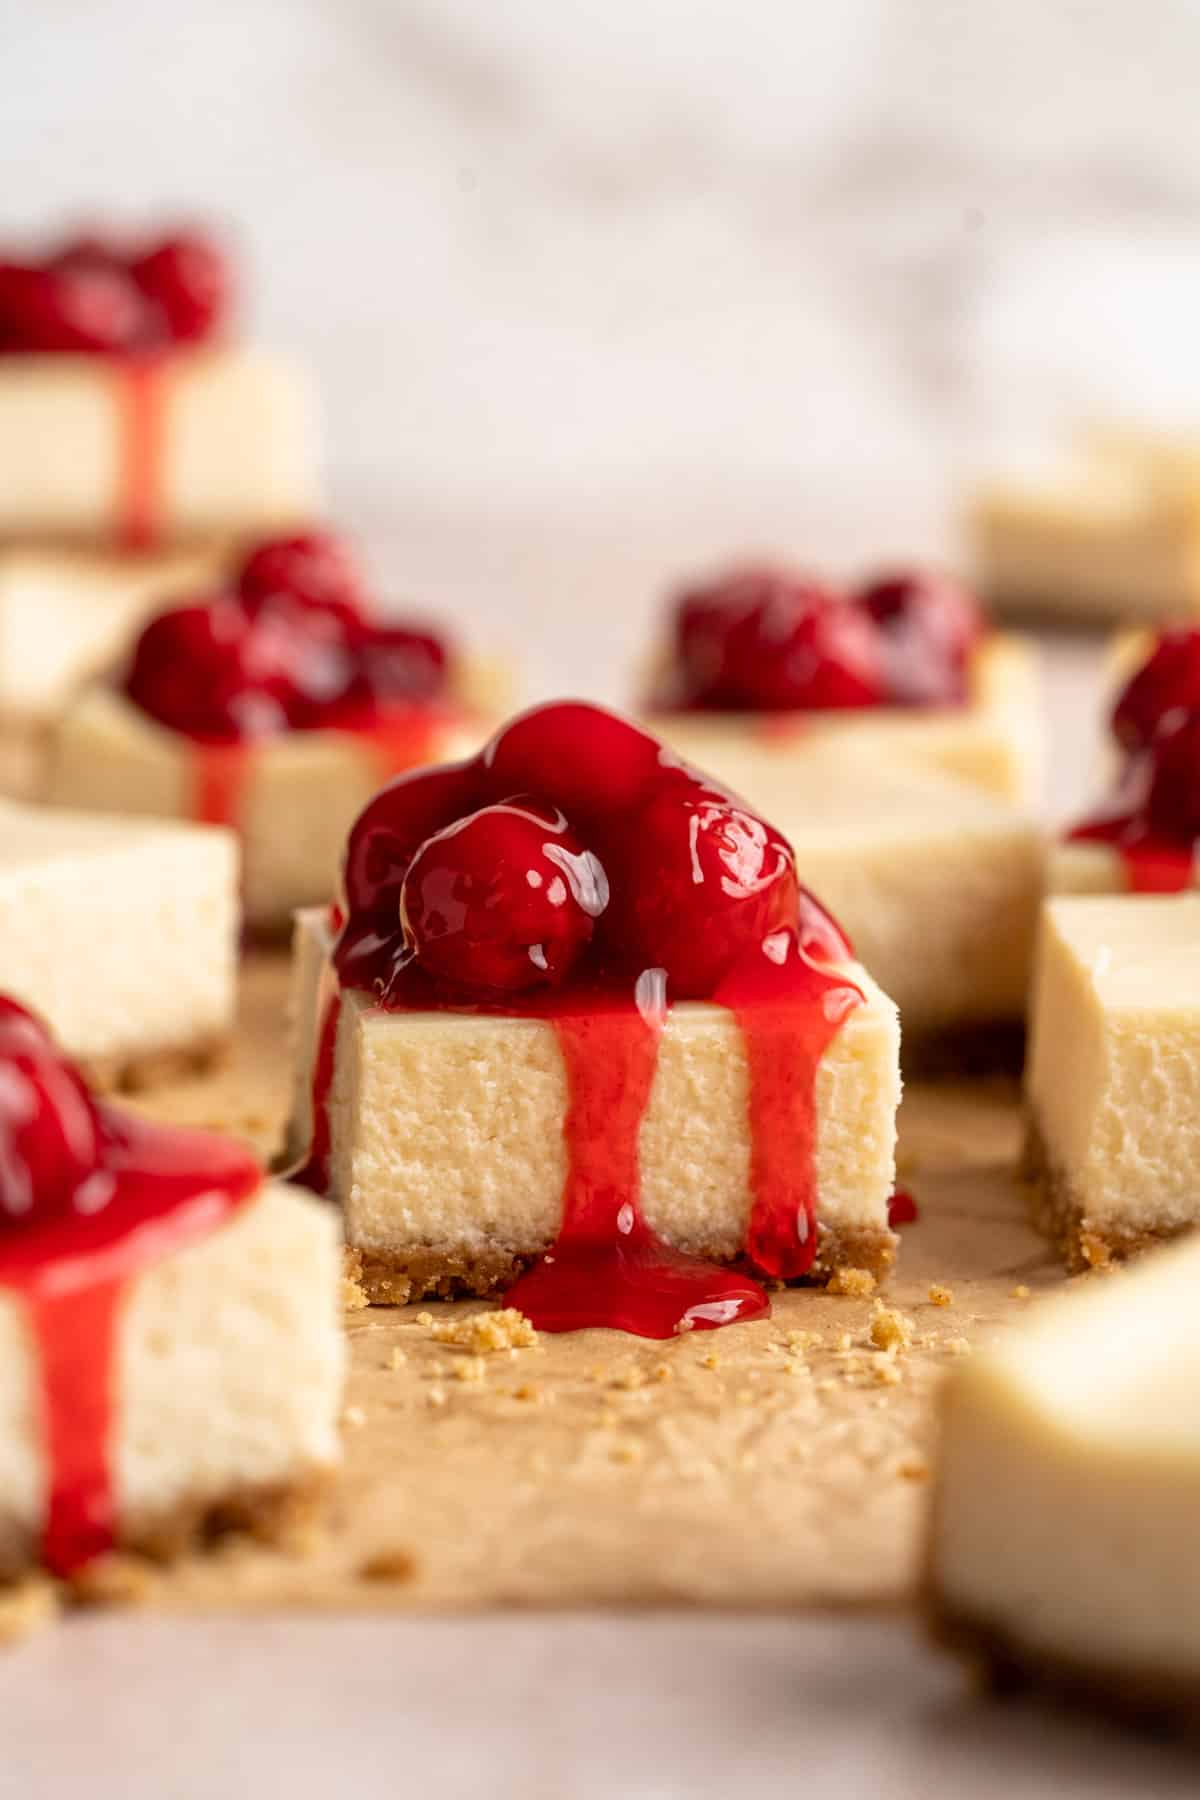
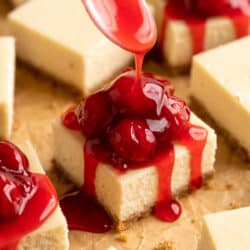
These Cherry Cheesecake Bars are the perfect make-ahead dessert for any occasion! Creamy cheesecake sits atop a homemade graham cracker crust, and (if you’d like) is finished off with a generous helping of cherries.
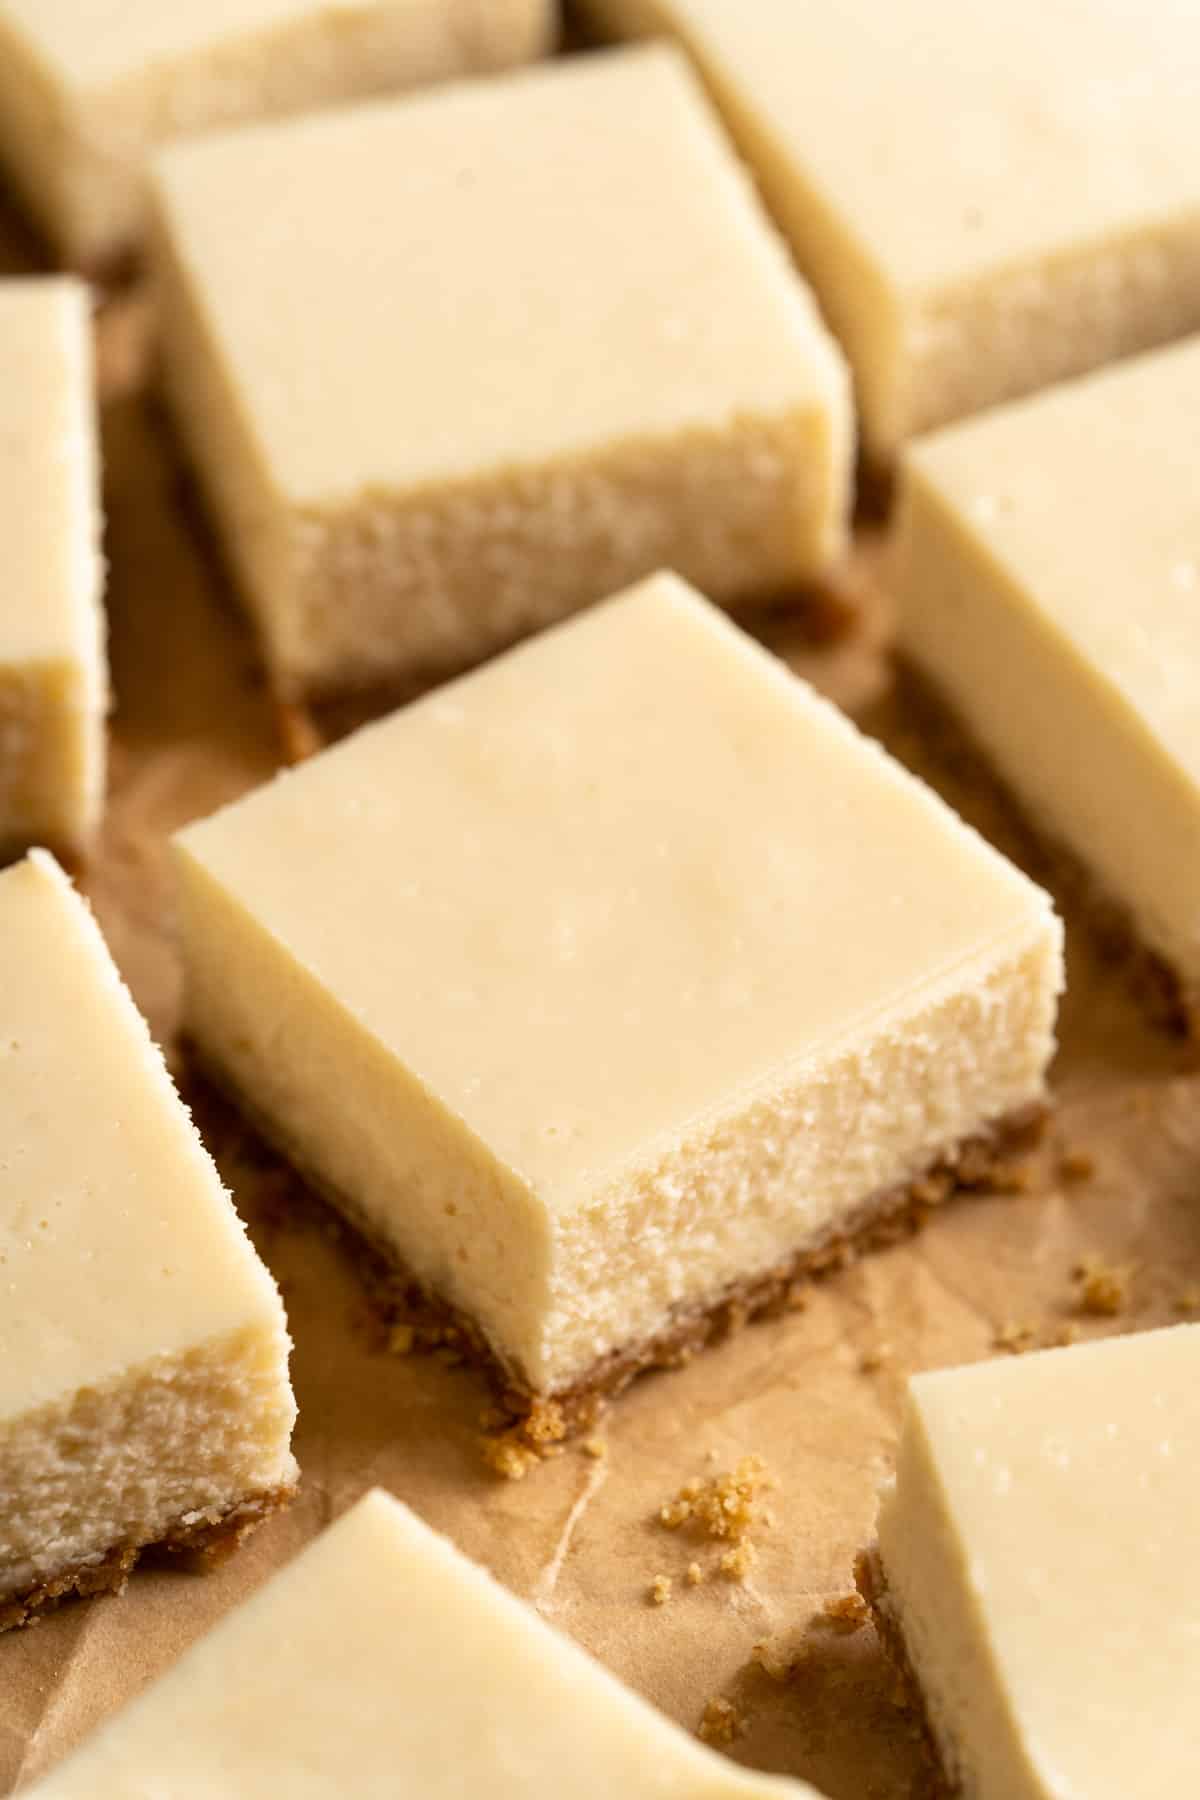
My family LOVES cheesecake! But making a traditional cheesecake can be a bit challenging! If you don’t want to hassle with water baths, cracking and all of the effort that goes along with a homemade cheesecake. These easy cheesecake bars are your solution! They’re perfectly creamy, tangy, and everything that a classic cheesecake should be. They have an amazing graham cracker crust, which might be my favorite part. Top them with sweet cherry pie filling, a drizzle of salted caramel, fresh berries or enjoy them plain. They are simple to make and always a hit!
I’ve tried different cheesecake bar recipes and this one is so far above the rest. Seriously so delicious. It was a complete hit with the family.
— Emily
Why you’ll love this recipe
- So easy to make! This cheesecake bars recipe don’t require any advanced skills, and only take about 15 minutes of hands-on time. You don’t have to worry about a water bath or a cheesecake layer cracking.
- Make ahead: These are so convenient to make ahead of the holidays or a special event because they need chill time. They travel well, too!
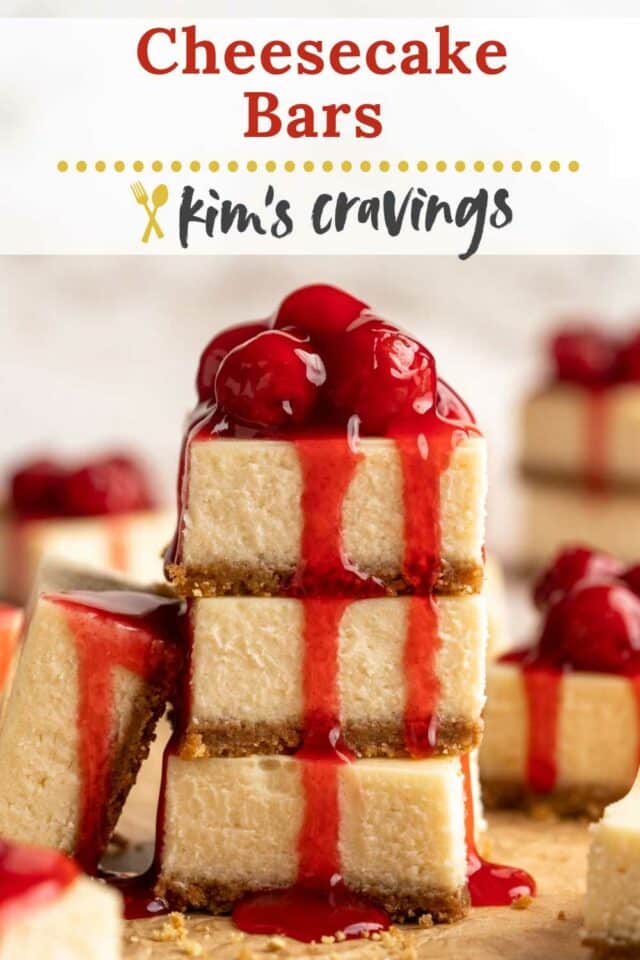
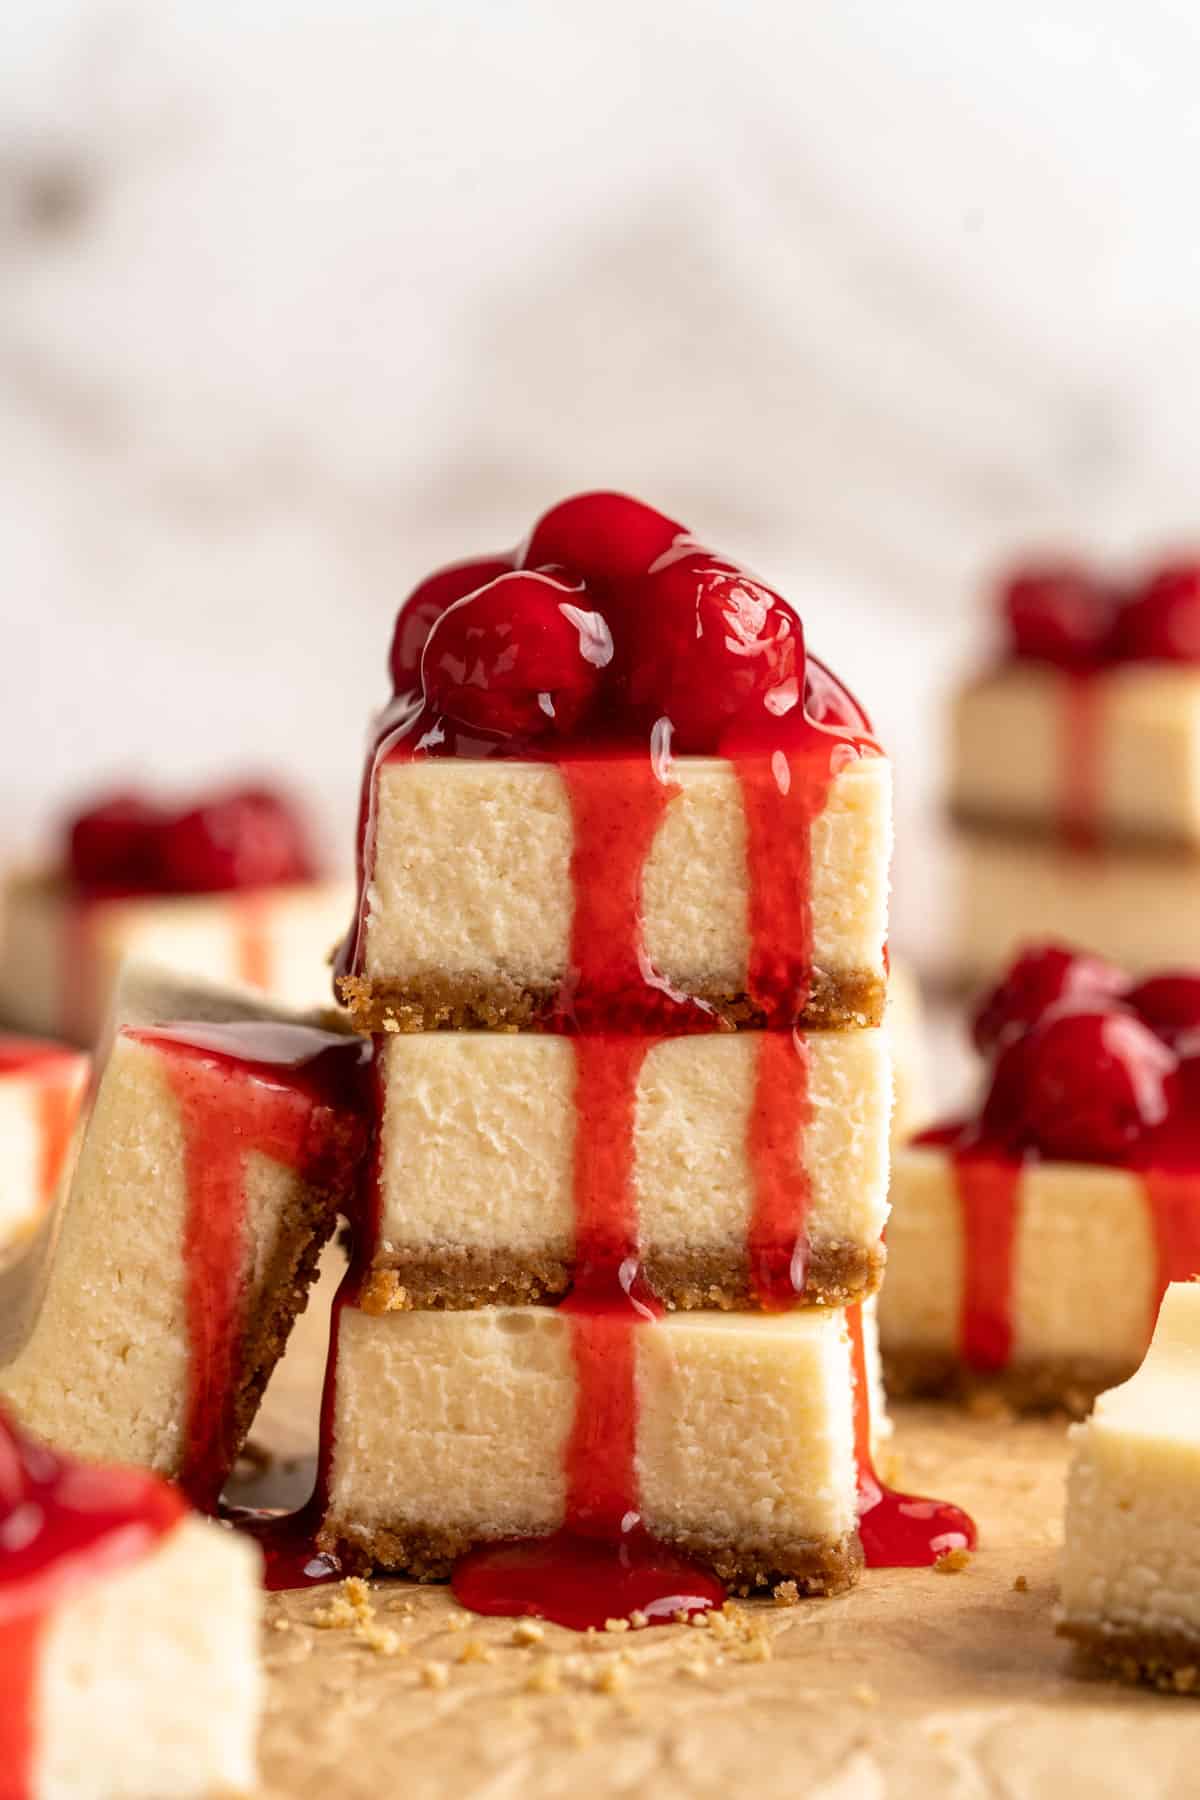
- Perfect for parties: Since these get cut into individual portions, they’re a great dessert to serve when entertaining. Plus, they look so fancy, with a cherry topping, fresh berries or a drizzle of chocolate.
- Incredibly delicious: This recipe for cheesecake bars tastes absolutely amazing! Every bite has the most wonderful balance of creamy, crunchy, sweet and tangy.
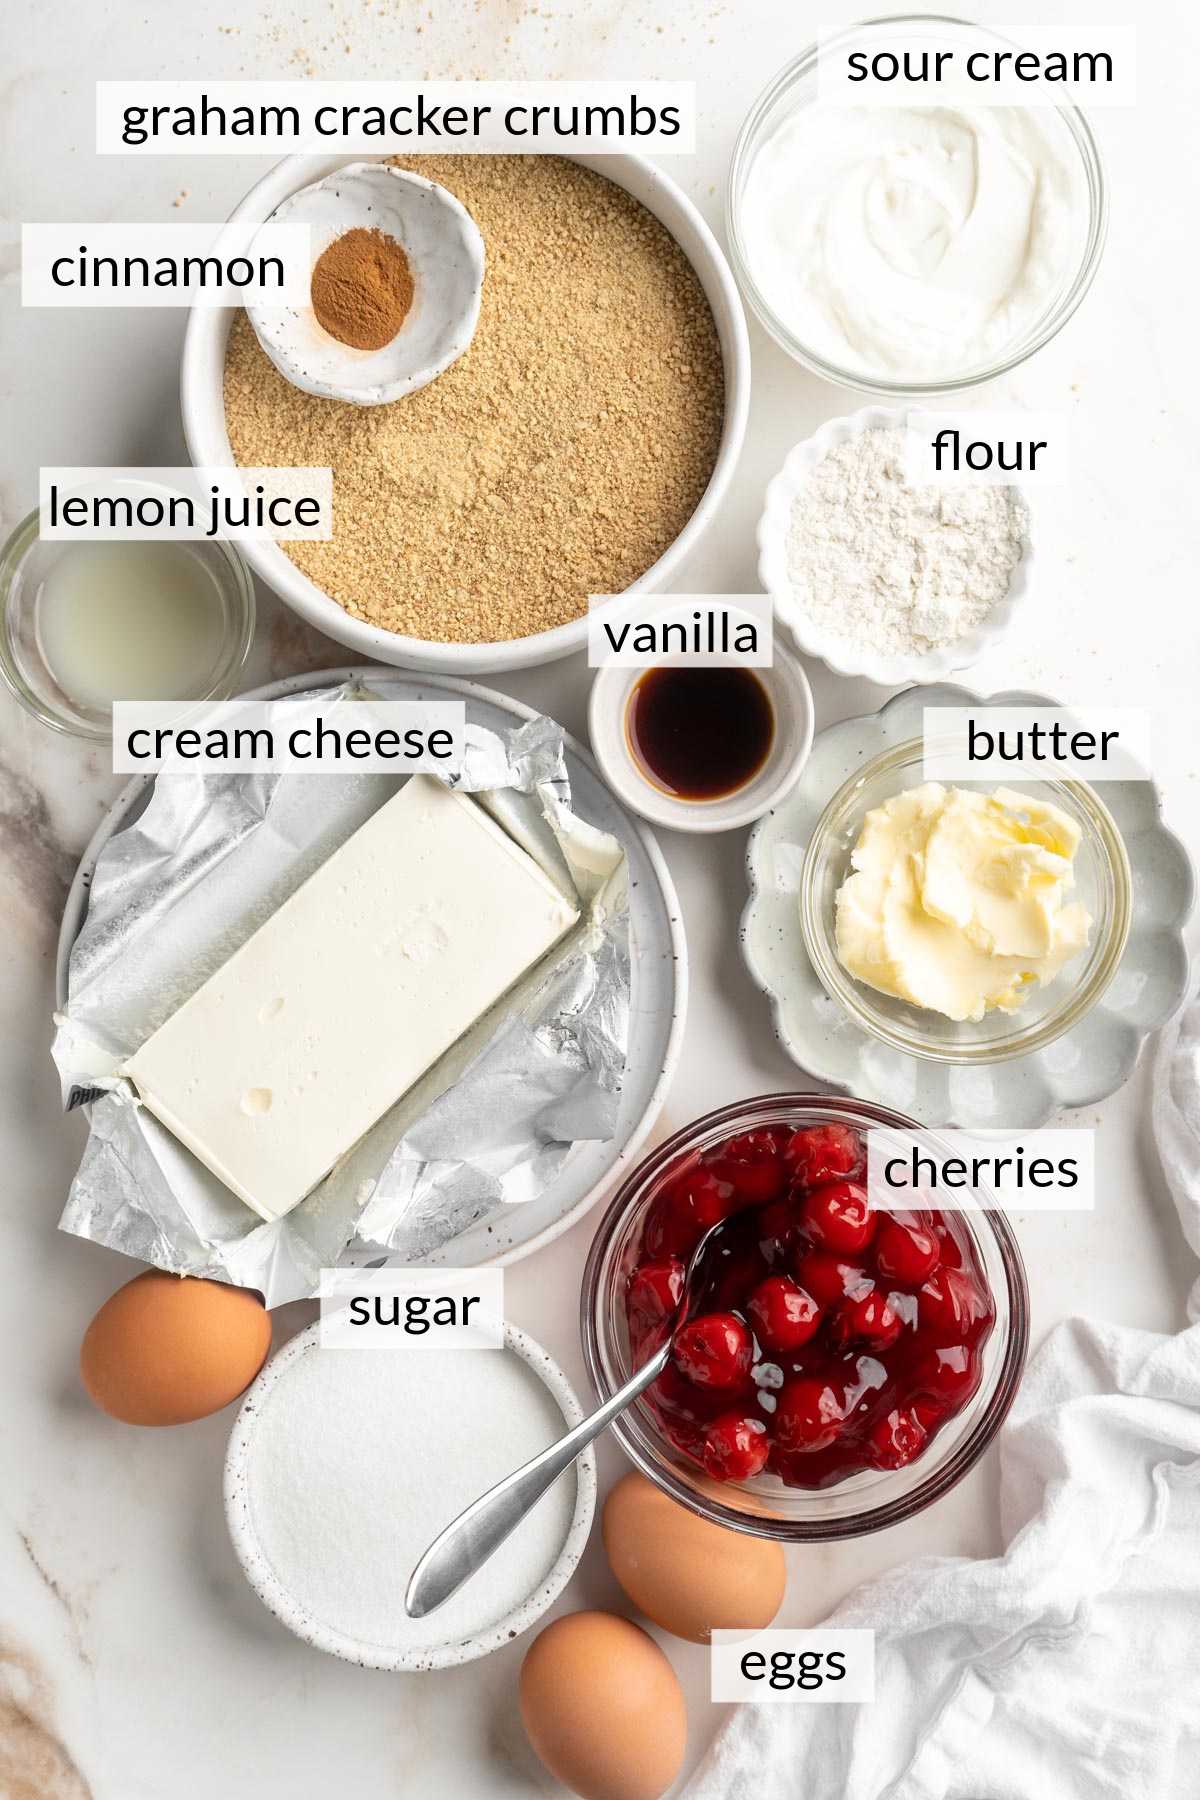
Ingredients needed
This cheesecake bars dessert recipe is easy to make and delightful to eat! Plus, the ingredients are simple and many of them you probably already have in your kitchen. To see the exact measurements for each ingredient then just check out the recipe card at the bottom of the post. Here’s everything you’ll need:
For the crust
- Graham cracker crumbs: For convenience, buy boxed graham cracker crumbs, or you can crush your own.
- Granulated sugar: To perfectly sweeten the crust.
- Unsalted butter: Melted butter will help the crumbs and sugar come together, and also offers rich flavor.
- Cinnamon: For a pop of warm flavor.
For the cheesecake
- Cream cheese: Use two 8 oz blocks of a good-quality cream cheese. This is the key ingredient for the best taste and texture. Philadelphia Cream Cheese is always a good choice!
- Granulated sugar: Makes the cream cheese layer deliciously sweet.
- All-purpose flour: Just a small amount of flour will give your cheesecake the best creamy consistency.
- Sour cream: After some trial and error, we determined these to be tastier with the addition of sour cream.
- Eggs: The eggs help to bind all of the ingredients and give the cheesecake structure and stability.
- Vanilla extract: Complements the sweet and tangy flavors.
- Lemon juice: Add fresh lemon juice for brightness. You only need 1 tsp but it really does add light, bright freshness.
- Cherry pie filling: You can top your bars with anything you’d like, they’re also delicious left plain. We always use cherry pie filling but fresh fruit, caramel sauce or chocolate drizzle would be amazing, too!
How to make this recipe
There’s a few steps involved in making these cherry cheesecake bars, but they’re really quite simple. Follow along and let’s bake up some deliciousness!
- Prep: Preheat oven to 350°F, and if you will want to remove bars from dish before slicing, line an 8×8-inch square baking pan with foil or parchment so the sides hang over the edges of the baking dish. If using foil, spray with nonstick cooking spray.
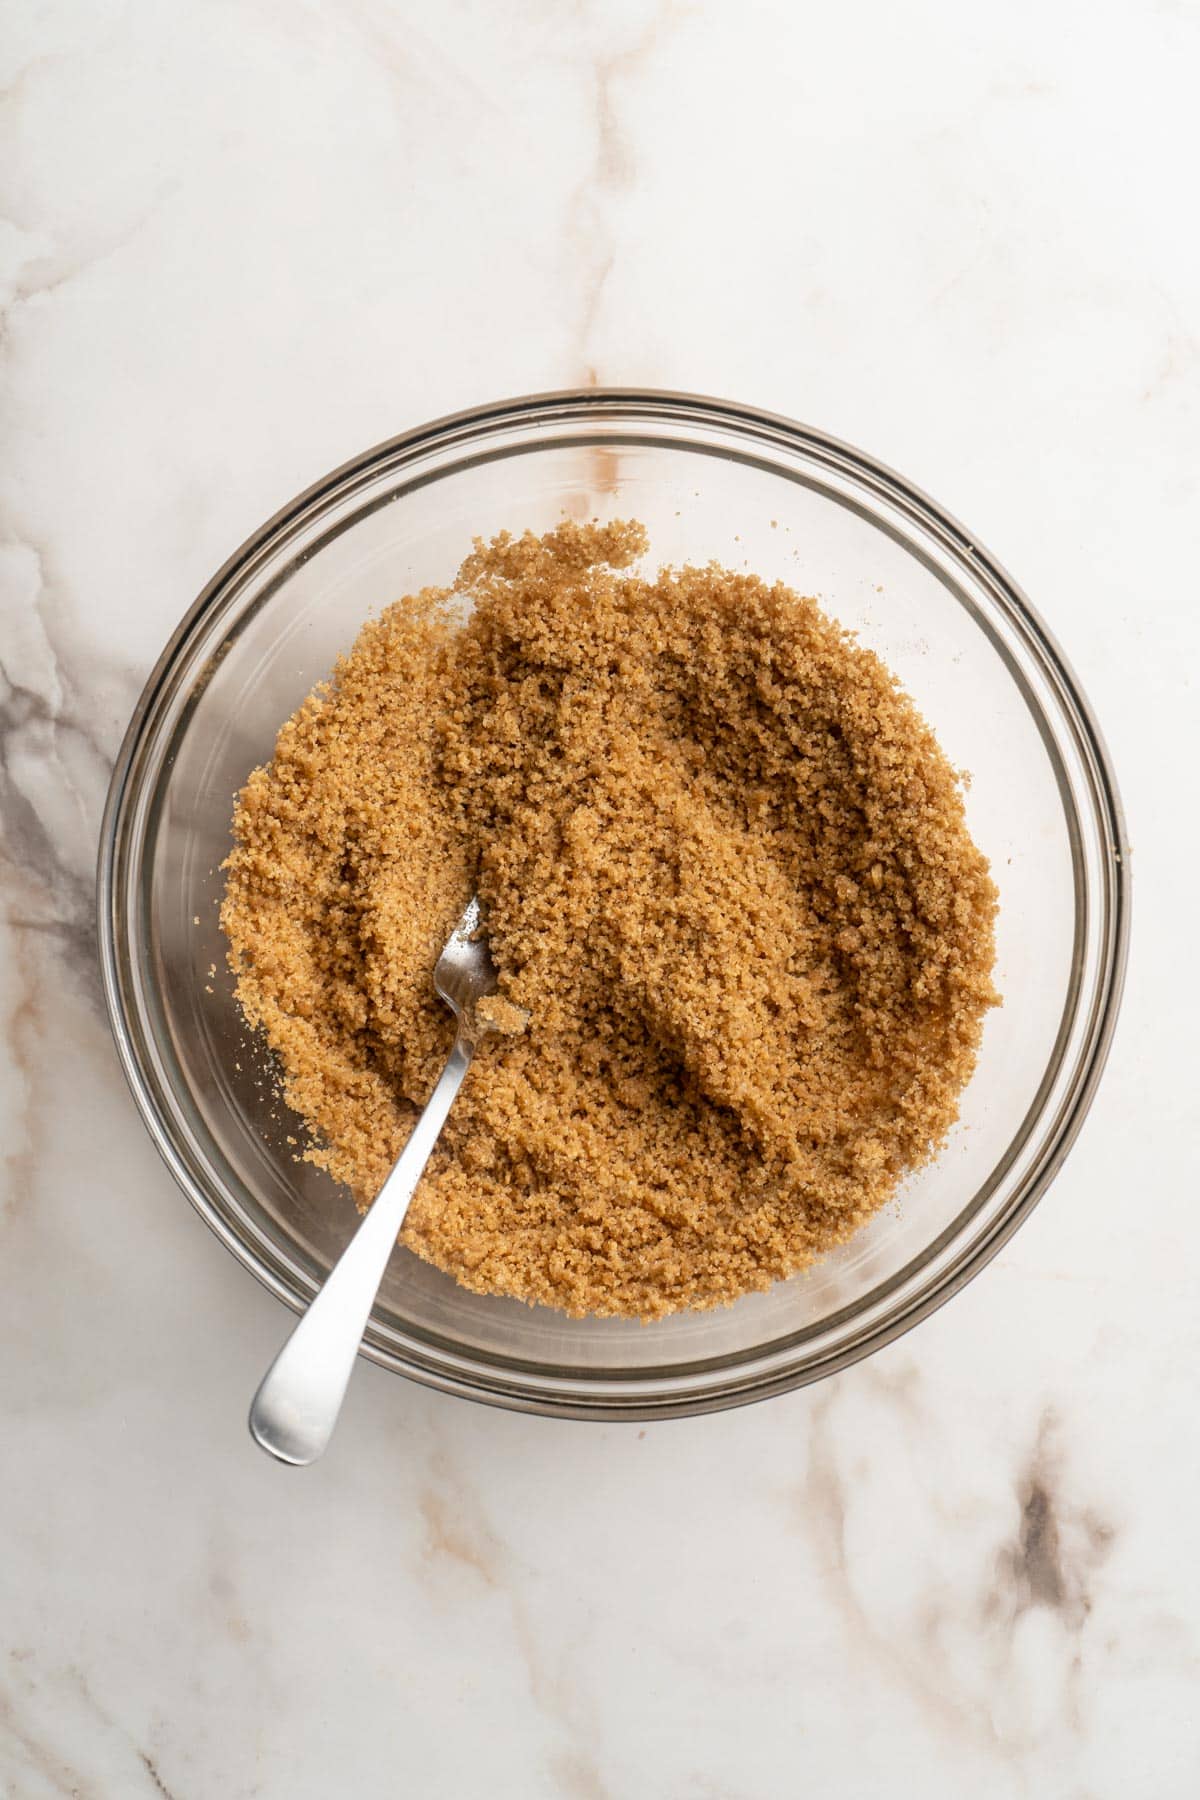
- Make the crust: In a medium mixing bowl, add all crust ingredients and stir together until completely combined.
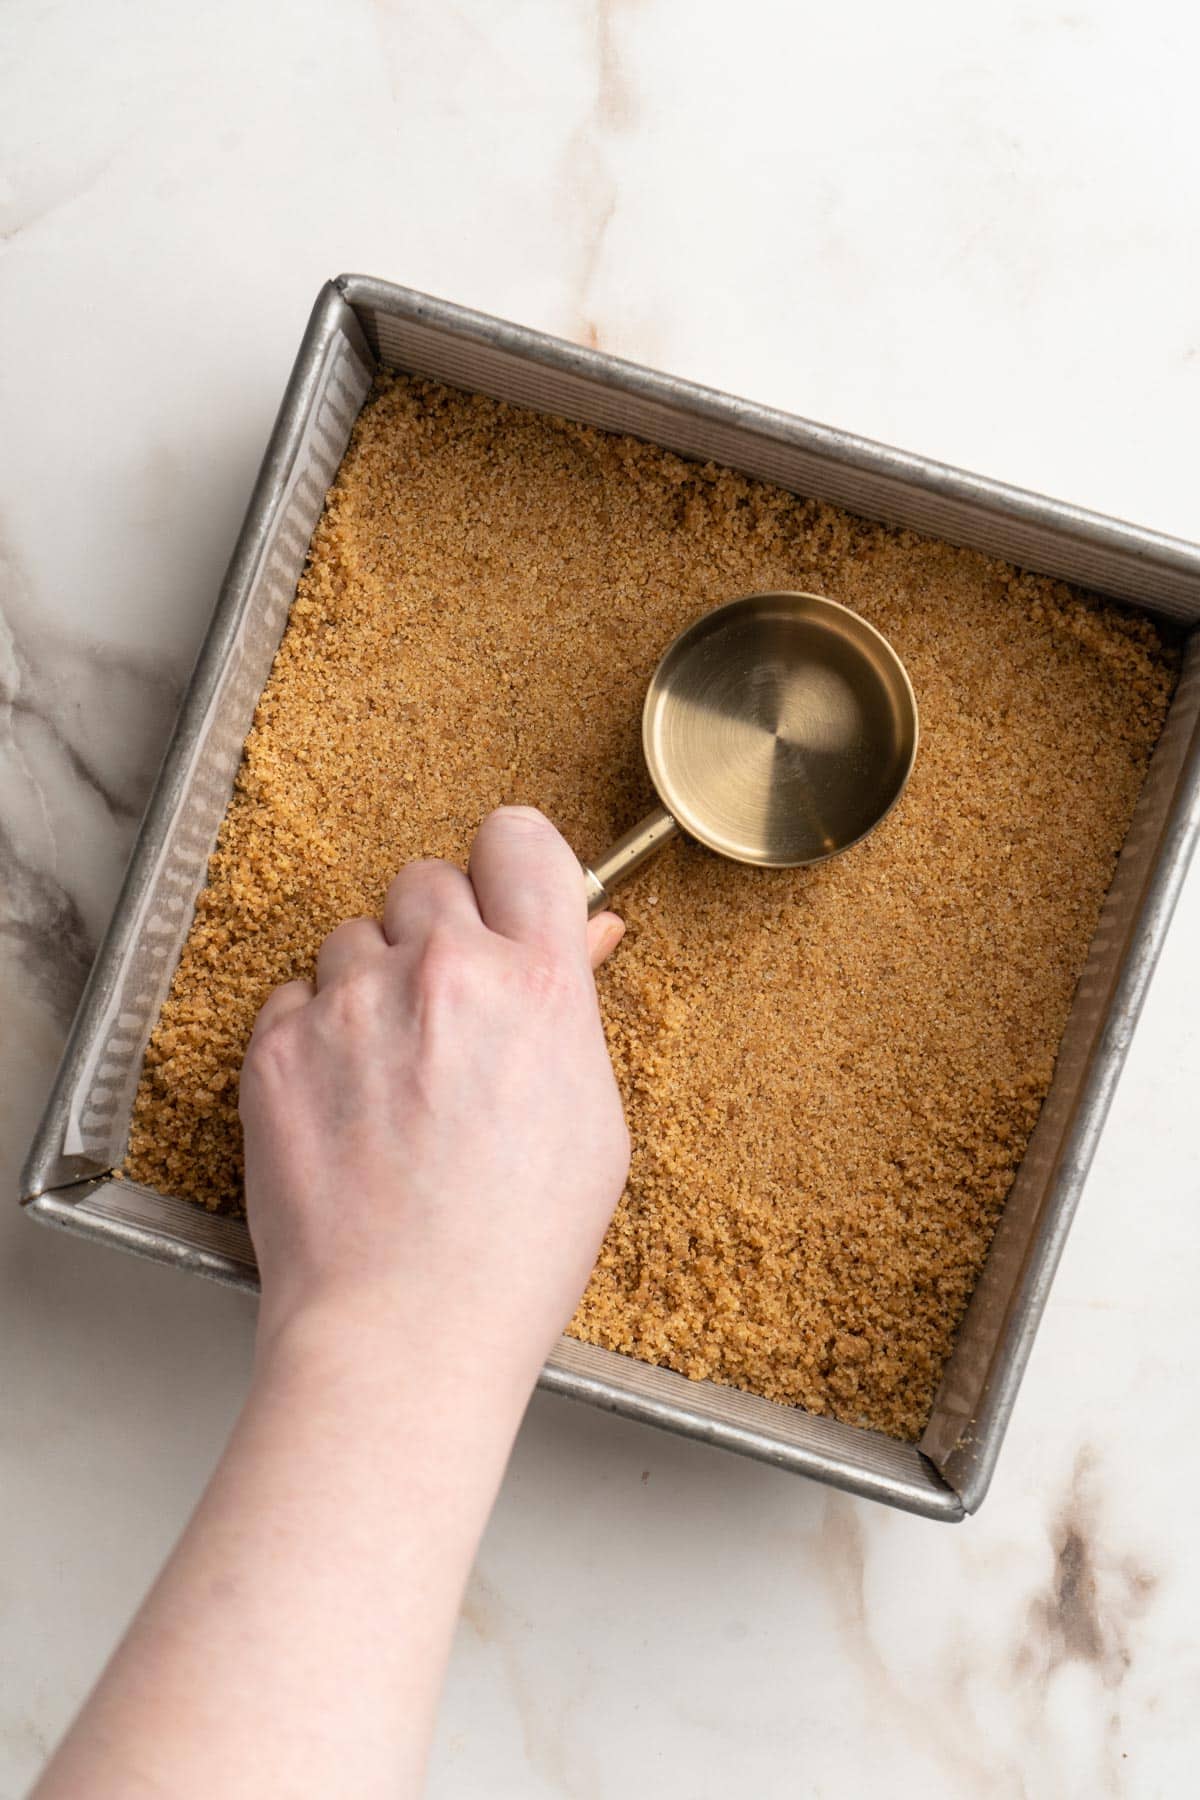
- Bake the crust: Press the crust mixture into the bottom of the baking pan. Bake crust for 10 minutes, then remove and lower oven heat to 325ºF. Let crust cool on a cooling rack.
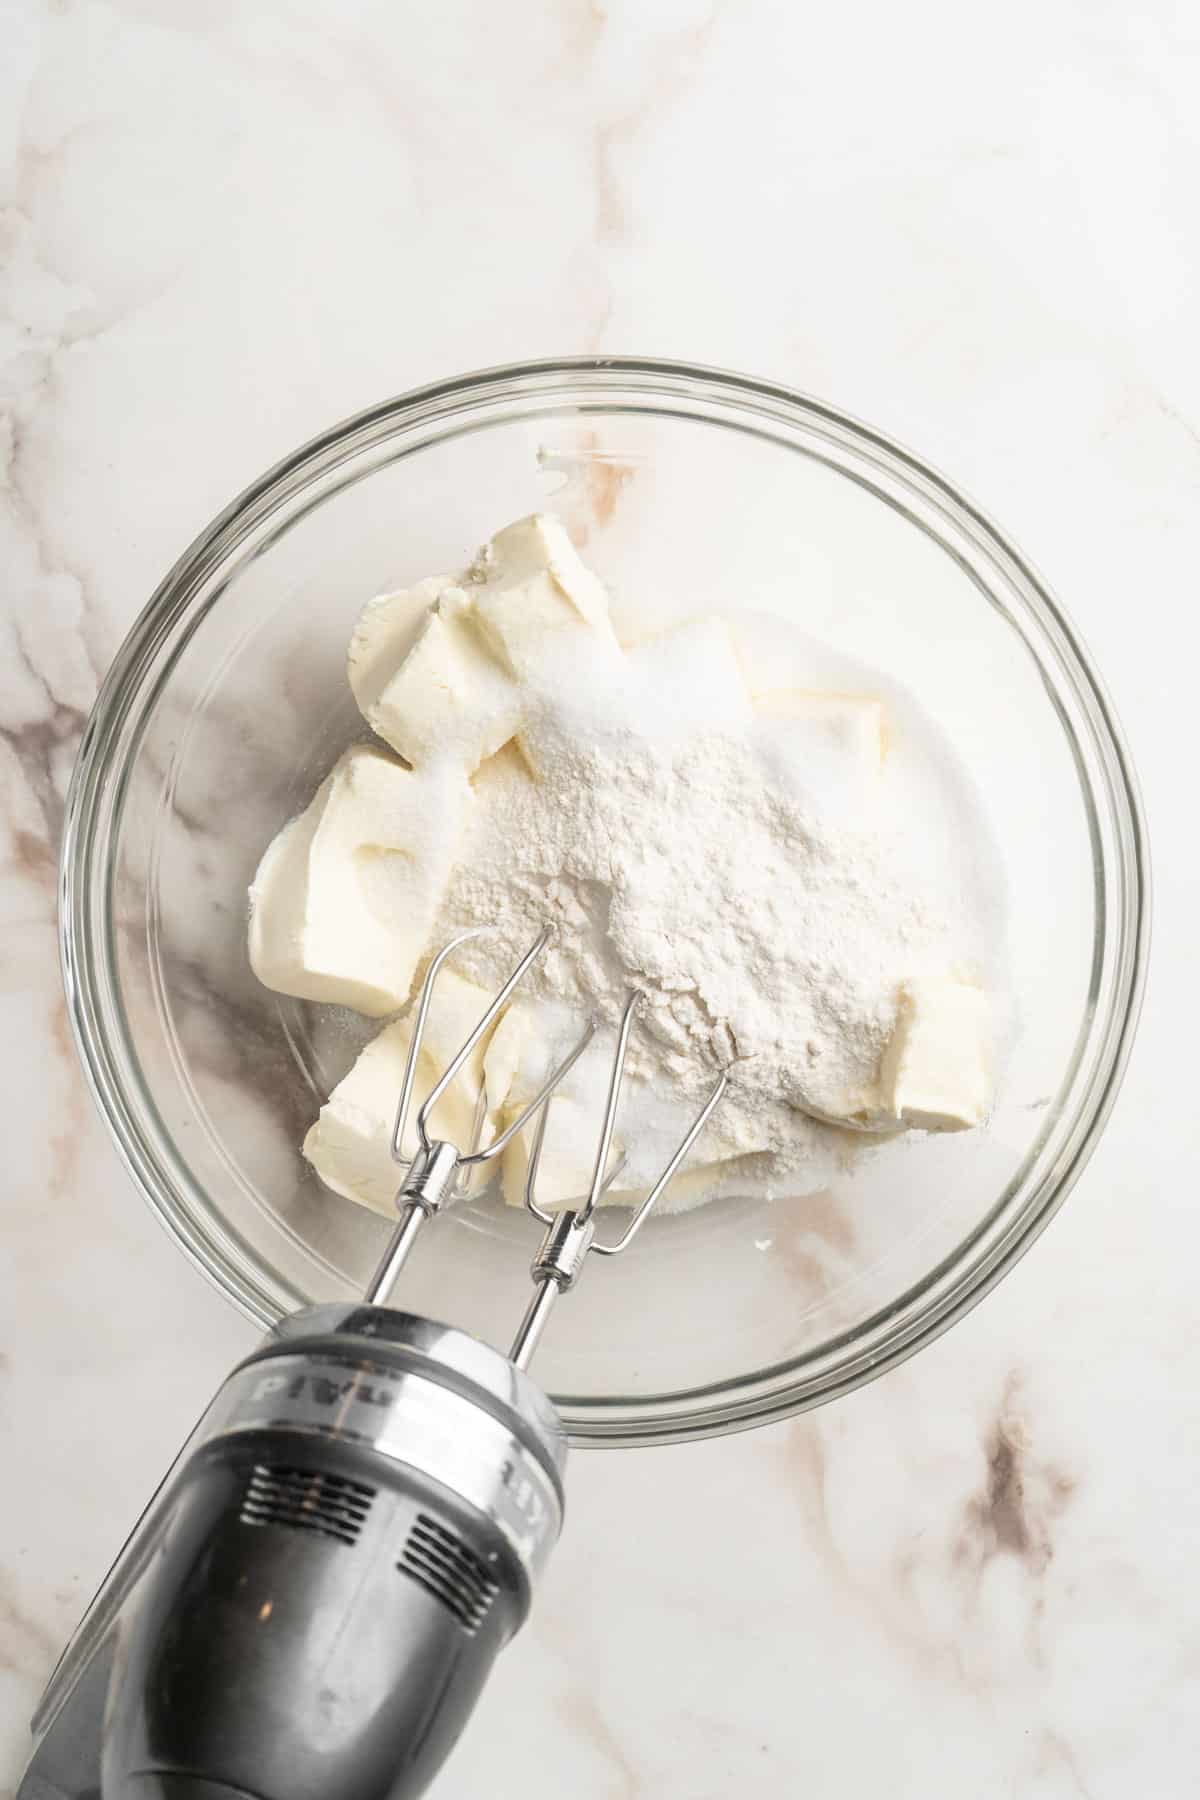
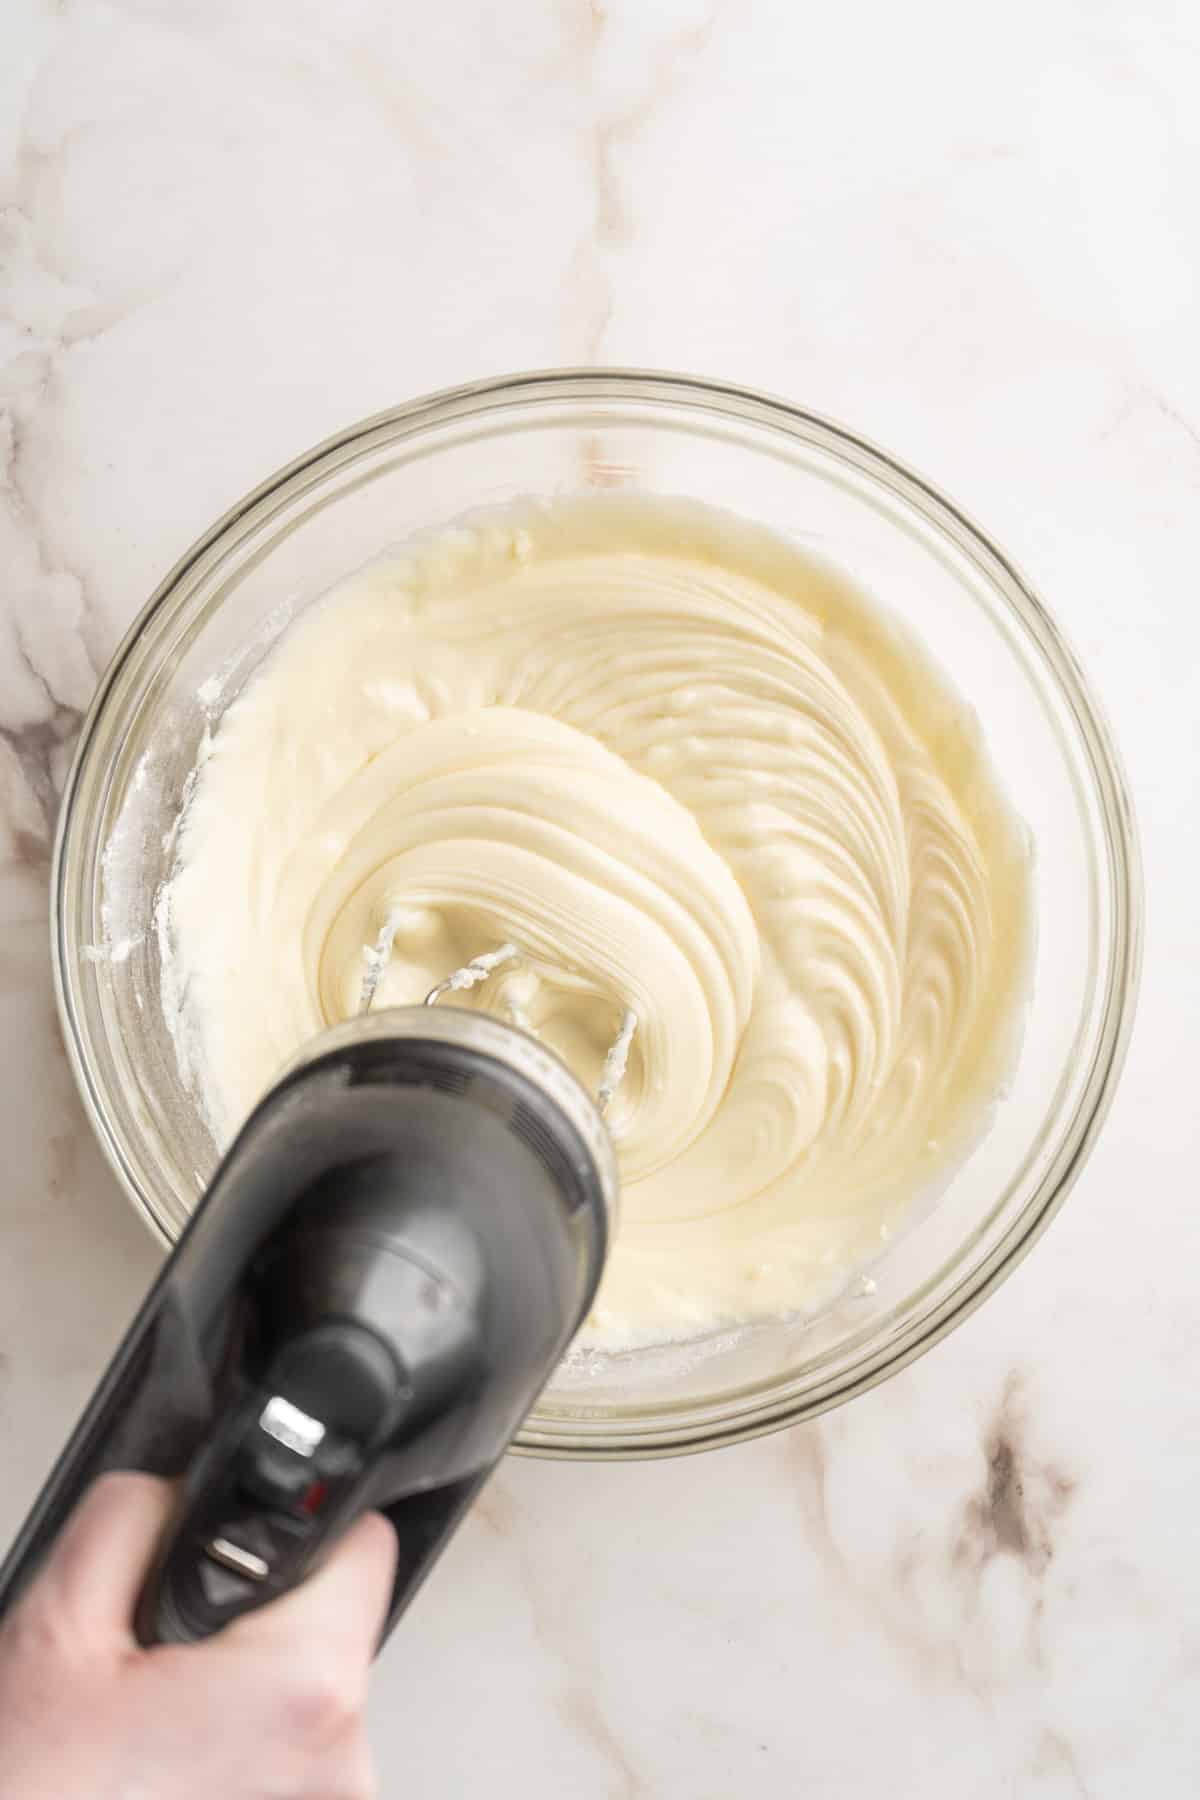
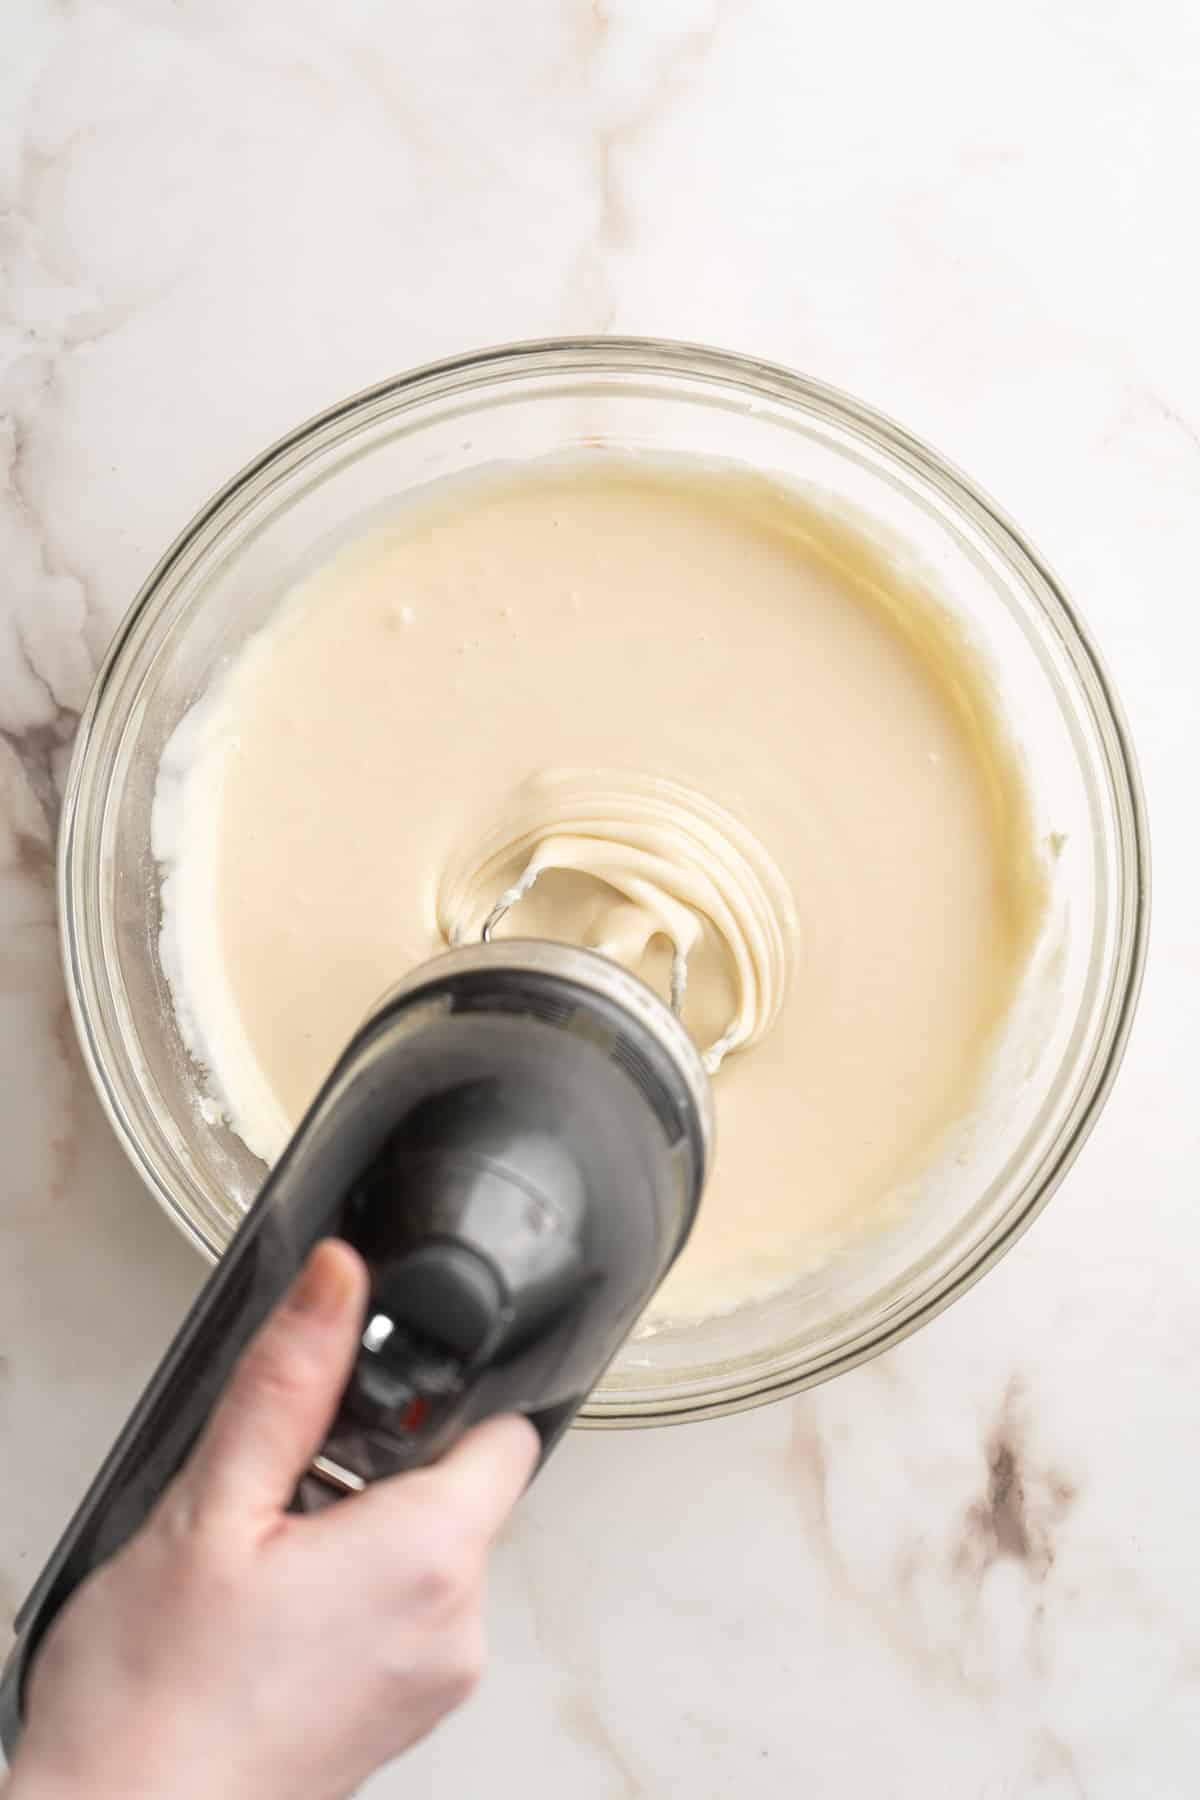
- Make the filling: Add cream cheese, sugar, and flour to a large mixing bowl and use an electric mixer with the paddle attachment to mix together until smooth, about 1 minute. Scrap the sides of the bowl as needed.
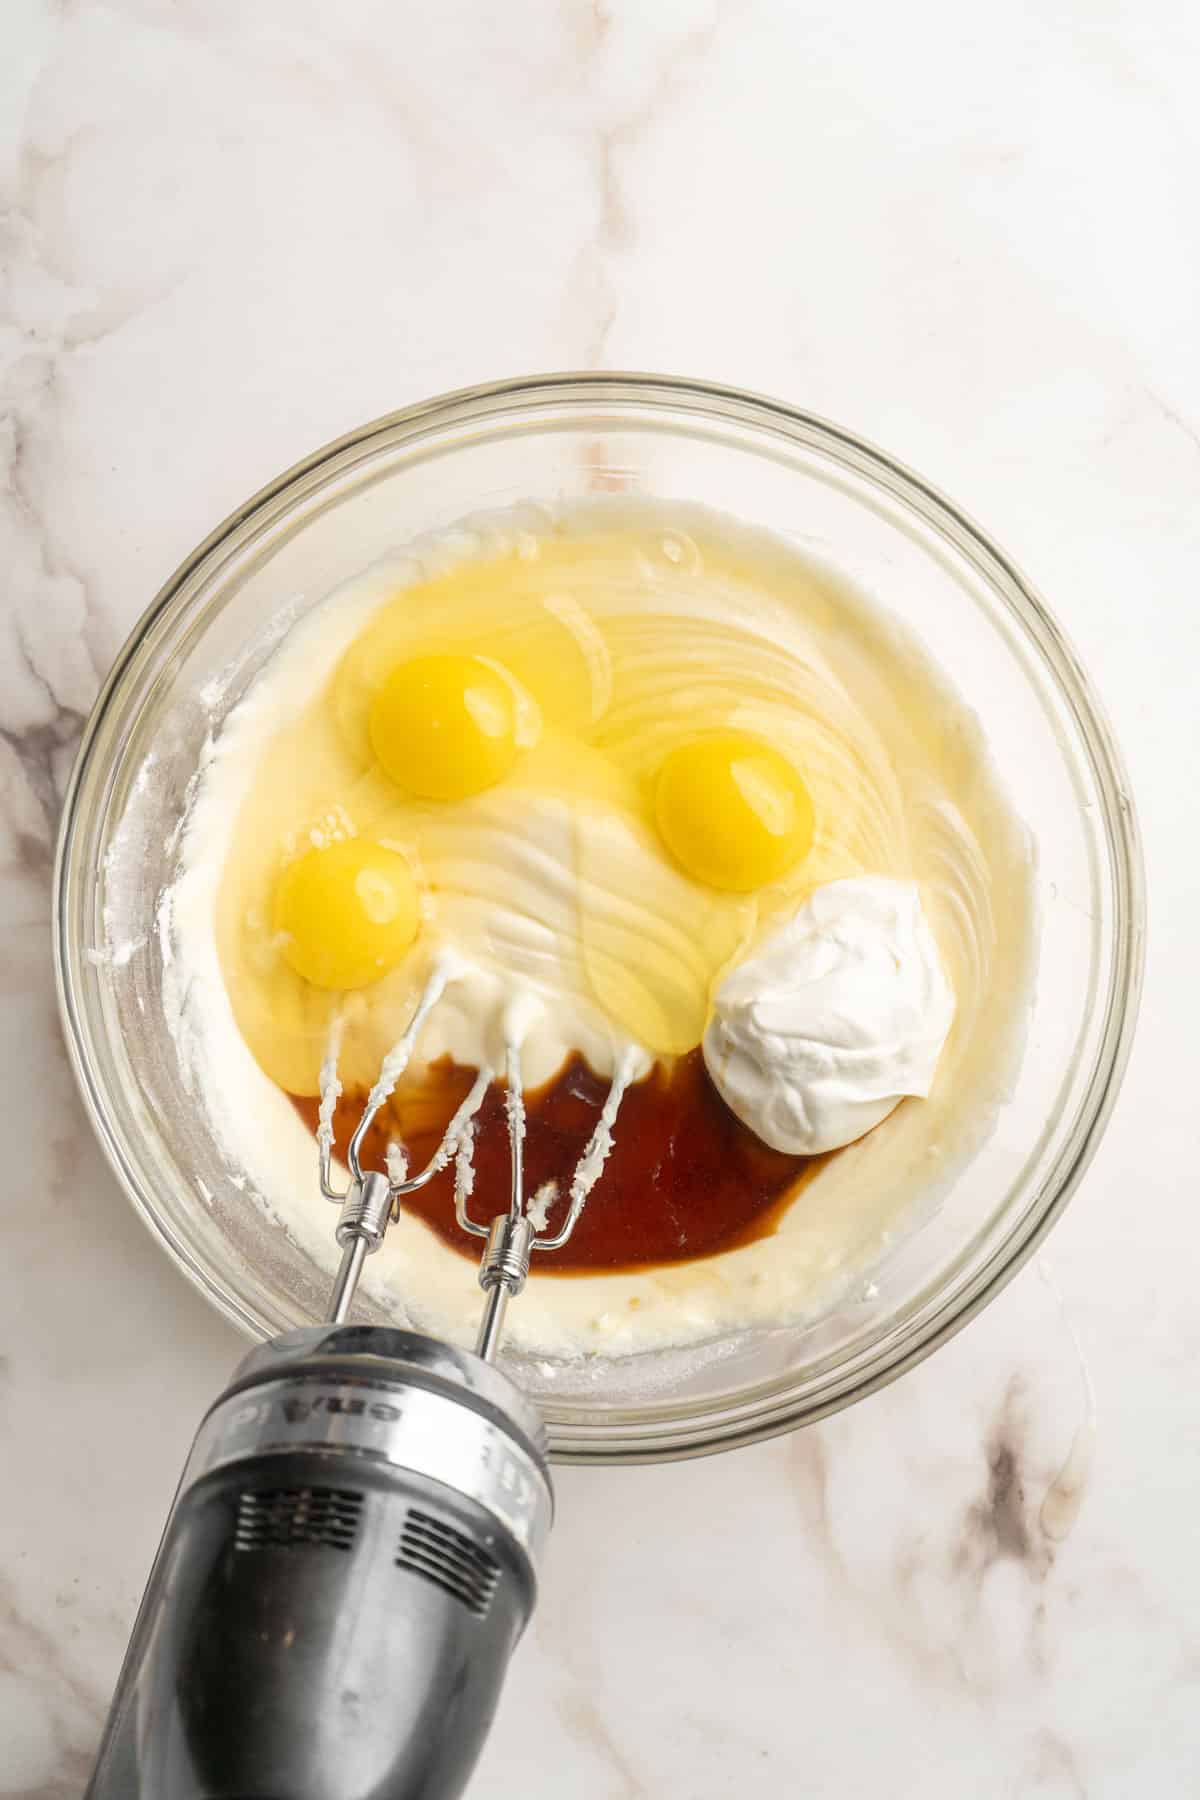
- Continue the filling with eggs and sour cream: Add the sour cream, eggs, pure vanilla extract and lemon juice and beat on low until just combined, about 1 minute. Do not over-mix. Contine to scrap the sides of the bowl as needed.
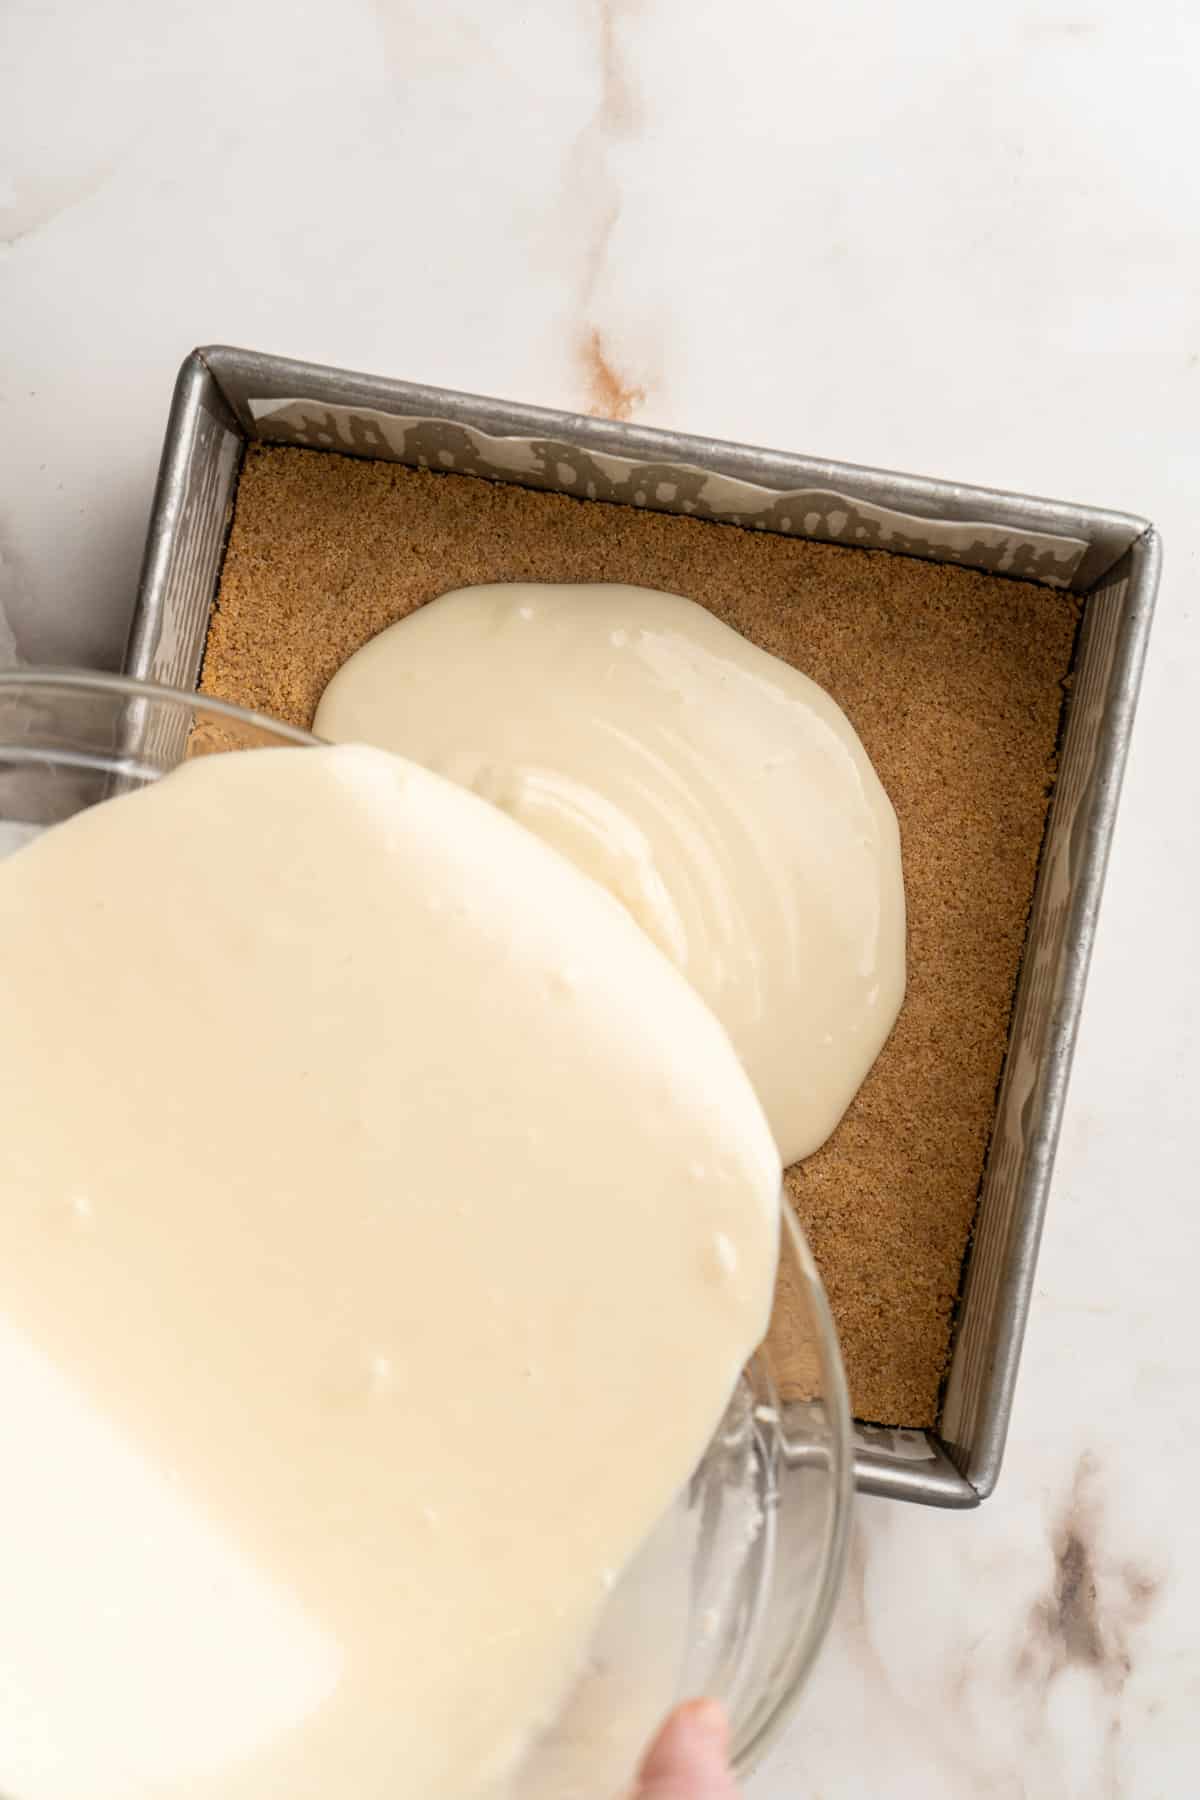
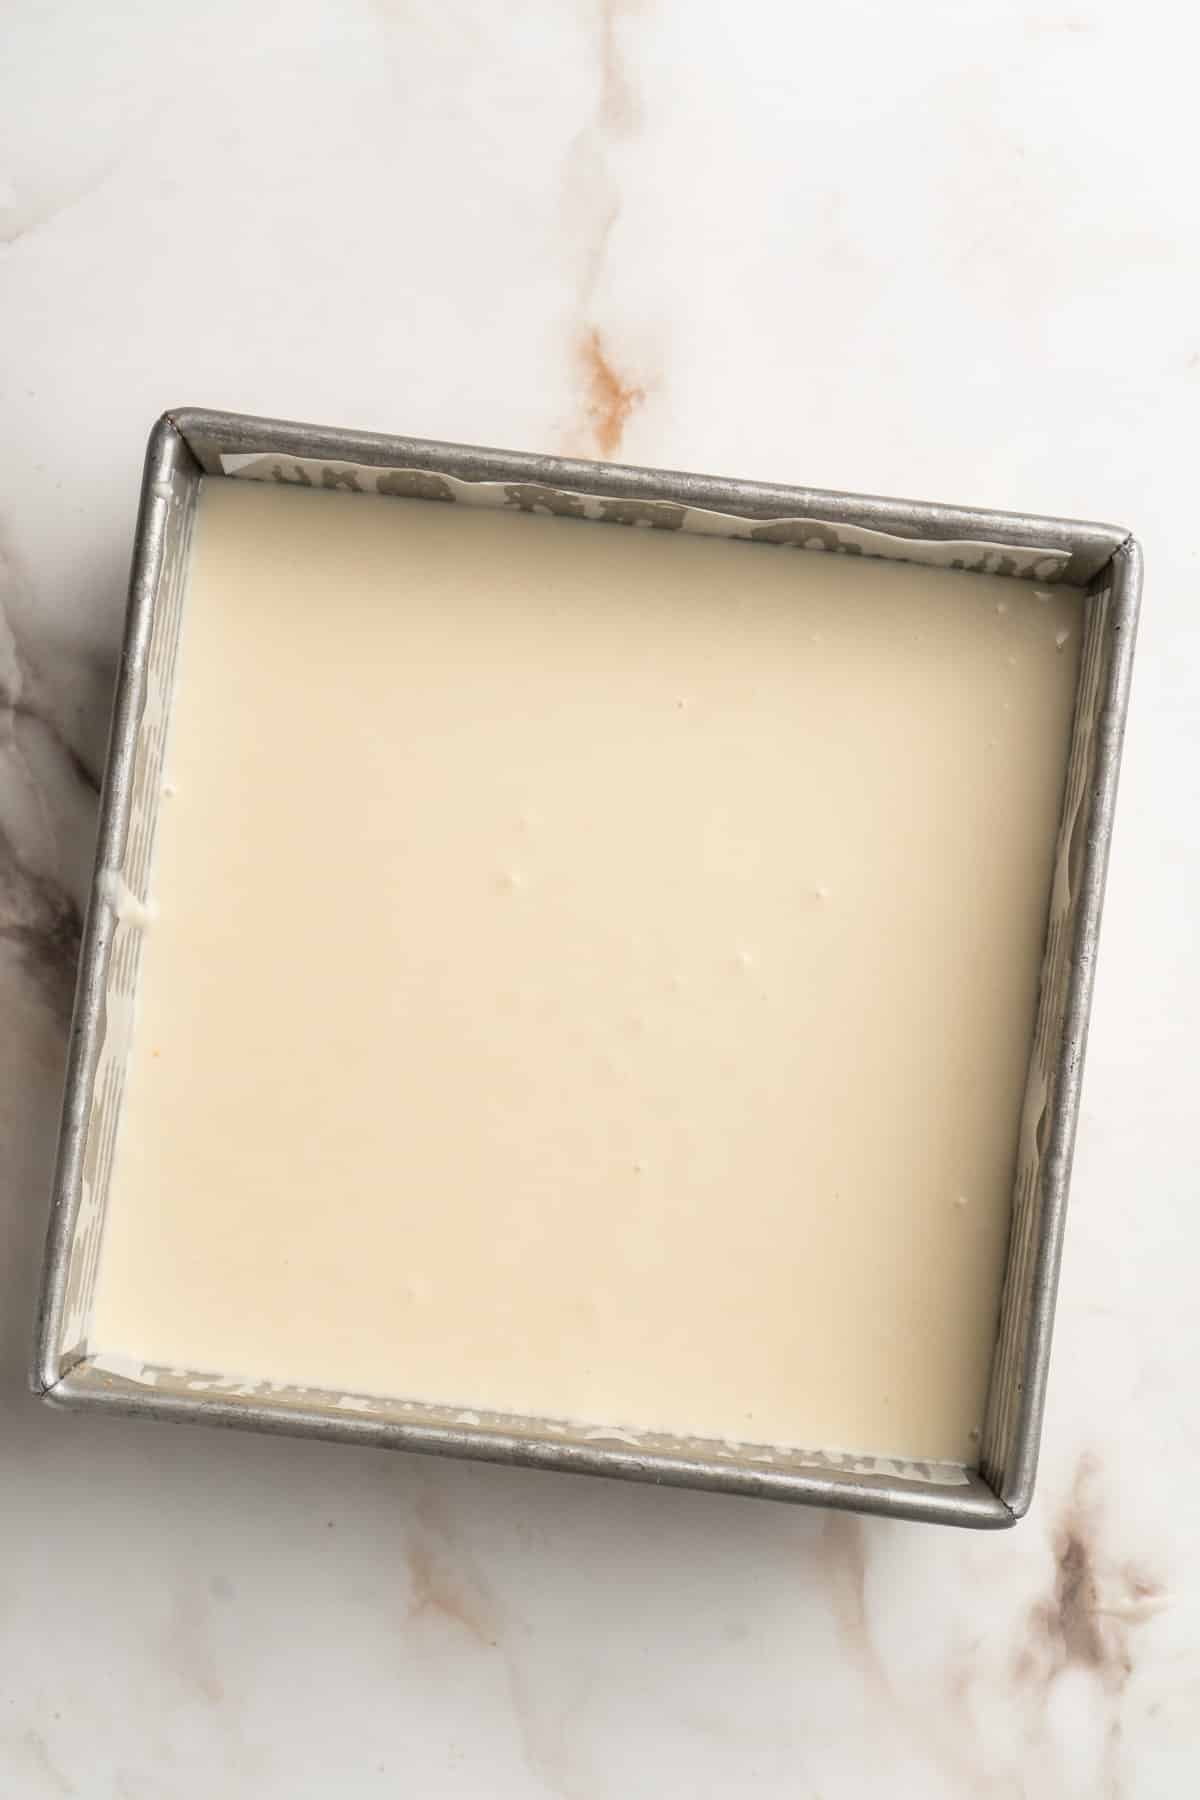
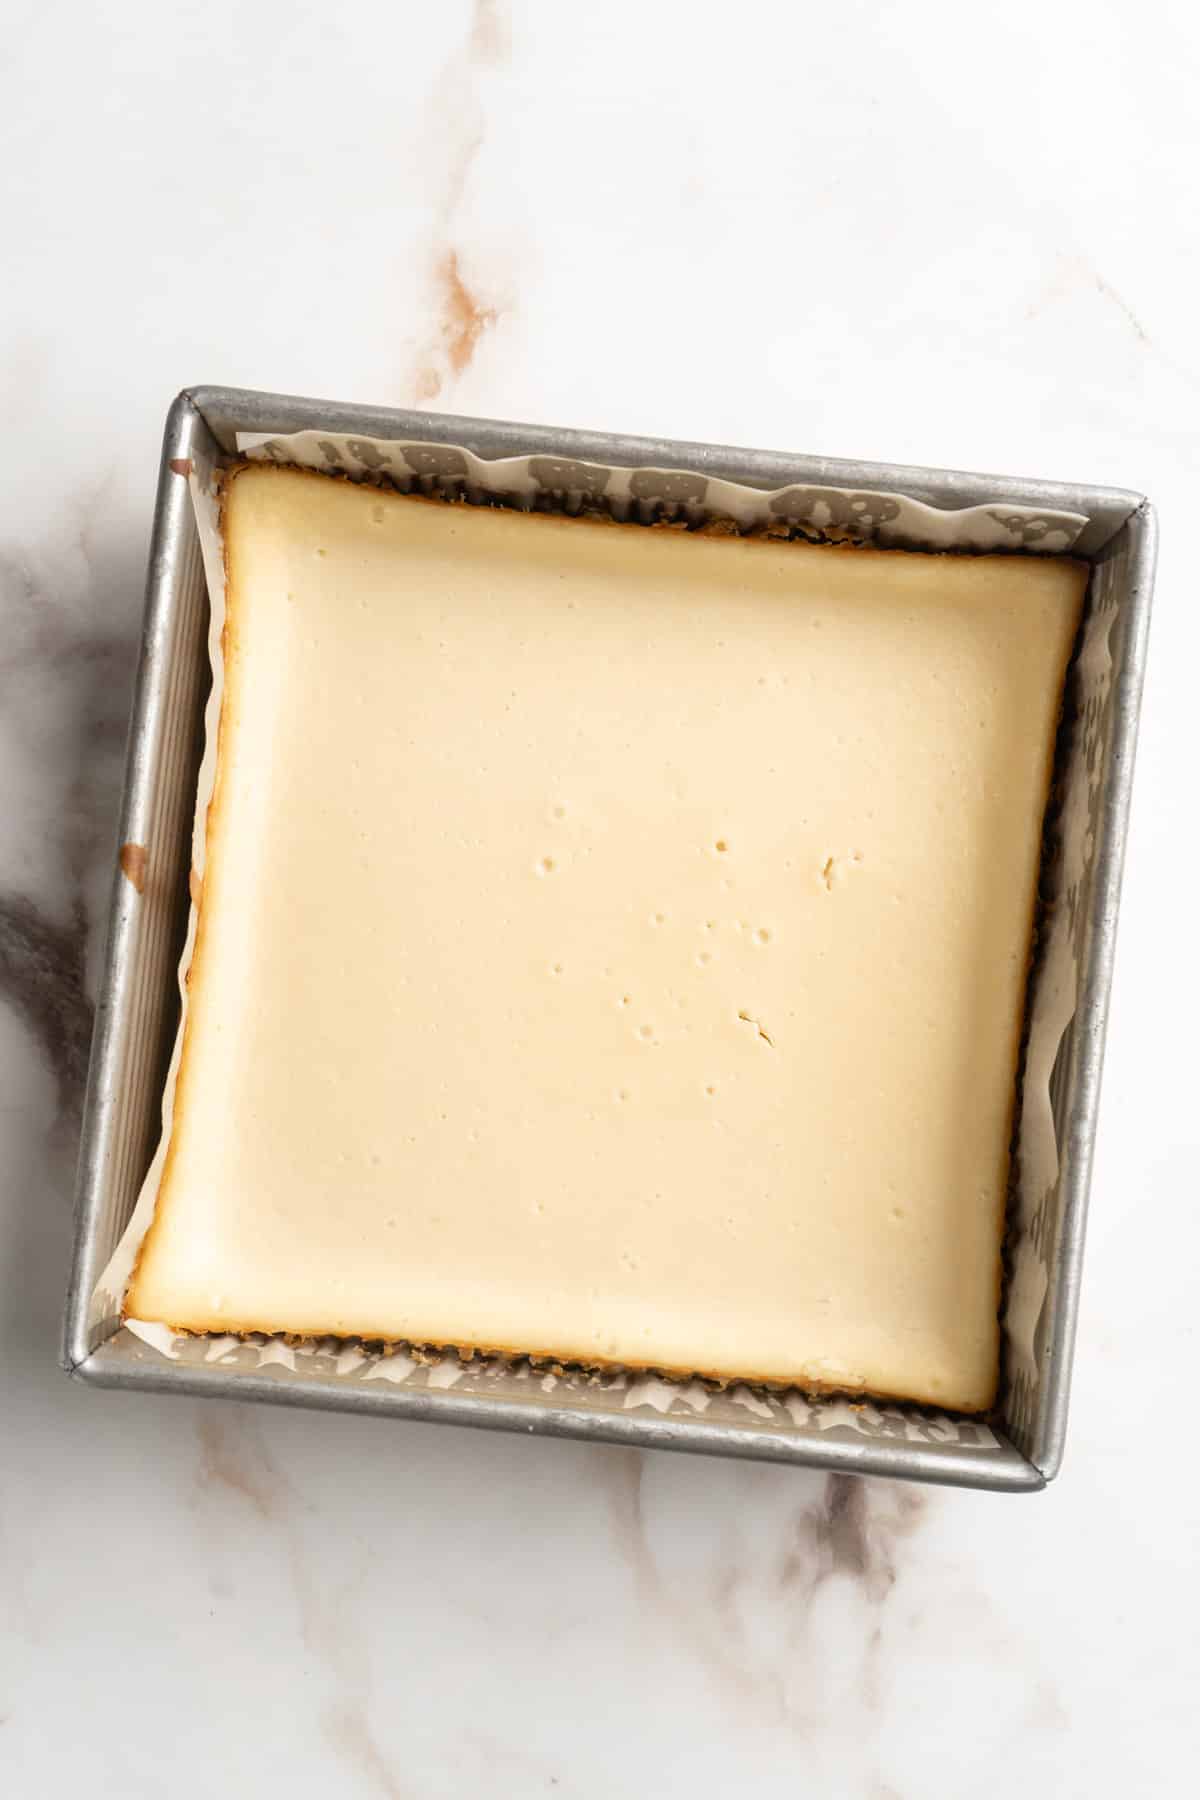
- Bake the cheesecake: Pour the cheesecake filling into the slightly cooled crust and smooth the surface. Cool oven to 325ºF. Bake cheesecake bars for about 40 to 45 minutes or until the edges are set, the top is just starting to turn golden brown and the center is just about set and only has a bit of a wobble. Cool completely at room temperature (about 30 minutes) on a wire rack, and then once cool, refrigerate for at least 4-6 hours, or overnight, before cutting into bars.
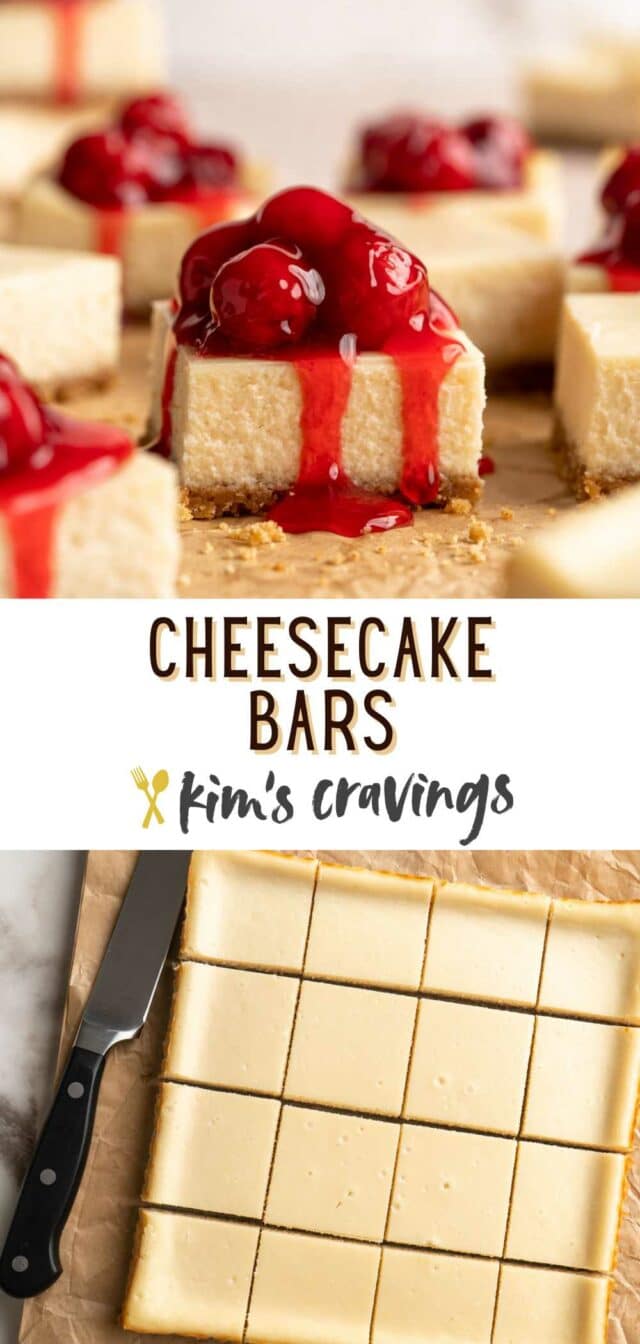
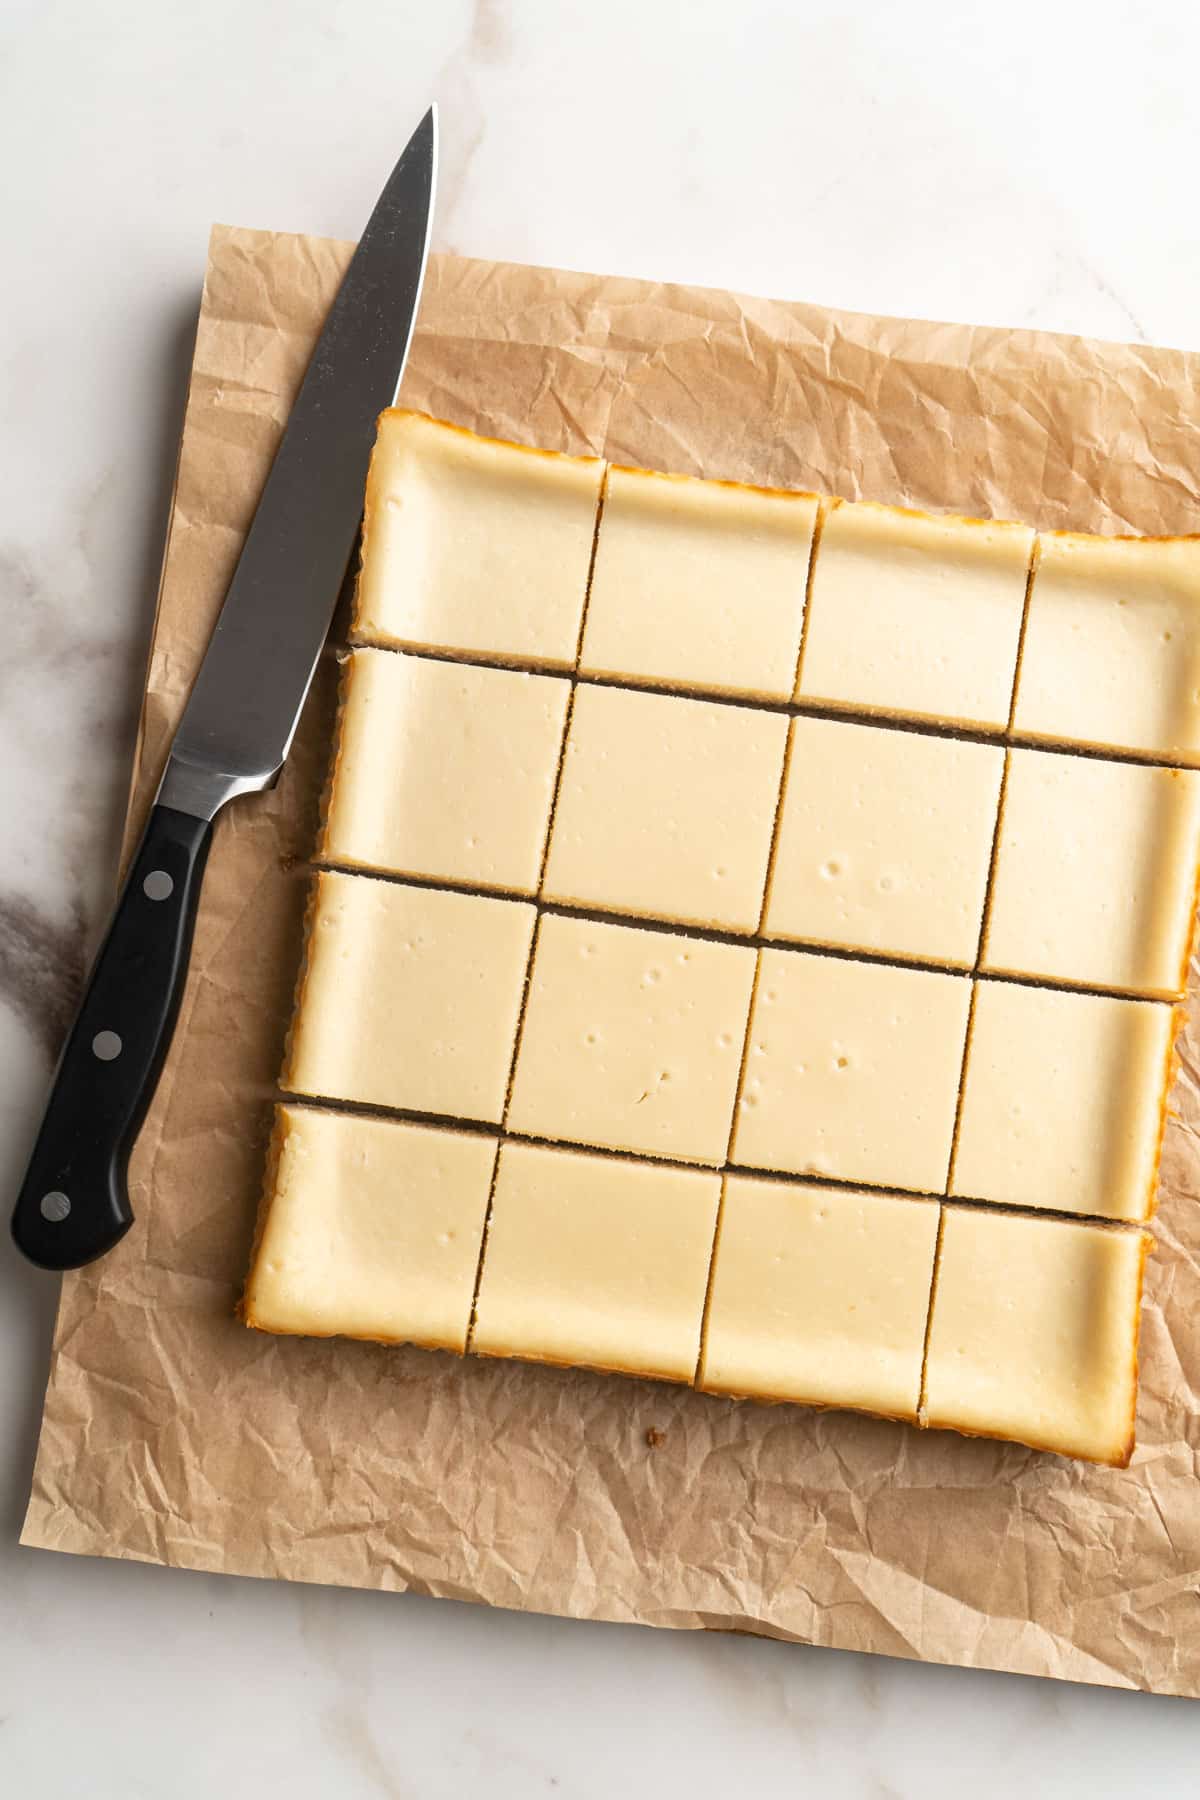
- Serve: To serve, use the overhang to lift bars out of pan and onto a cutting board. Use a sharp knife to cut into squares. I recommend wiping the knife clean with a damp cloth between slices. Serve with a dollop of cherry pie filling or fresh fruit, and enjoy!
Expert tips
- Buying cream cheese: For thick, rich, sturdy bars with creamy filling use full-fat, high-quality cream cheese. Be sure to use the blocks and not the whipped cream cheese. We recommend sticking with Philadelphia Cream Cheese, as it’s a reliable brand.
- Room temperature ingredients: Your cream cheese and sour cream should be very soft and your eggs should be at room temperature before starting this recipe. This will ensure all of the ingredients combine well and will keep your batter from getting lumpy. You can microwave the cream cheese in 30 second increments to soften it quickly.
- Graham cracker crumbs: If you have full graham crackers, use a food processor or blender to grind them into fine crumbs. You can also place them in a sealable bag and crush them into fine crumbs with a rolling pin.
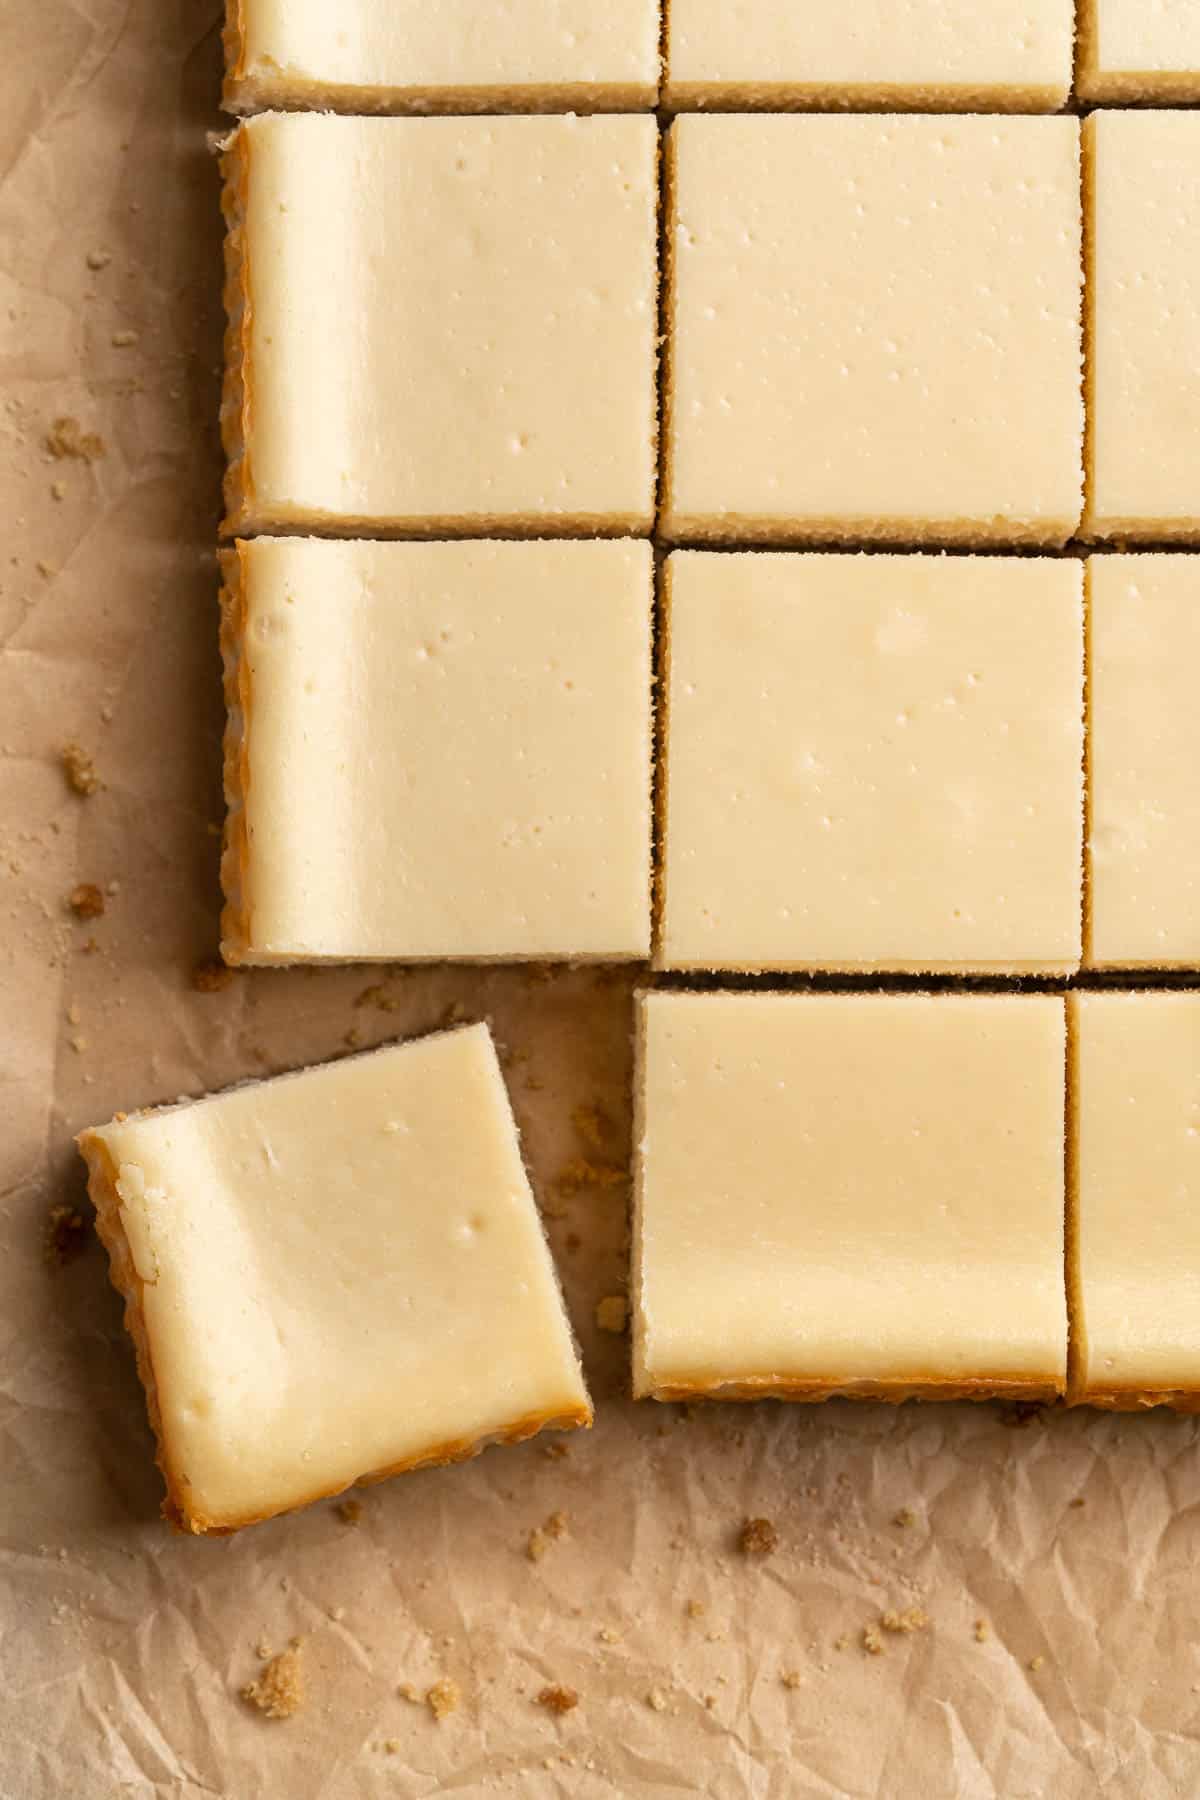
- Making the crust: When adding the crust to the pan, press it down very firmly. You can use the back of a measuring cup or another type of cup like seen pictured above. A firmly packed crust will help you avoid the bars crumbling much when sliced.
Frequently asked questions
You will know that these are set enough to be removed from the oven when the edges are firm and the center has a very slight jiggle. The middle part of the filling will fully set as the cheesecakes cool.
To get perfectly clean slices, use the parchment overhang to lift the entire tray of cheesecake up and out of the pan and onto a cutting board. Then, use a large, sharp knife to cut into squares.
For super clean slices, run the knife under hot water and wipe off between cuts.
In general, cheesecake can sit out at room temperature for up to 4 hours before it needs to be refrigerated.
Variations
Cheesecake bars are delicious with a number of different toppings and even different crusts. Here’s some options for customizing your dessert bars:
- Fruit sauce: Want a change up from the cherries? You can buy other canned pie filling to use, or make homemade strawberry pie filling or blueberry sauce to spoon over the top.
- Sweet drizzle: A drizzle of chocolate glaze or salted caramel drizzle would be so good.
- Other options: Try a spoonful of lemon curd, crushed candy bar, chocolate ganache or some whipped cream. Fresh berries would also be a great choice.
- Oreo cheesecake bars: Try using Oreo cookies for the crust, instead of graham crackers, and then top the bars with Oreo crumbles and cookies. This variation could be done with or without the cherry pie filling. You can find the Oreo crust recipe in this Oreo Pie post.
Storage recommendations
- Make ahead: Cheesecake bars require chill time in the fridge, so they are great to make up to 3 days in advance of when you plan to serve them.
- Storing leftovers: Store any leftover bars in an airtight container or cover the pan tightly with plastic wrap. These will keep, stored in the refrigerator, for up to 4 days.
- To freeze: Place the completely cooled cheesecake (whole or sliced) on a freezer-friendly platter and freeze, uncovered, until completely firm. Once firm, remove the cheesecake from the freezer and wrap it in heavy-duty aluminum foil. Then place it in a freezer bag, seal the bag and return it to freezer for up to 2 months. When ready to serve, remove the foil and defrost in the fridge overnight.
These cheesecake bars are so easy and the perfect combination of rich cheesecake, and light, refreshing fruit! They turn out cool, creamy, and absolutely delicious! So perfect for your holiday dessert table!
More favorite dessert recipes
If you try this recipe, let me know! Leave a comment and if your family loves it as much as mine does, be sure to give it a five star ⭐️ rating! Also, tag @kimscravings on Instagram with a picture of your creation. Be sure to subscribe to our mailing list to receive more delicious recipes straight to your inbox.
Cheesecake Bars
Ingredients
For the crust:
- 1 1/4 cup (130g) graham cracker crumbs, from 10 whole graham cracker sheets
- 1/4 cup (50g) white granulated sugar
- 1/4 cup (56g) unsalted butter, melted
- 1/2 teaspoon cinnamon
For the cheesecake:
- 2 (8 ounce) (450g) packages cream cheese, room temperature
- 1 cup (200g) white granulated sugar
- 1 1/2 tablespoons (11g) all-purpose flour
- 1/4 cup (60g) sour cream, room temperature
- 3 large eggs, room temperature
- 2 teaspoons vanilla extract
- 1 teaspoon lemon juice
- 1 can cherry pie filling or fresh fruit (optional for topping cheesecake bars when serving)
EMAIL ME THE RECIPE!
Instructions
- Preheat oven to 350°F, and if you will want to remove bars from dish before slicing, line an 8×8-inch square baking pan with foil or parchment so the sides hang over the edges of the dish. If using foil, spray with nonstick cooking spray.
For the crust:
- In a medium mixing bowl, add all crust ingredients and stir together until completely combined.
- Press the crust mixture into the bottom of the baking pan. Bake crust for 10 minutes, then remove and lower oven heat to 325ºF. Let crust cool on a cooling rack.
For the cheesecake filling:
- Add cream cheese, sugar, and flour to a large mixing bowl and use an electric mixer with the paddle attachment to mix together until smooth, about 1 minute. Scrap the sides of the bowl as needed.
- Add the sour cream, eggs, vanilla and lemon juice and beat on low until just combined, about 1 minute. Do not over-mix. Contine to scrap the sides of the bowl as needed.
- Pour the cheesecake filling into the slightly cooled crust and smooth the surface. Cool oven to 325ºF. Bake for about 40 to 45 minutes or until the edges are set, the top is just starting to turn golden brown and the center is just about set and only has a bit of a wobble. Cool completely at room temperature (about 30 minutes) and then once cool, refrigerate for at least 4-6 hours, or overnight, before cutting into bars.
- To serve, use the overhang to lift bars out of pan and onto a cutting board. Use a sharp knife to cut into squares. I recommend wiping the knife clean with a damp cloth between slices. Serve with a dollop of cherry pie filling or fresh fruit and enjoy!
Notes
Did you make this recipe?
Tag @kimscravings on Instagram and be sure to subscribe to our mailing list to receive more healthy and delicious recipes straight to your inbox!
I’ve tried different cheesecake bar recipes and this one is so far above the rest. Seriously so delicious. It was a complete hit with the family.
We loved these and the pop of red with the cherries is so festive on a holiday sweets platter.
I’ve made this recipe more than a dozen times… to say it’s amazing is an understatement!!! Thank you for sharing!
Hi, Kim
Have made the pie recipe from the store-crust for a number of years. Sometimes, the condensed milk is quite yellow (almost carmel in color) – does that make a difference in the pie firming up? I blamed that in the past for some of my pies not getting firm, but after reading that the cream cheese should be refrigerator COLD, I realize that bringing it out to soften was not necessary and perhaps sometimes I beat the cheese and condensed milk too long. Thanks for all of the tips! Has always been mine and my families favorite and now I can make other great desserts like the bars and dip.
So happy to hear that the tips helped!
Wow, these were so creamy and delicious! Absolutely perfect for these holiday get togethers!
Wow! This was delicious! The whole family loved it! I will be making this again. Thank you for the recipe!
Great recipe! We topped them with lemon curd. My friends were so impressed!
I made it with oreo crust, thanks for the tip! Absolutely divine, I’m adding this to the Christmas day menu 🙂
This was so light, creamy and just plain heavenly. The texture was completely nailed.
The tip on having the cheese, sour cream and eggs at room temperature is great! This makes all the difference in the world. Great recipe!
Made it last night. The cheesecake turned out great. What I loved the most is to spoon the cheesecake with lots of cherry filling! Thanks for sharing!